Summary of caption services
•CC-1, CC-2, CC-3, and CC-4
Dialog and descriptions for the action on the captioned TV program show on screen. Usually CC 1 is the most used. CC 2 can be used for alternate languages if they are being transmitted.
•T-1,T-2,T-3 and T-4
Often used for channel guide, schedules, bulletin board information for Closed Captions programs, news, weather information, or stock market reports.
•
Service 2 is designated as the Secondary Language Service. This service contains captions in a secondary language which are translations of the captions in the Primary Caption Service. The other service subchannels are not
Choose how digital captions are displayed
You can define the size, style, text, background, and edge of the caption text.
1.Press MENU on the remote control and select Features > Digital caption options.
2.Press Î or ï to highlight an option for digital captions, and press OK to select the option.
3.Press Î or ï to highlight a setting for the option, and press OK to confirm your choice.
4.Press MENU to exit.
6.9Use your TV as a PC monitor
For information how to connect a PC to your TV see page 26.
BB Caution
Before you connect your PC, set the PC monitor refresh rate to 60Hz.
6.9.1.Supported screen resolutions
The following screen resolutions are supported in
PC mode: |
|
Resolution | Refresh rate |
640 x 480 | 60Hz |
800 x 600 | 60Hz |
1024 x 768 | 60Hz |
1280 x 768 | 60Hz |
1360 x 768 | 60Hz |
If necessary, you can adjust the picture position to the center of the screen with the cursor buttons.
6.10Select your TV in HDMI 2 (PC mode)
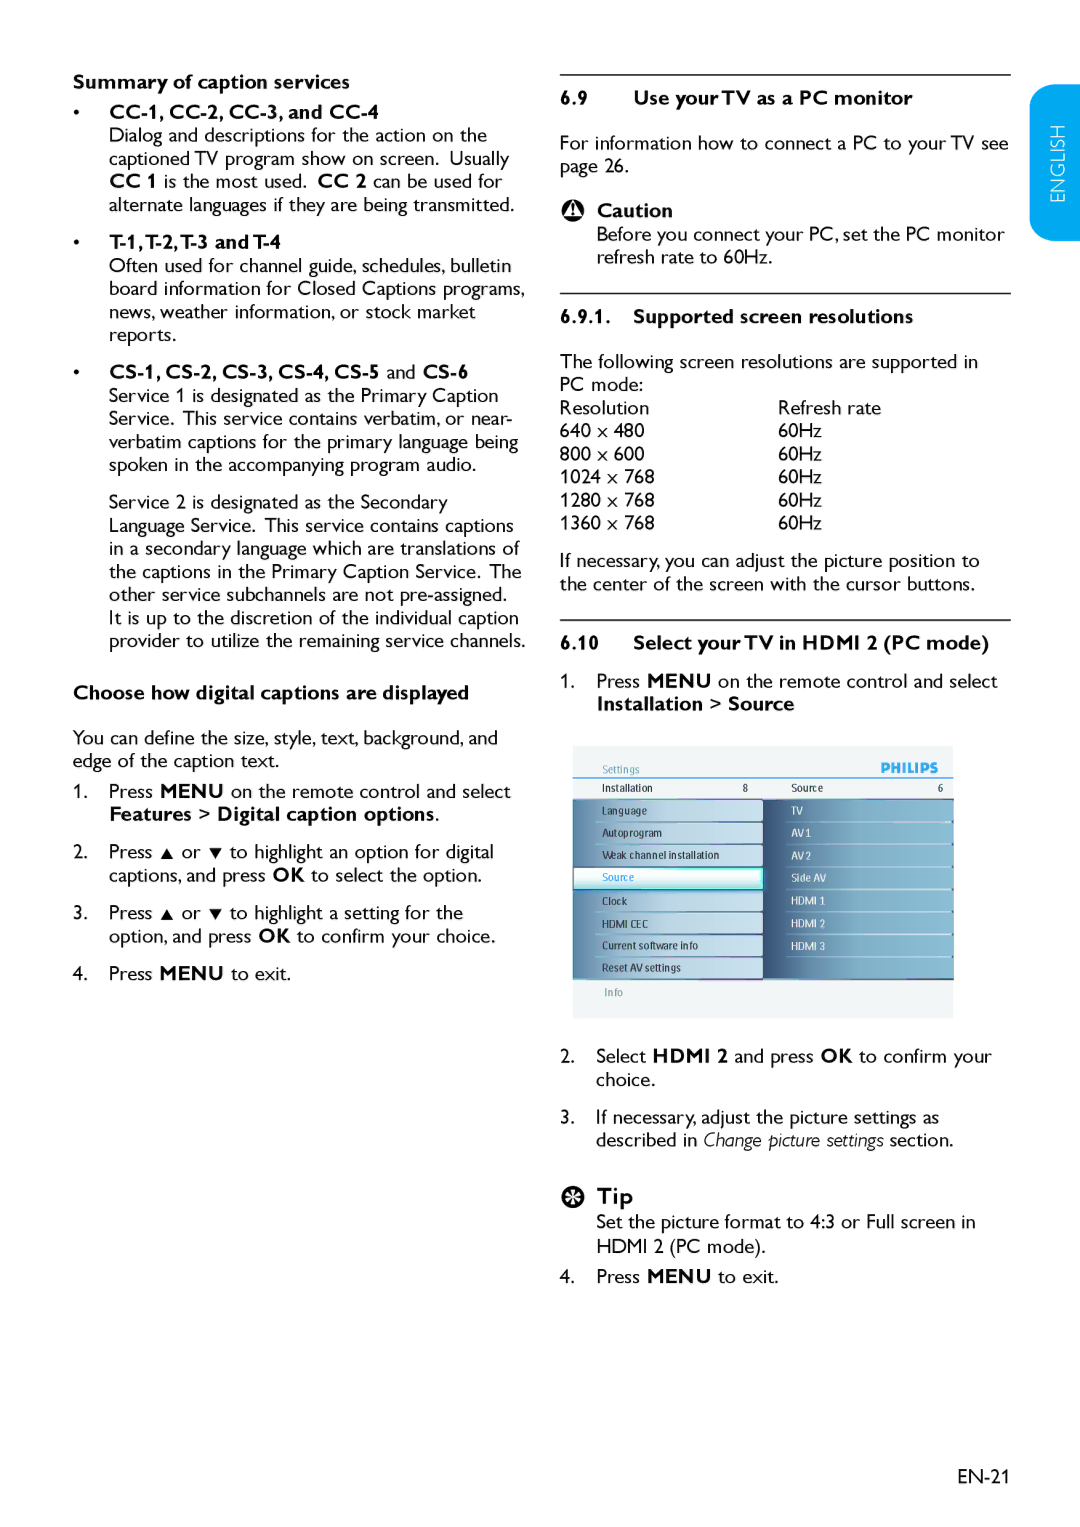
1.Press MENU on the remote control and select Installation > Source
Settings
Installation | 8 | Source | 6 |
Language |
| TV |
|
Autoprogram |
| AV 1 |
|
Weak channel installation |
| AV 2 |
|
Source |
| Side AV |
|
Clock |
| HDMI 1 |
|
HDMI CEC |
| HDMI 2 |
|
Current software info |
| HDMI 3 |
|
Reset AV settings |
|
|
|
|
|
|
|
Info |
|
|
|
|
|
|
|
2.Select HDMI 2 and press OK to confirm your choice.
3.If necessary, adjust the picture settings as described in Change picture settings section.
EE Tip
Set the picture format to 4:3 or Full screen in HDMI 2 (PC mode).
4.Press MENU to exit.
ESPAÑOL FRANÇAISE ENGLISH
