ESPAÑOL FRANÇAISE ENGLISH
Summary of caption services
•CC-1, CC-2, CC-3, and CC-4
Dialog and descriptions for the action on the captioned TV program show on screen. Usually CC 1 is the most used. CC 2 can be used for alternate languages if they are being transmitted.
•T-1,T-2,T-3 and T-4
Often used for channel guide, schedules, bulletin board information for Closed Captions programs, news, weather information, or stock market reports.
•CS-1, CS-2, CS-3, CS-4, CS-5 and CS-6
Service 1 is designated as the Primary Caption Service. This service contains verbatim, or
Service 2 is designated as the Secondary Language Service. This service contains captions in a secondary language which are translations of the captions in the Primary Caption Service. The other service subchannels are not
Choose how digital captions are displayed
You can define the size, font, color, background and other characteristics of the caption text.
1.Press MENU on the remote control and select Features > Caption settings > Digital caption options.
2.Press Î or ï to highlight an option for digital captions, and press Æ to select the option.
3.Press Î or ï to highlight a setting for the option, and press Í to confirm your choice.
4.Press MENU to exit.
5.10 View photos and play music on a USB device
Your TV is fitted with a USB connection that enables you to view photos or listen to music stored on a USB device. You can view your pictures as a slideshow or listen to a music playlist.
For information about using a USB device, see Notes for the use of USB devices on page 36.
The following formats are supported:
•For pictures: JPEG
•For audio: MP3
•
The following formats are NOT supported
•Progressive JPEG files
•Files with names exceeding 128 characters
•Files with names containing a dot character
DNote
•Philips can not be held responsible if your USB device is not supported, nor will Philips accept any liability for damage or loss of stored data.
•The USB device is not supplied with the TV.
Insert a USB device
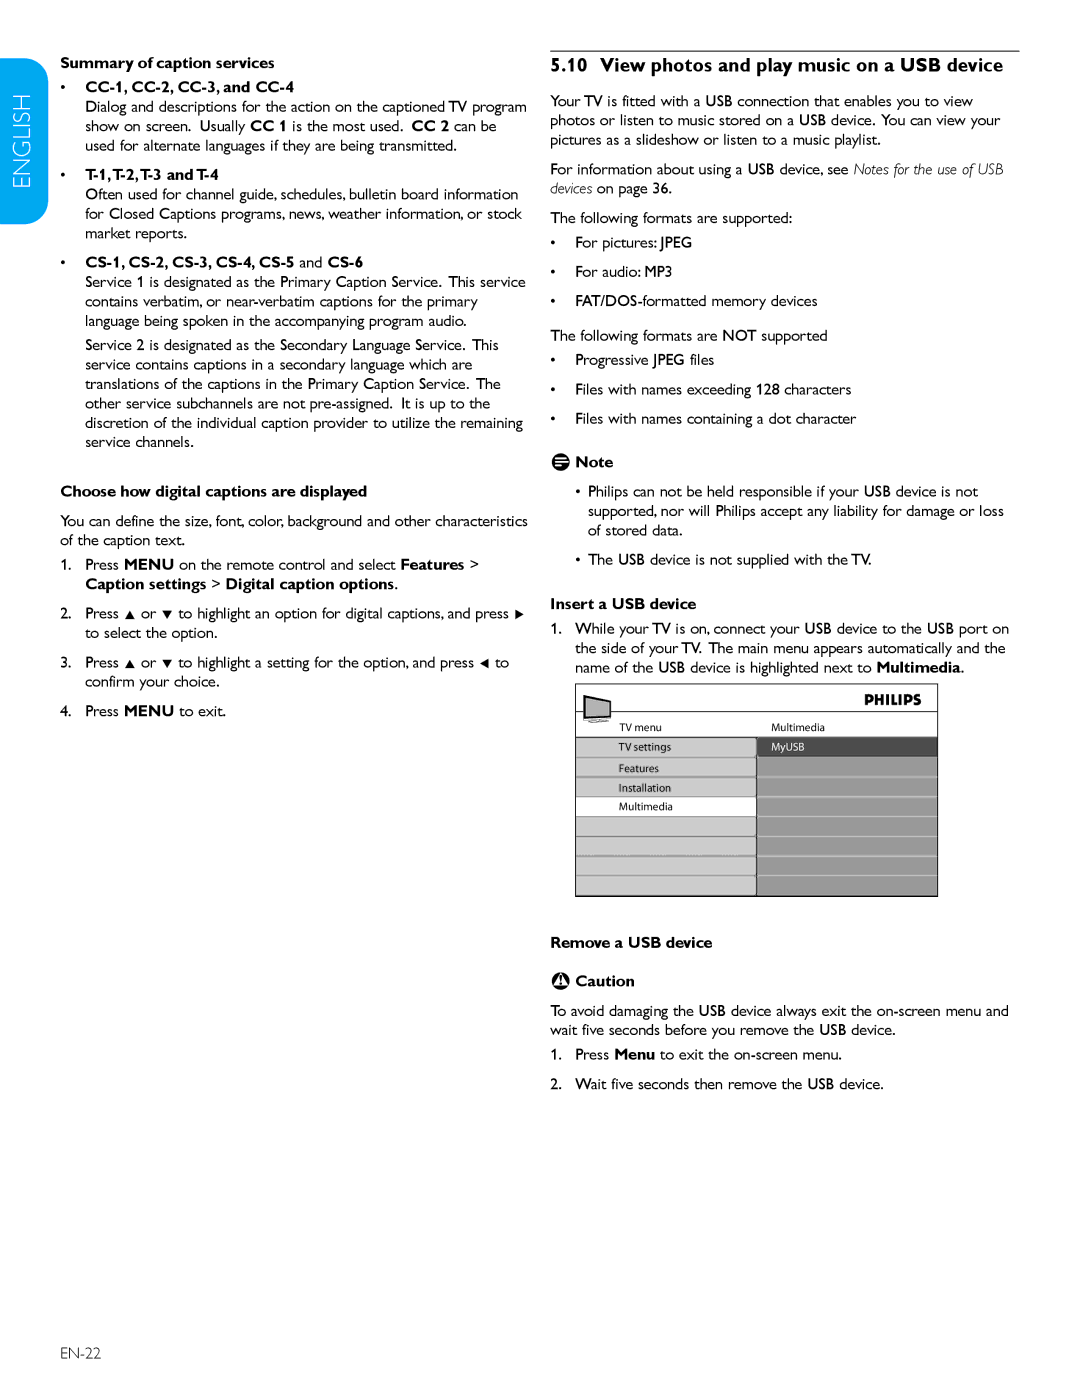
1.While your TV is on, connect your USB device to the USB port on the side of your TV. The main menu appears automatically and the name of the USB device is highlighted next to Multimedia.
TV menu | Multimedia |
TV settings | MyUSB |
Features |
|
Installation |
|
Multimedia |
|
Remove a USB device
BCaution
To avoid damaging the USB device always exit the
1.Press Menu to exit the
2.Wait five seconds then remove the USB device.
