Select [Automatic] and then press OK to confirm your choice.
Use Î or ï to highlight a channel.

Create or edit a list of favorite channels

1 Press FAV on the remote control to display your lists of favorite channels.

2 Use Î or ï to highlight a list, and then press OK to select the list. 3 Press OPTIONS to enter edit mode.

»A list of channels is shown.

4

5 Press OK to select or deselect the highlighted channel.

»The channel is added to or removed from the list of favorite channels.

6 Press MENU to exit.

Switch to one of the channels on a list

1 Press OK on the remote control to display the last list that you selected.

2

3 Press OK to select the channel.

»The TV switches to that channel.

Tip

Press CH + / to select channels in a list or press the numeric keys to select channels that are not in a list.

Setting the clock

You can set the time on your TV.

Setting the time automatically

Some digital channels transmit the time. For these channels, you can set the time automatically and choose which channel to read the time from.

1 Press MENU on the remote control and then use Î / ï / Í / Æ to select [Setup] > [Installation] > [Clock] > [Auto clock mode]

2

3 Select the channel from which the TV reads the time.

Use Î or ï and then press OK to enter the menu for [Auto clock channel]

Use Î or ï to highlight a channel.

Press OK to confirm your choice.

4 (Optional) Select the time zone.

Use Î or ï and then press OK to enter the menu for [Time zone]

Use Î or ï to highlight the time zone.

Press OK to confirm your choice.

5 (Optional) Set daylight saving.

Use Î or ï and then press OK to enter the menu for [Daylight saving]

Use Î or ï to highlight [Automatic] or [Off]

Press OK to confirm your choice.

6 Press MENU to exit.

18EN

Setting the time manually

1 Press MENU on the remote control and then use Î / ï / Í / Æ to select [Setup] > [Installation] > [Clock] > [Auto clock mode]

2 Select [Manual], and then press OK to confirm your choice.

3 Use Î or ï to select [Time] and then press OK to set the time. Use the format HH:MM. Select [AM] / [PM] for morning or afternoon.

4 Press BACK to confirm your choice.

5 Use Î or ï and then press OK to enter the menu for [Day] 6 Use Î or ï to select the day.

7 Press OK to confirm your choice.

8 Press MENU to exit.

Closed caption

Closed captioning is an assistive technology that allows persons with hearing disabilities to access television programming. Closed captioning displays the audio portion of programming as text superimposed over the video.

Note

Closed caption will not be displayed when you are using an HDMI connection.

The captions do not always use correct spelling and grammar.

Not all TV programs and product commercials include closed caption information. Refer to your area TV program listings for the TV channels and times of closed caption shows.The captioned programs are usually noted in the TV listings with service marks such as [CC]

Display captions

1 Press MENU on the remote control and then use Î / ï / Í / Æ to select [Setup] > [Features] > [Caption settings] > [Closed captions]

2 Press Î or ï to select [On] [Off] or [On during mute], and press OK to confirm your choice.

3 Press MENU to exit.

DTV

Selecting DTV caption services

1 Select a caption service for digital channels :

Press MENU on the remote control and then use Î / ï / Í / Æ to select [Setup] > [Features] > [Caption settings] > [Digital caption service]

Use Î or ï to select one of the listed caption services, and then press OK to confirm your choice.

Select one of these before changing any other item

CS-1 to CS-6 in [Caption settings] menu. Choose [CS-1 ] under normal circumstances.

2 Press MENU to exit.

Selecting how captions are displayed

You can choose the size, font, color, background and other characteristics of the caption text.

1 Press MENU on the remote control and then use Î / ï / Í / Æ to select [Setup] > [Features] > [Caption settings] > [Digital caption options]

2 Use Î or ï to highlight an option for digital captions, and press OK to select the option.

3 Use Î or ï to highlight a setting for the option, and press OK to confirm your choice.

4 Press MENU to exit.

Page 19
Image 19
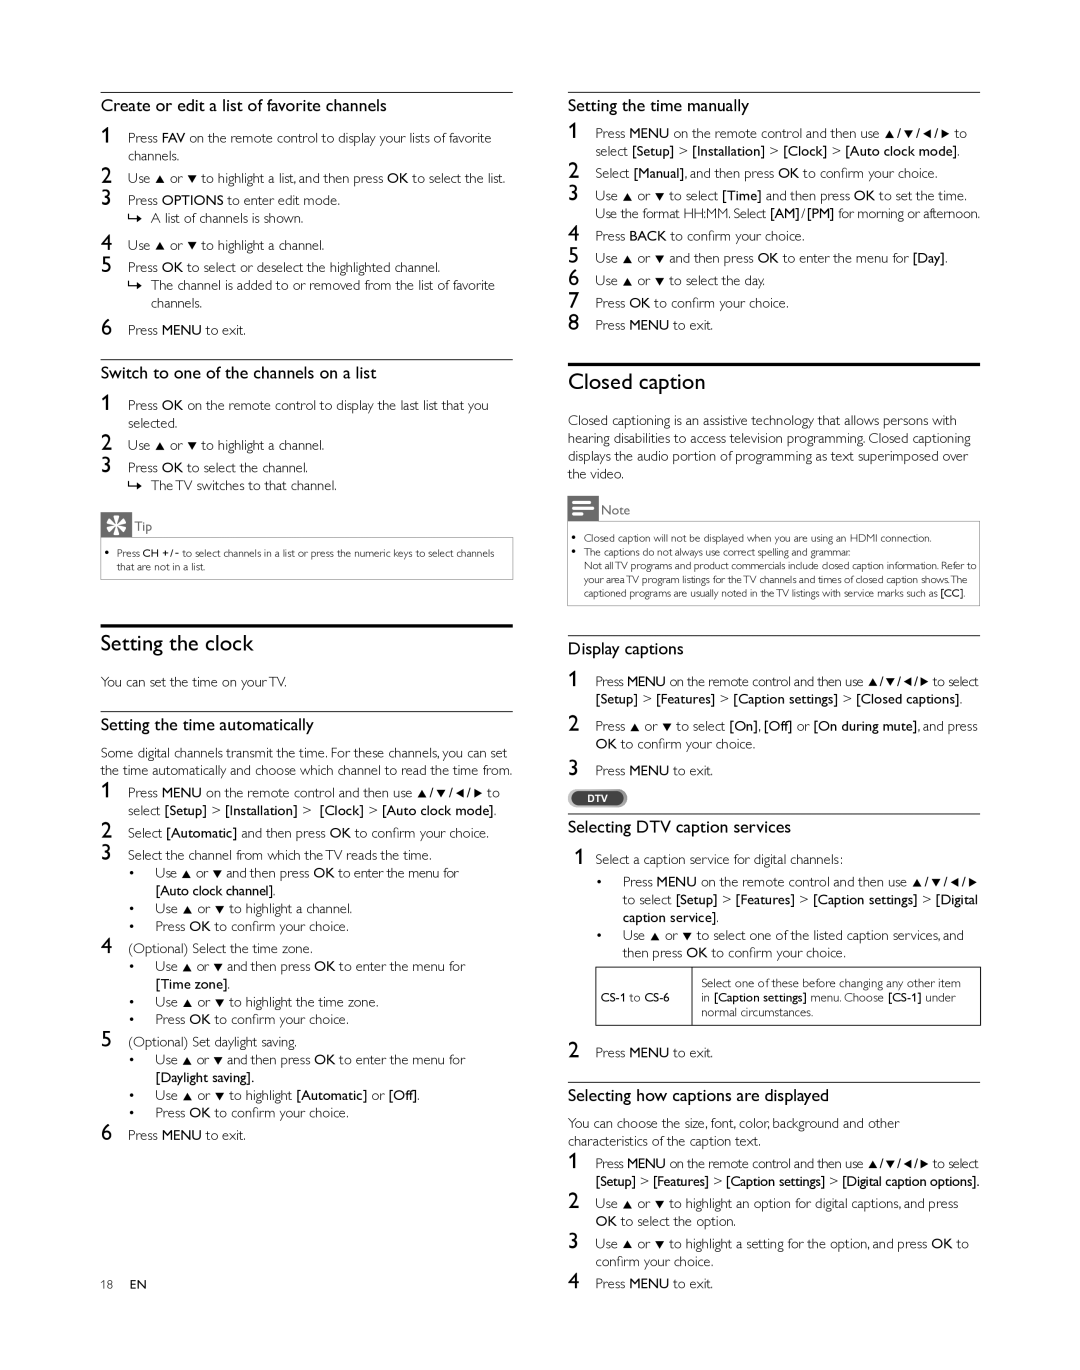
Philips 46PFL5505D, 40PFL5505D, 55PFL5505D user manual Setting the clock, Closed caption

46PFL5505D, 40PFL5505D, 55PFL5505D specifications

The Philips 55PFL5505D, 40PFL5505D, and 46PFL5505D are part of the renowned PFL5505D series, known for delivering an immersive viewing experience with their advanced technologies and features. This series is particularly popular among home theater enthusiasts looking for high-quality visual performance combined with smart functionalities.

One of the standout features of these models is the Full HD resolution of 1920 x 1080 pixels, which ensures crisp, clear images with rich colors and exceptional detail. This resolution allows for a more engaging viewing experience whether consumers are watching movies, sports, or playing video games.

In terms of design, the PFL5505D series features a sleek and modern aesthetic that complements any home decor. The slim bezels maximize screen space, creating a more immersive viewing experience that draws users into their favorite content. The lightweight design makes it easy to mount on walls or place on media consoles, providing versatility in placement.

Philips has incorporated its proprietary Pixel Plus technology in these models, enhancing image quality by improving the sharpness and contrast across various content types. This technology ensures that users enjoy a better viewing experience, even with lower-resolution sources.

The inclusion of Ambilight technology further elevates the experience. This innovative feature projects light around the edges of the TV, creating an atmospheric effect that extends the action beyond the screen. This not only enhances immersion but also reduces eye strain during extended viewing sessions.

Connectivity is robust across the series, with multiple HDMI and USB ports allowing for easy integration with other devices, including gaming consoles, Blu-ray players, and streaming devices. Additionally, the series supports various audio formats, ensuring a rich sound experience that complements the stunning visuals.

The Philips 55PFL5505D, 40PFL5505D, and 46PFL5505D also come equipped with essential smart features that enable users to access a variety of apps and online content. With built-in Wi-Fi and smart streaming capabilities, these TVs allow easy access to popular platforms, such as Netflix and YouTube, directly from the screen.

In summary, the Philips 55PFL5505D, 40PFL5505D, and 46PFL5505D series offer an exceptional blend of advanced display technology, sleek design, and smart connectivity features. Their combination of Full HD resolution, Pixel Plus technology, Ambilight capabilities, and extensive connectivity options makes them an attractive choice for anyone looking to enhance their viewing experience at home.