
62PL9524, 55PL9524 specifications
Philips has established itself as a formidable contender in the world of smart television, delivering a range of products that blend cutting-edge technology with outstanding visuals. Models like the Philips 55PL9524, 62PL9524, and 55PL9224 exemplify the brand's commitment to high-quality home entertainment.The Philips 55PL9524 is a 55-inch television that brings together the latest advancements in display technology alongside sleek design. Equipped with a 4K UHD resolution, this model provides stunning clarity and vibrant colors that make every image feel lifelike. One of its standout features is the HDR Perfect technology, which enhances contrast and minimizes distortion in a diverse range of lighting conditions. This results in deep blacks and brilliant highlights, perfect for both dark and bright scenes.
Another feature that sets the 55PL9524 apart is Ambilight technology. This unique lighting system projects colors onto the wall behind the TV, enhancing the viewing experience by expanding the perceived screen size and providing an immersive environment. The 55PL9524 also supports multiple HDR formats, including HDR10+, ensuring compatibility with a wide array of content.
Moving to the 62PL9524, this larger model retains many of the key features of its smaller counterpart. It boasts a 62-inch screen, making it ideal for larger living rooms or home theaters. This model also uses the same high-end 4K UHD resolution and HDR Perfect technology, providing exquisite detail and color accuracy. The Ambilight feature is also present, heightening the immersive experience while watching movies or playing video games.
The 55PL9224 model is another excellent option within the Philips lineup, featuring a 55-inch display and the same impressive 4K UHD resolution. The key difference lies in its focus on smart capabilities. The 55PL9224 is equipped with the latest version of the Philips Smart TV platform, allowing users access to a plethora of streaming services, apps, and personalized content recommendations. It also supports voice control through integrations with popular virtual assistants.
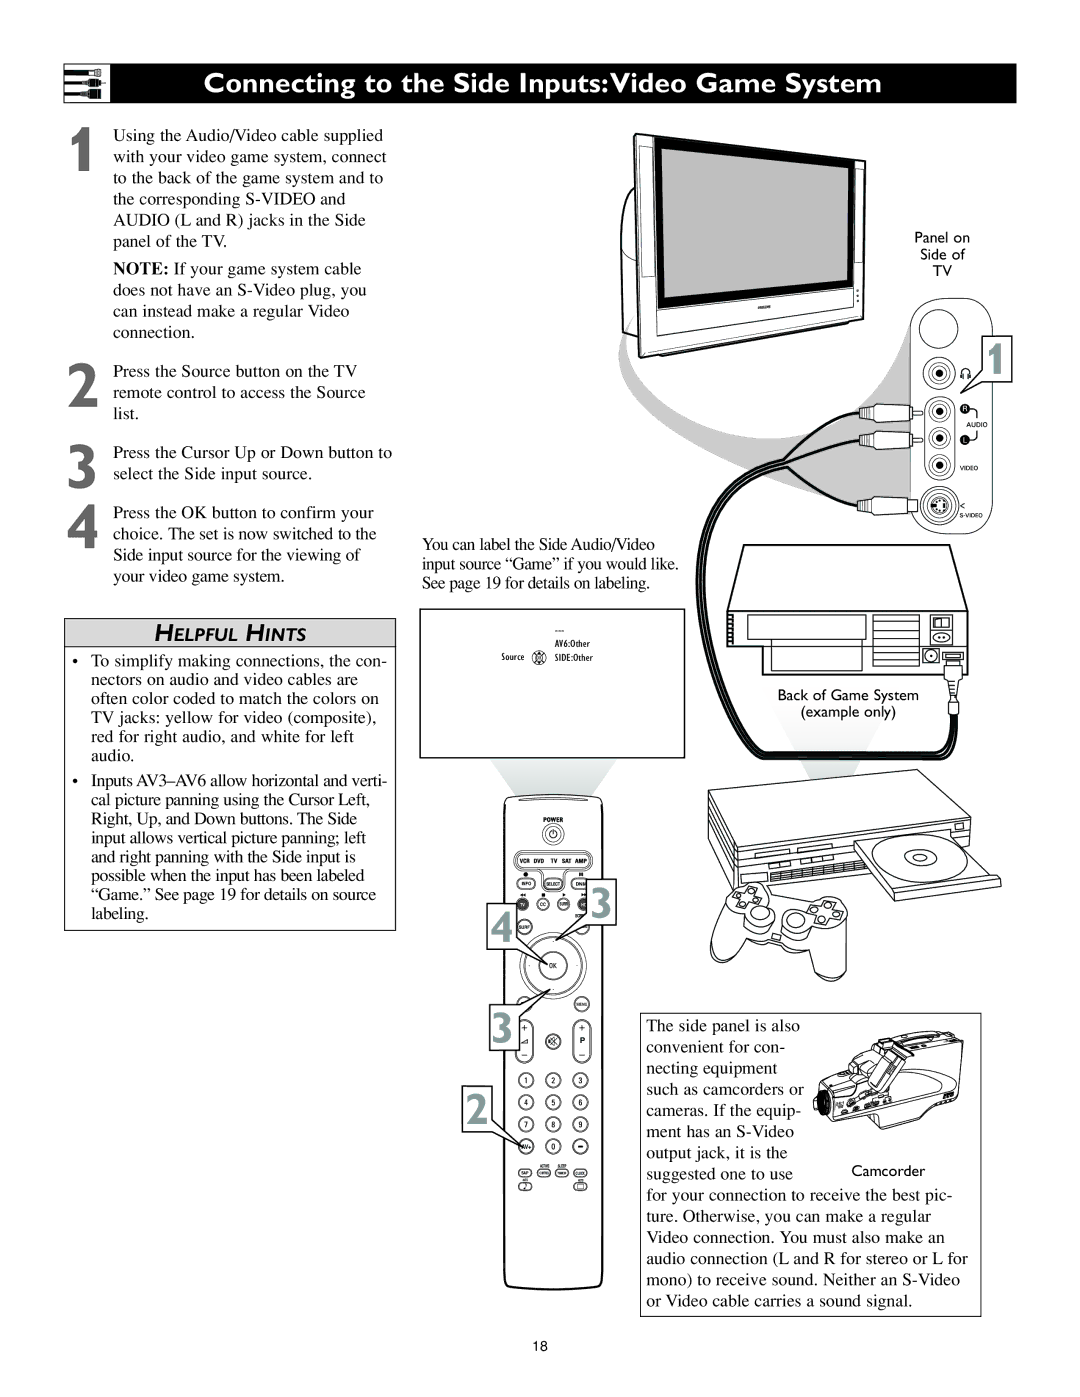
In terms of connectivity, all three models feature multiple HDMI and USB ports, allowing users to connect various devices such as gaming consoles, Blu-ray players, or sound systems easily. The sleek design of these televisions, coupled with their advanced technological offerings, ensures that they fit seamlessly into any modern living space.
In summary, Philips has pushed the boundaries of television technology with the 55PL9524, 62PL9524, and 55PL9224. Each model provides a unique set of features and visual experiences, making them excellent choices for anyone seeking to elevate their home entertainment setup. With superior display technology, immersive viewing experiences, and smart capabilities, Philips televisions are designed to meet the demands of modern consumers.