AJ 3380 specifications
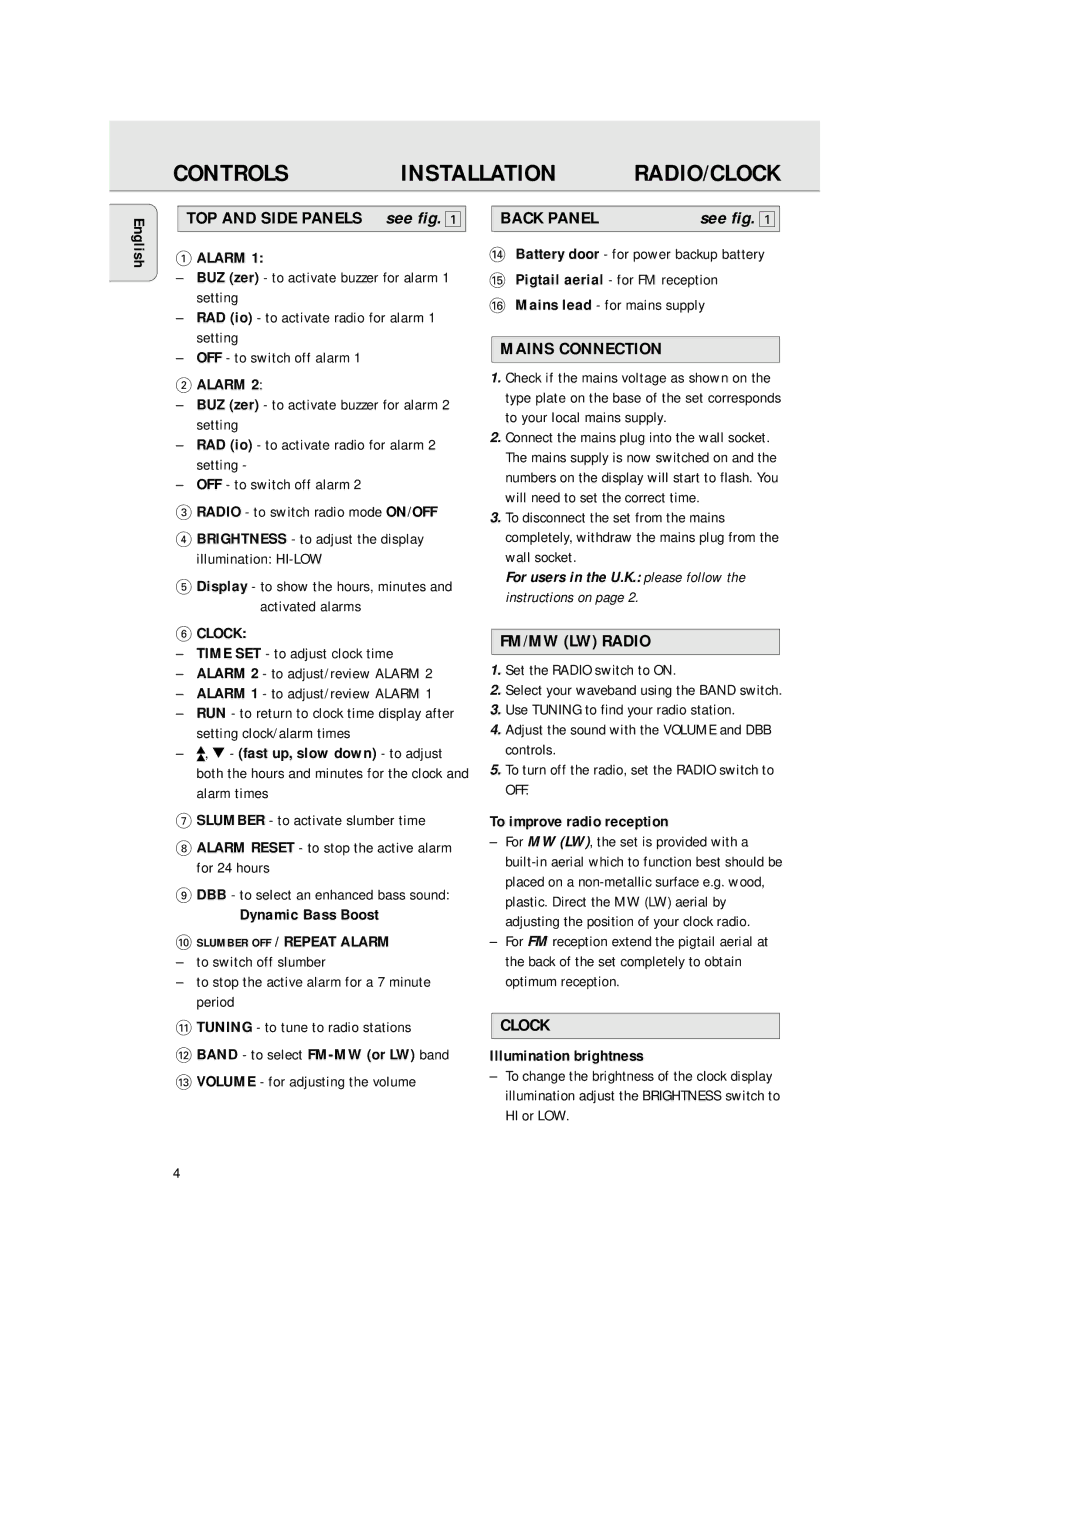
The Philips AJ 3380 is a versatile and innovative clock radio that brings together modern technology and user-friendly features, making it a valuable addition to any bedroom or living space. With a sleek and compact design, the AJ 3380 seamlessly fits in with various décor styles while offering excellent functionality.One of the standout features of the Philips AJ 3380 is its dual alarm system, allowing users to set two separate alarms. This is particularly useful for those who share a room or have different schedules. The alarms can be programmed to wake users with their favorite FM radio station or a traditional beep sound, catering to personal preferences for waking up. The intuitive interface makes it easy to set and adjust the alarms, ensuring a hassle-free experience.
Another key characteristic of the AJ 3380 is its excellent sound quality. Equipped with powerful speakers, this clock radio delivers crisp and clear audio, enhancing the listening experience whether users are tuned into their favorite radio station or using it as a speaker for connected devices. The built-in FM radio offers easy access to a variety of stations, allowing users to enjoy music, news, and talk shows.
The Philips AJ 3380 also comes with a USB charging port, providing a practical solution for charging smartphones and other devices overnight. This feature eliminates the need for additional chargers, reducing clutter on bedside tables. Additionally, it provides a convenient way to ensure devices are ready for use in the morning.
Another notable technology embedded in the AJ 3380 is the gentle wake feature. This innovative function allows the alarm to gradually increase in volume, offering a more pleasant awakening experience compared to a sudden, loud alarm. This gentle approach can help reduce morning grogginess, making for a smoother start to the day.
Furthermore, the LED display is easy to read, showcasing the time clearly even from a distance. The brightness of the display can often be adjusted, catering to individual comfort levels, particularly for those who prefer a dimmer light during the night.
In summary, the Philips AJ 3380 combines functionality, sound quality, and user-friendly features, making it a modern solution for those looking to enhance their waking experience. With its stylish design, dual alarm system, USB charging port, and gentle wake technology, the AJ 3380 stands out as a reliable and efficient clock radio that meets the needs of a diverse range of users. This makes it an excellent investment for anyone seeking an all-in-one solution for their morning routine.

