POWER SUPPLY
Whenever convenient, use the mains supply if you want to conserve battery life. Make sure you remove the plug from the set and wall socket before inserting batteries.
English
BATTERIES (OPTIONAL)
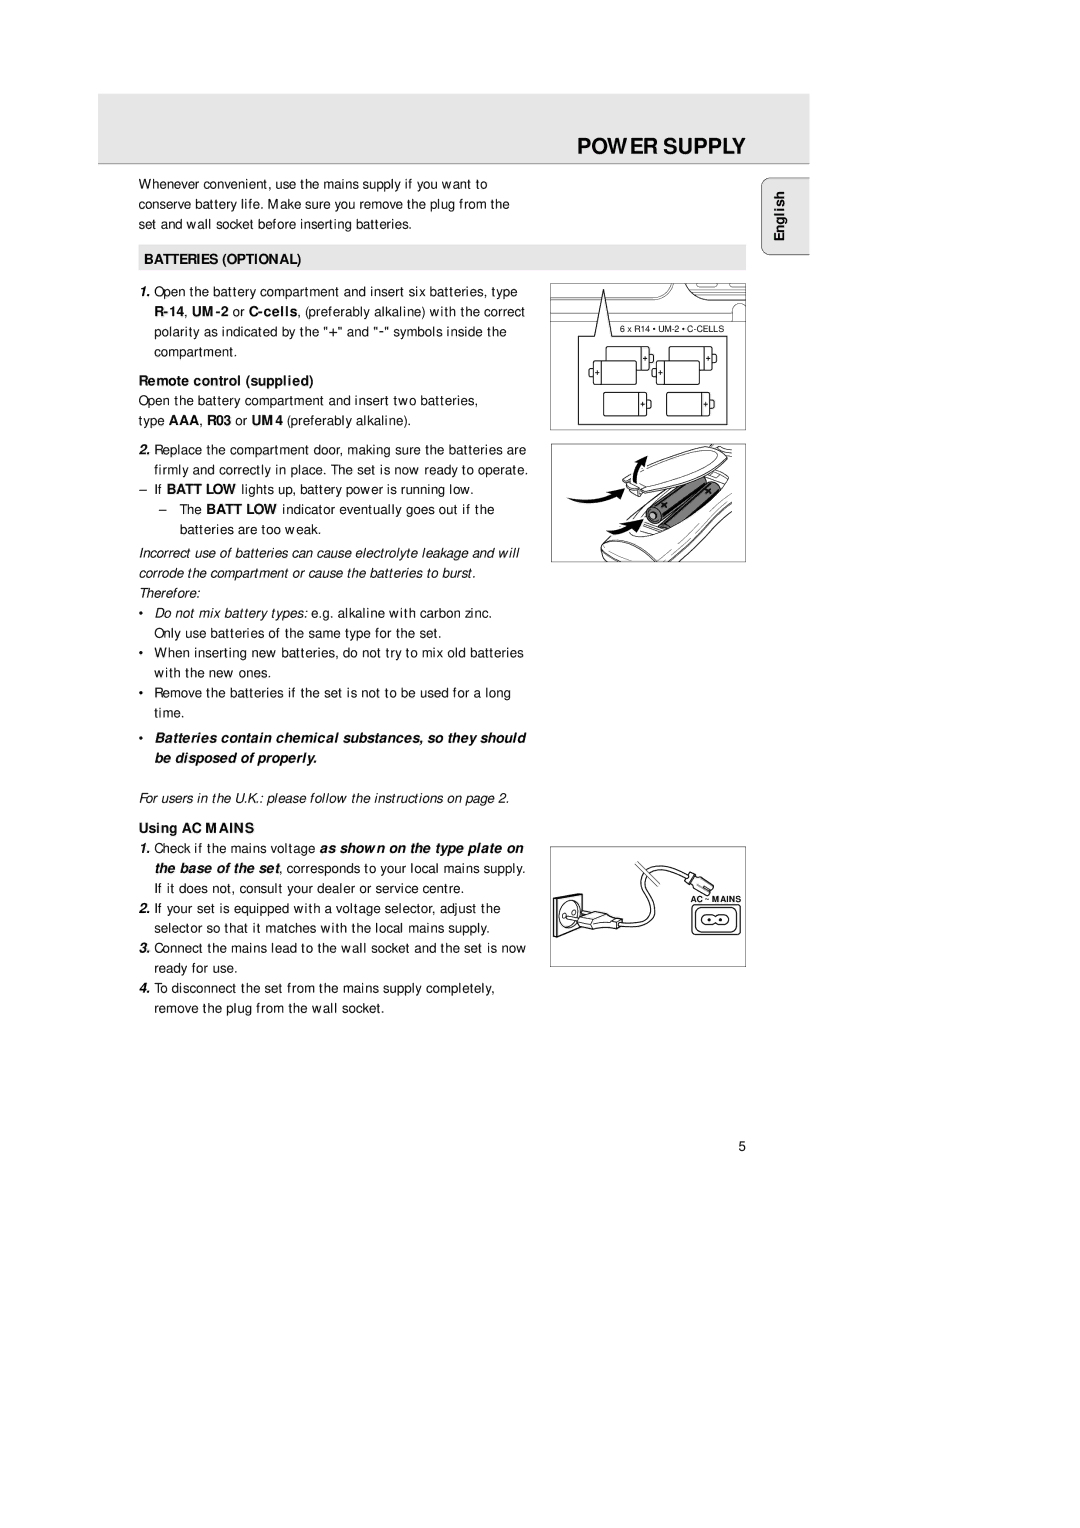
1.Open the battery compartment and insert six batteries, type
Remote control (supplied)
Open the battery compartment and insert two batteries, type AAA, R03 or UM4 (preferably alkaline).
2.Replace the compartment door, making sure the batteries are firmly and correctly in place. The set is now ready to operate.
–If BATT LOW lights up, battery power is running low.
–The BATT LOW indicator eventually goes out if the batteries are too weak.
Incorrect use of batteries can cause electrolyte leakage and will corrode the compartment or cause the batteries to burst. Therefore:
•Do not mix battery types: e.g. alkaline with carbon zinc. Only use batteries of the same type for the set.
•When inserting new batteries, do not try to mix old batteries with the new ones.
•Remove the batteries if the set is not to be used for a long time.
•Batteries contain chemical substances, so they should be disposed of properly.
For users in the U.K.: please follow the instructions on page 2.
Using AC MAINS
1.Check if the mains voltage as shown on the type plate on the base of the set, corresponds to your local mains supply. If it does not, consult your dealer or service centre.
2.If your set is equipped with a voltage selector, adjust the selector so that it matches with the local mains supply.
3.Connect the mains lead to the wall socket and the set is now ready for use.
4.To disconnect the set from the mains supply completely, remove the plug from the wall socket.
6 x R14 • |
AC ~ MAINS
5
