RECORDING

Manual recording

OPEN // CLOSE

PLAY // PAUSE

STOP

REC

RECORD


TYPE

FINALIZE

ERASE

SOURCE


EASY JOG

STORE/

CANCE


MENU

DELET


DISPLAY


AUDIO CD

RECORDABLE/REWRITABLE


Recordable


ENTER


PHONES


INFRA RED


ON / OFF


Important:

-Recording from CD-changers should always be started in the RECORD DISC, RECORD TRACK or MAKE CD mode.

-Only make analog recordings when digital recording is not possible.

Preparing for manual recording

1 Make sure the disc is absolutely free of scratches and dust particles.

2 Press SOURCE repeatedly until (depending on the connection used):

DIGITAL I, OPTICAL I or ANALOG lights up and DIGITAL 1, OPTICAL or ANALOG appears on the display.


REM

TIME TRACK


TOTAL REM TRACK TIME


STEP


SYNC MANUAL


RECORD


PROG

DIGITAL I


CD


SHUFFLE ALL

OPTICAL I


RW


REPEAT

ANALOG


SCAN TRACK


When Auto Track is ON (default setting), track numbers will automatically be increased during recording.

To switch off the Auto Track function you have to enter Menu mode.

If you wish to increase track numbers manually, press TRACK INCR(ement) on the remote control. For further instructions see Menu mode.

ON (AUTO): The track increments are automatically taken over from the digital source material or after 2.7 seconds silence during analog recording.

OFF (MANUAL): While recording track numbers can be incremented manually by pressing TRACK INCR(ement) on the remote control. (Minimum track length is 4 sec.) (This can also be done in Auto track ON mode.)

• Track numbers cannot be changed after recording.

Note: Auto track works only with Consumer Sources with a digital output signal according to the IEC 958 (consumer part) audio standard.

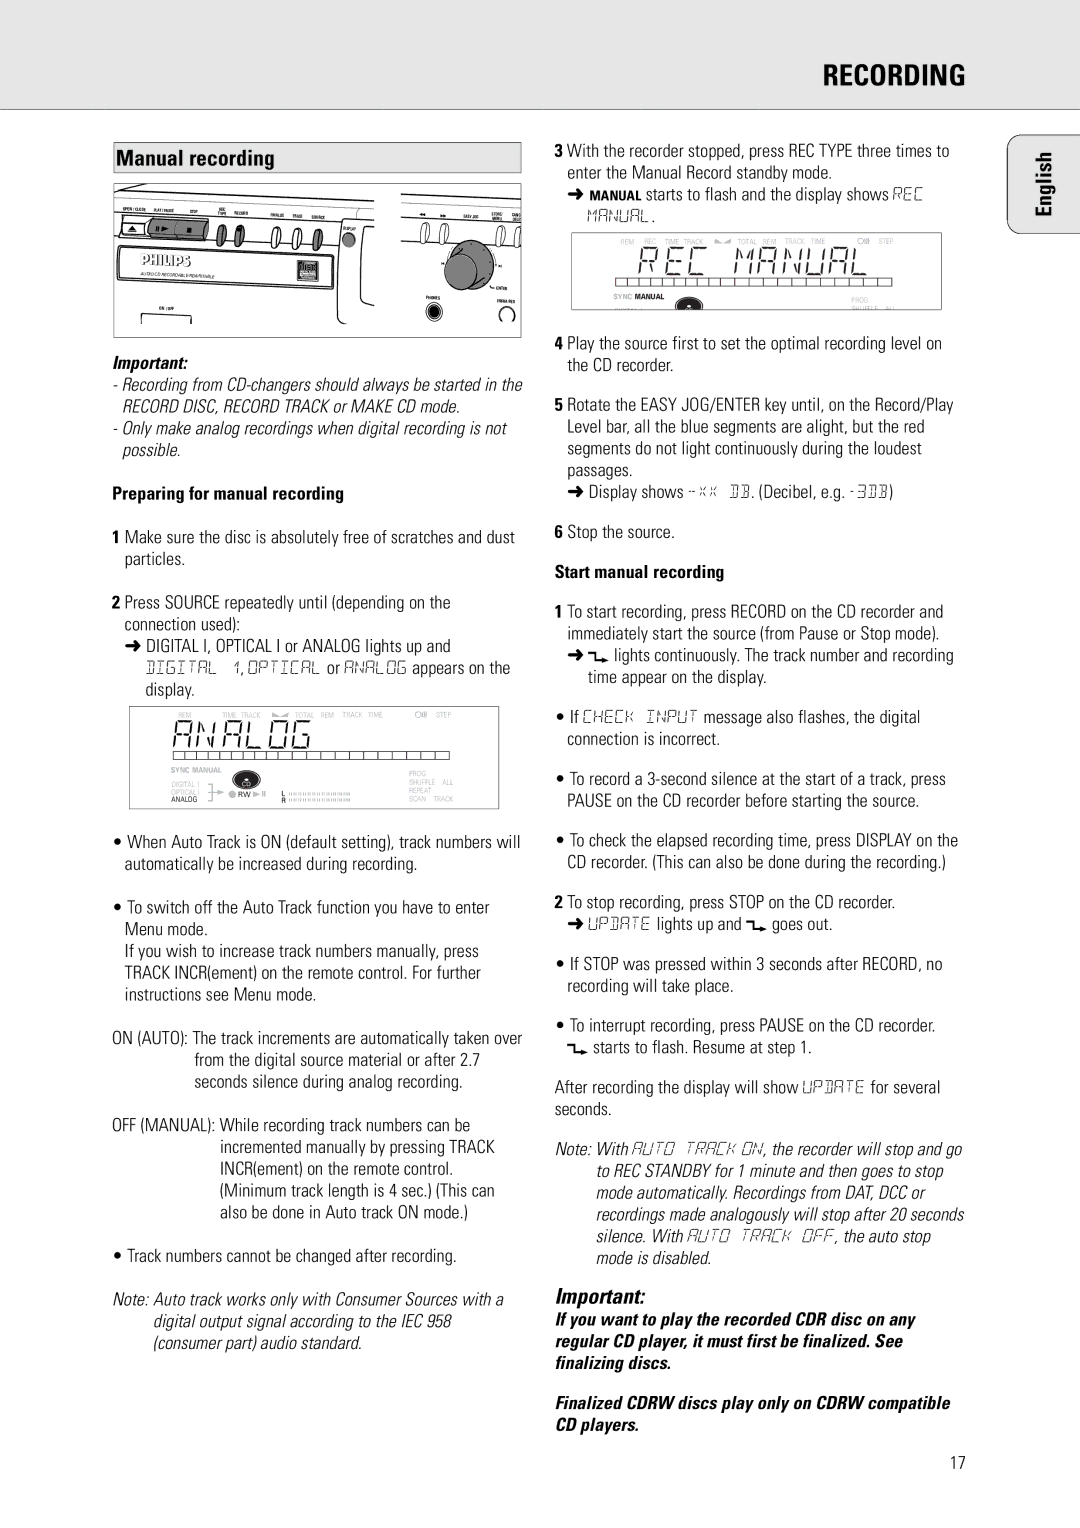
3 With the recorder stopped, press REC TYPE three times to enter the Manual Record standby mode.

MANUAL starts to flash and the display shows REC MANUAL.

REM REC

TIME TRACK

TOTAL REM TRACK TIME

STEP

SYNC MANUAL


RECORD

PROG

DIGITAL I

CD


SHUFFLE ALL

4 Play the source first to set the optimal recording level on the CD recorder.

5 Rotate the EASY JOG/ENTER key until, on the Record/Play Level bar, all the blue segments are alight, but the red segments do not light continuously during the loudest passages.

Display shows _XX DB. (Decibel, e.g. -3DB)

6 Stop the source.

Start manual recording

1 To start recording, press RECORD on the CD recorder and immediately start the source (from Pause or Stop mode).

d lights continuously. The track number and recording time appear on the display.

If CHECK INPUT message also flashes, the digital connection is incorrect.

To record a 3-second silence at the start of a track, press PAUSE on the CD recorder before starting the source.

To check the elapsed recording time, press DISPLAY on the CD recorder. (This can also be done during the recording.)

2 To stop recording, press STOP on the CD recorder.

UPDATE lights up and d goes out.

If STOP was pressed within 3 seconds after RECORD, no recording will take place.

To interrupt recording, press PAUSE on the CD recorder. d starts to flash. Resume at step 1.

After recording the display will show UPDATE for several seconds.

Note: With AUTO TRACK ON, the recorder will stop and go to REC STANDBY for 1 minute and then goes to stop mode automatically. Recordings from DAT, DCC or recordings made analogously will stop after 20 seconds silence. With AUTO TRACK OFF, the auto stop mode is disabled.

Important:

If you want to play the recorded CDR disc on any regular CD player, it must first be finalized. See finalizing discs.

Finalized CDRW discs play only on CDRW compatible CD players.

English

17

Page 17
Image 17
Philips CDR770, CDR771 Manual recording, Preparing for manual recording, Track numbers cannot be changed after recording

CDR771, CDR770 specifications

The Philips CDR770 and CDR771 are notable models in the realm of audio recording technology, specifically designed for creating compact discs. Introduced in the late 1990s, these machines exemplify the evolution of digital recording and playback, catering to both audiophiles and casual users looking to preserve their music collections.

Both models utilize a robust, user-friendly interface that allows for straightforward operation. The CDR770 and CDR771 are equipped with built-in recording capabilities, enabling users to transfer vinyl, cassette tapes, or other audio sources directly onto CD. This versatility ensures that cherished music formats can be digitized with relative ease, breathing new life into older recordings.

One of the standout features of the Philips CDR770 and CDR771 is their advanced digital signal processing. This technology enhances the quality of recorded audio, allowing for cleaner sound with reduced noise and distortion. Users can enjoy an enriched listening experience, whether they are duplicating their favorite albums or creating custom compilations.

Furthermore, these models support various CD formats, including standard CD-R and CD-RW. Users have the flexibility to choose between one-time recording (CD-R) or re-recordable options (CD-RW), making the machines suitable for different needs. The inclusion of digital recording functions ensures that tracks can be edited, reordered, or finalized before burning, providing control over the final output.

Additionally, the Philips CDR770 and CDR771 incorporate features such as pitch control, which allows users to adjust playback speed without affecting the sound quality. This is particularly advantageous for musicians and audio enthusiasts who wish to experiment with tempo and sound.

Another characteristic that enhances usability is the inclusion of an LCD display which provides essential information about track information, remaining recording time, and playback status. The design is intuitive, making it easy for users to navigate through their musical projects without any steep learning curve.

In conclusion, both the Philips CDR770 and CDR771 are exemplary devices that combine functionality with advanced technology. Their ability to record, edit, and play back audio on CD format makes them invaluable tools for anyone looking to preserve music digitally or simply enjoy high-quality audio experiences. With solid build quality, intuitive interfaces, and impressive sound capabilities, these models continue to hold appeal for a niche market of passionate music lovers and recording enthusiasts alike.