English
RECORDING
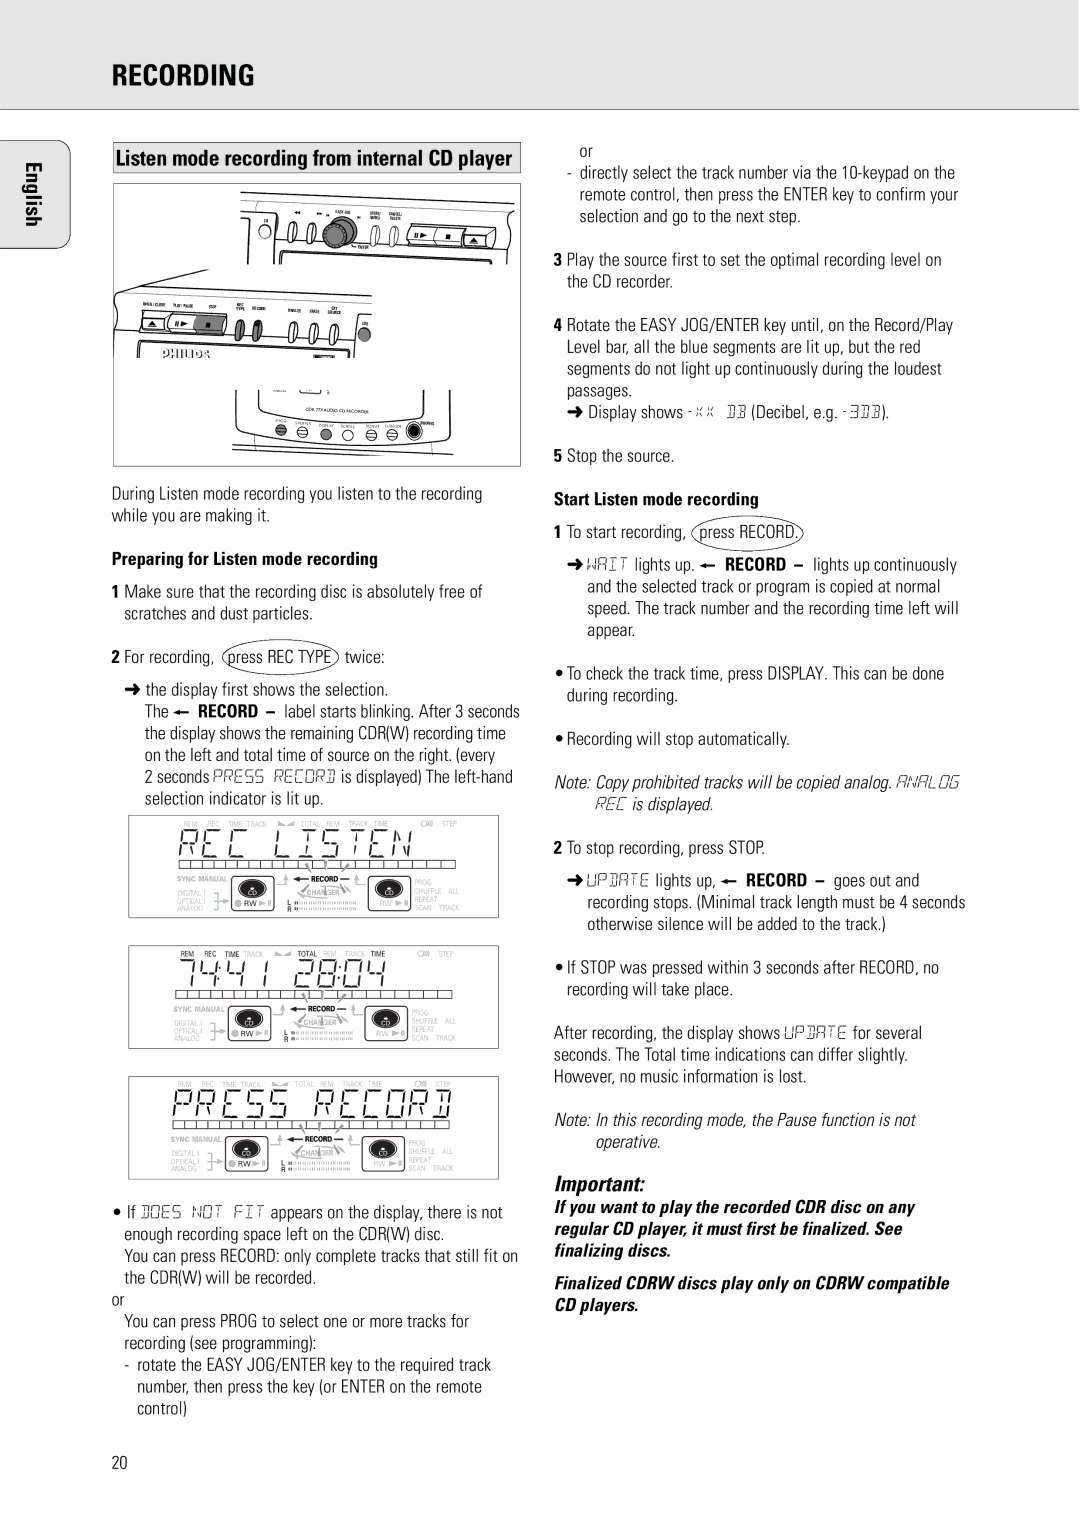
Listen mode recording from internal CD player
|
|
|
|
|
|
|
|
| EASY JOG | STORE/ | CANCEL/ |
|
|
|
|
| CD |
|
|
|
|
| MENU | DELETE |
|
|
|
|
|
|
|
|
|
|
|
|
| |
|
|
|
|
|
|
|
|
|
| ENTER |
|
|
OPEN // CLOSE | PLAY // PAUSE | STOP | REC | RECORD | FINALIZE |
|
| EXT |
|
|
| |
|
|
| TYPE | ERASE |
|
|
|
| ||||
|
|
|
|
|
|
| SOURCE |
|
|
| ||
|
|
|
|
|
|
|
|
|
| CDR |
|
|
|
|
|
| ANALOG |
| RW |
|
|
|
|
|
|
|
|
|
|
|
| CDR 77X | AUDIO CD RECORDER |
|
| |||
|
|
|
| PROG | SHUFFLE | DISPLAY |
|
|
| PHONES | ||
|
|
|
|
| SCROLL | REPEAT | DJ MODE | |||||
|
|
|
|
|
|
|
| |||||
During Listen mode recording you listen to the recording while you are making it.
Preparing for Listen mode recording
1 Make sure that the recording disc is absolutely free of scratches and dust particles.
2 For recording, press REC TYPE twice:
➜the display first shows the selection.
The f RECORD g label starts blinking. After 3 seconds the display shows the remaining CDR(W) recording time on the left and total time of source on the right. (every
2 seconds PRESS RECORD is displayed) The
REM | REC | TIME TRACK | TOTAL REM | TRACK | TIME |
| STEP |
SYNC MANUAL | RECORD |
|
| PROG |
| ||
|
|
|
|
|
|
| |
DIGITAL I | CD | CHANGER |
| CD | SHUFFLE ALL | ||
OPTICAL I | RW |
|
| RW | REPEAT | TRACK | |
ANALOG |
|
|
| SCAN | |||
|
|
|
|
| |||
REM | REC | TIME TRACK | TOTAL REM | TRACK | TIME |
| STEP |
SYNC MANUAL |
| RECORD |
|
| PROG |
| |
|
|
|
|
|
| ALL | |
DIGITAL I |
| CD | CHANGER |
| CD | SHUFFLE | |
OPTICAL I |
| RW |
|
| RW | REPEAT |
|
ANALOG |
|
|
| SCAN TRACK | |||
|
|
|
|
| |||
REM | REC | TIME TRACK | TOTAL REM | TRACK | TIME |
|
| STEP |
SYNC MANUAL |
| RECORD |
|
| PROG |
|
| |
|
|
|
|
|
|
| ALL | |
DIGITAL I |
| CD | CHANGER |
| CD | SHUFFLE | ||
OPTICAL I |
| RW |
|
| RW | REPEAT | TRACK | |
ANALOG |
|
|
| SCAN | ||||
|
|
|
|
| ||||
•If DOES NOT FIT appears on the display, there is not enough recording space left on the CDR(W) disc.
You can press RECORD: only complete tracks that still fit on
the CDR(W) will be recorded. or
You can press PROG to select one or more tracks for recording (see programming):
-rotate the EASY JOG/ENTER key to the required track number, then press the key (or ENTER on the remote control)
or
-directly select the track number via the
3 Play the source first to set the optimal recording level on the CD recorder.
4 Rotate the EASY JOG/ENTER key until, on the Record/Play Level bar, all the blue segments are lit up, but the red segments do not light up continuously during the loudest passages.
➜Display shows
5 Stop the source.
Start Listen mode recording
1 To start recording, press RECORD.
➜WAIT lights up. f RECORD g lights up continuously and the selected track or program is copied at normal speed. The track number and the recording time left will appear.
•To check the track time, press DISPLAY. This can be done during recording.
•Recording will stop automatically.
Note: Copy prohibited tracks will be copied analog. ANALOG REC is displayed.
2 To stop recording, press STOP.
➜UPDATE lights up, f RECORD g goes out and recording stops. (Minimal track length must be 4 seconds otherwise silence will be added to the track.)
•If STOP was pressed within 3 seconds after RECORD, no recording will take place.
After recording, the display shows UPDATE for several seconds. The Total time indications can differ slightly. However, no music information is lost.
Note: In this recording mode, the Pause function is not operative.
Important:
If you want to play the recorded CDR disc on any regular CD player, it must first be finalized. See finalizing discs.
Finalized CDRW discs play only on CDRW compatible CD players.
20