English
INSTALLATION
Power supply |
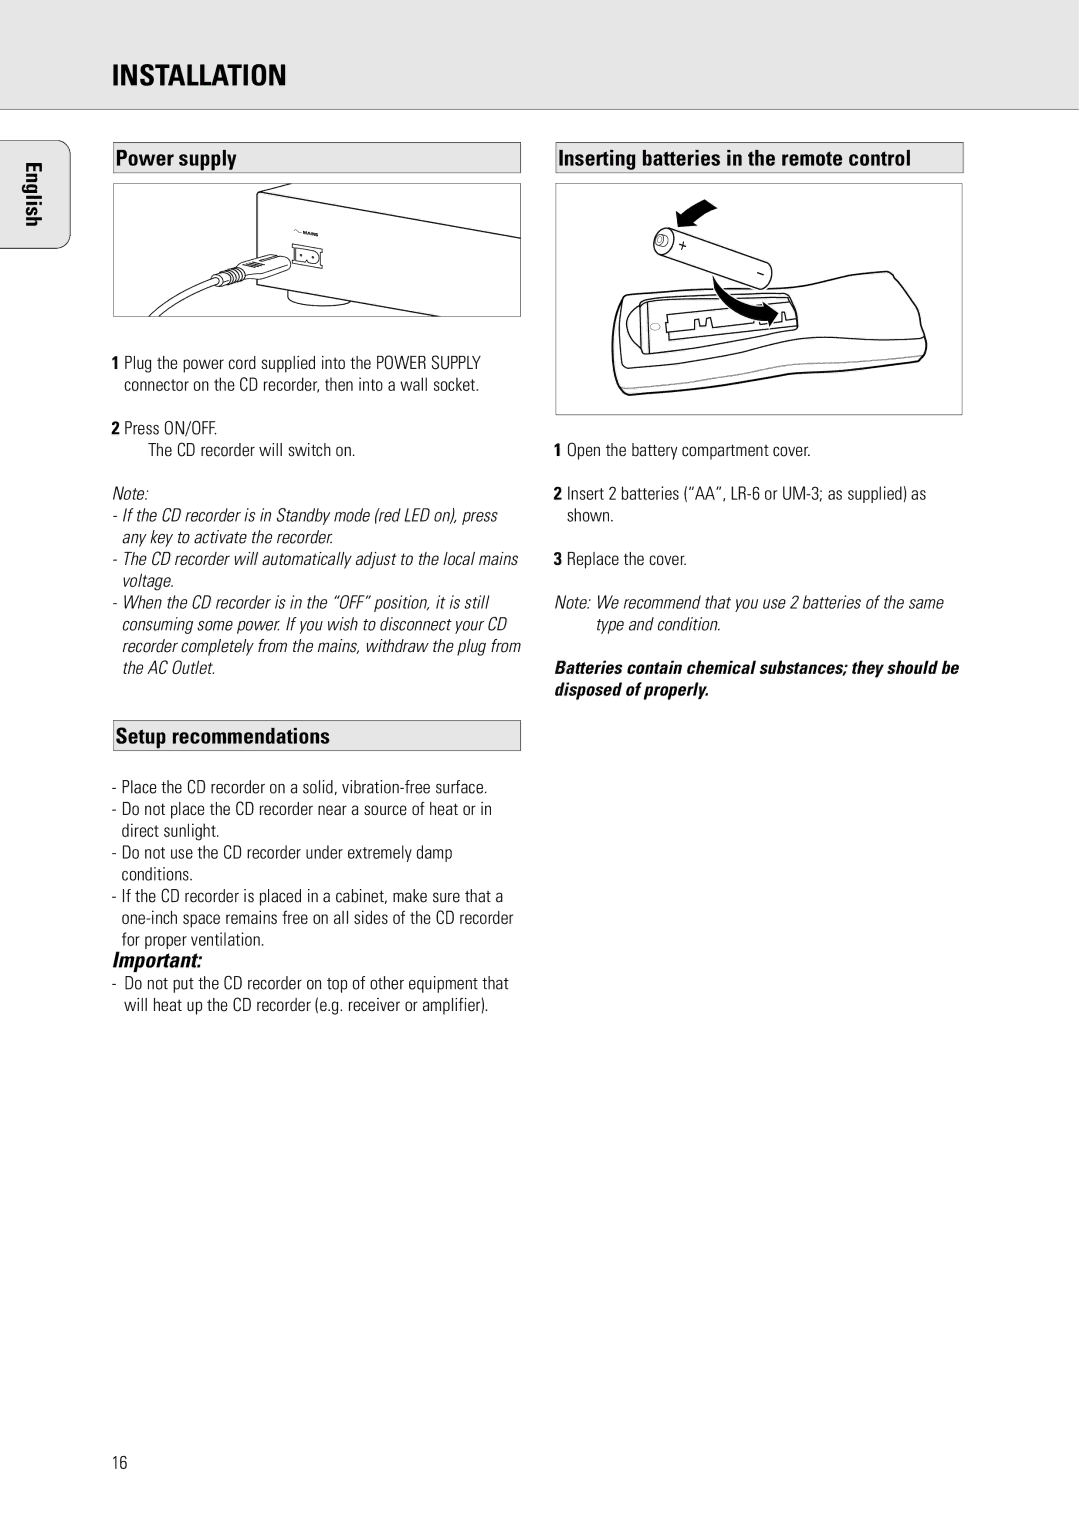
| Inserting batteries in the remote control |
|
|
|
|
|
|
1 Plug the power cord supplied into the POWER SUPPLY connector on the CD recorder, then into a wall socket.
2 Press ON/OFF.
➜The CD recorder will switch on.
Note:
-If the CD recorder is in Standby mode (red LED on), press any key to activate the recorder.
-The CD recorder will automatically adjust to the local mains voltage.
-When the CD recorder is in the “OFF” position, it is still consuming some power. If you wish to disconnect your CD recorder completely from the mains, withdraw the plug from the AC Outlet.
Setup recommendations
-Place the CD recorder on a solid,
-Do not place the CD recorder near a source of heat or in direct sunlight.
-Do not use the CD recorder under extremely damp conditions.
-If the CD recorder is placed in a cabinet, make sure that a
Important:
-Do not put the CD recorder on top of other equipment that will heat up the CD recorder (e.g. receiver or amplifier).
1 Open the battery compartment cover.
2 Insert 2 batteries (“AA”,
3 Replace the cover.
Note: We recommend that you use 2 batteries of the same type and condition.
Batteries contain chemical substances; they should be disposed of properly.
16