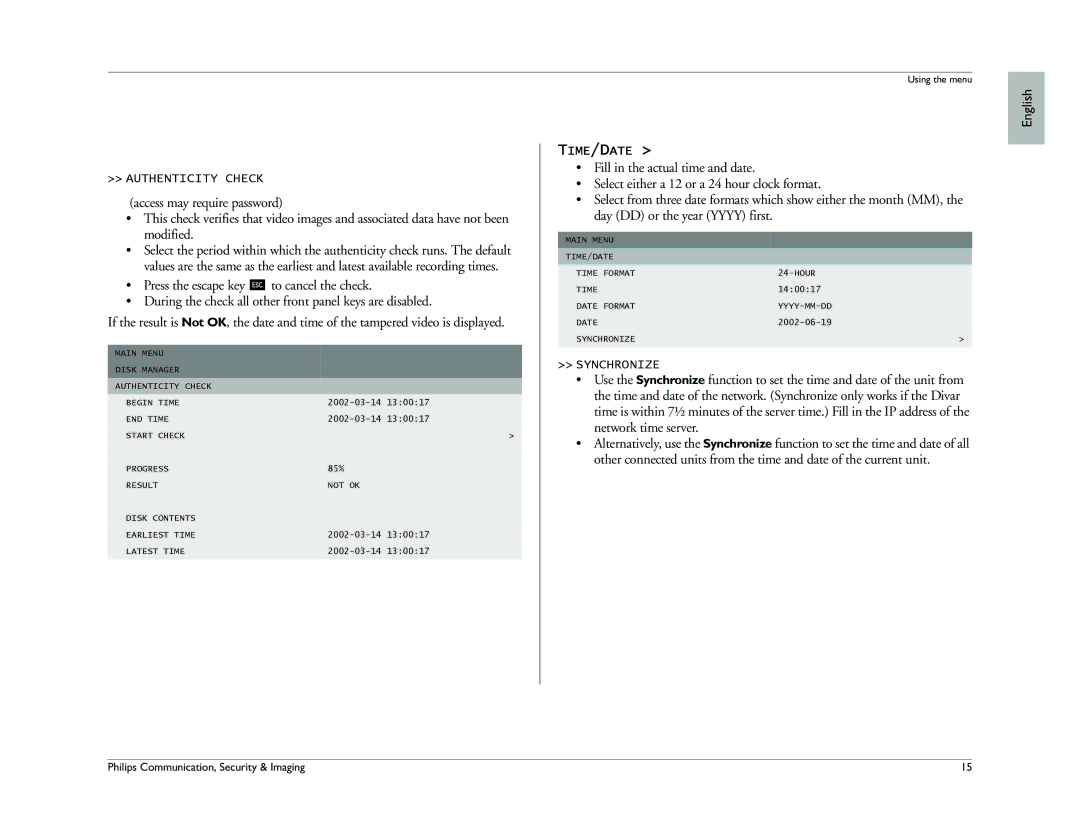
>> AUTHENTICITY CHECK
(access may require password)
•This check verifies that video images and associated data have not been modified.
•Select the period within which the authenticity check runs. The default values are the same as the earliest and latest available recording times.
•Press the escape key ![]() to cancel the check.
to cancel the check.
•During the check all other front panel keys are disabled.
If the result is Not OK, the date and time of the tampered video is displayed.
MAIN MENU
DISK MANAGER
AUTHENTICITY CHECK
BEGIN TIME | ||
END TIME | ||
START CHECK |
| > |
PROGRESS | 85% |
|
RESULT | NOT OK |
|
DISK CONTENTS |
|
|
EARLIEST TIME | 13:00:17 | |
LATEST TIME | 13:00:17 | |
|
|
|
Using the menu
TIME/DATE >
•Fill in the actual time and date.
•Select either a 12 or a 24 hour clock format.
•Select from three date formats which show either the month (MM), the day (DD) or the year (YYYY) first.
MAIN MENU
TIME/DATE
TIME FORMAT | |
TIME | 14:00:17 |
DATE FORMAT | |
DATE | |
SYNCHRONIZE | > |
|
|
>>SYNCHRONIZE
•Use the Synchronize function to set the time and date of the unit from the time and date of the network. (Synchronize only works if the Divar time is within 7½ minutes of the server time.) Fill in the IP address of the network time server.
•Alternatively, use the Synchronize function to set the time and date of all other connected units from the time and date of the current unit.
English
Philips Communication, Security & Imaging | 15 |
