4ENGLISH
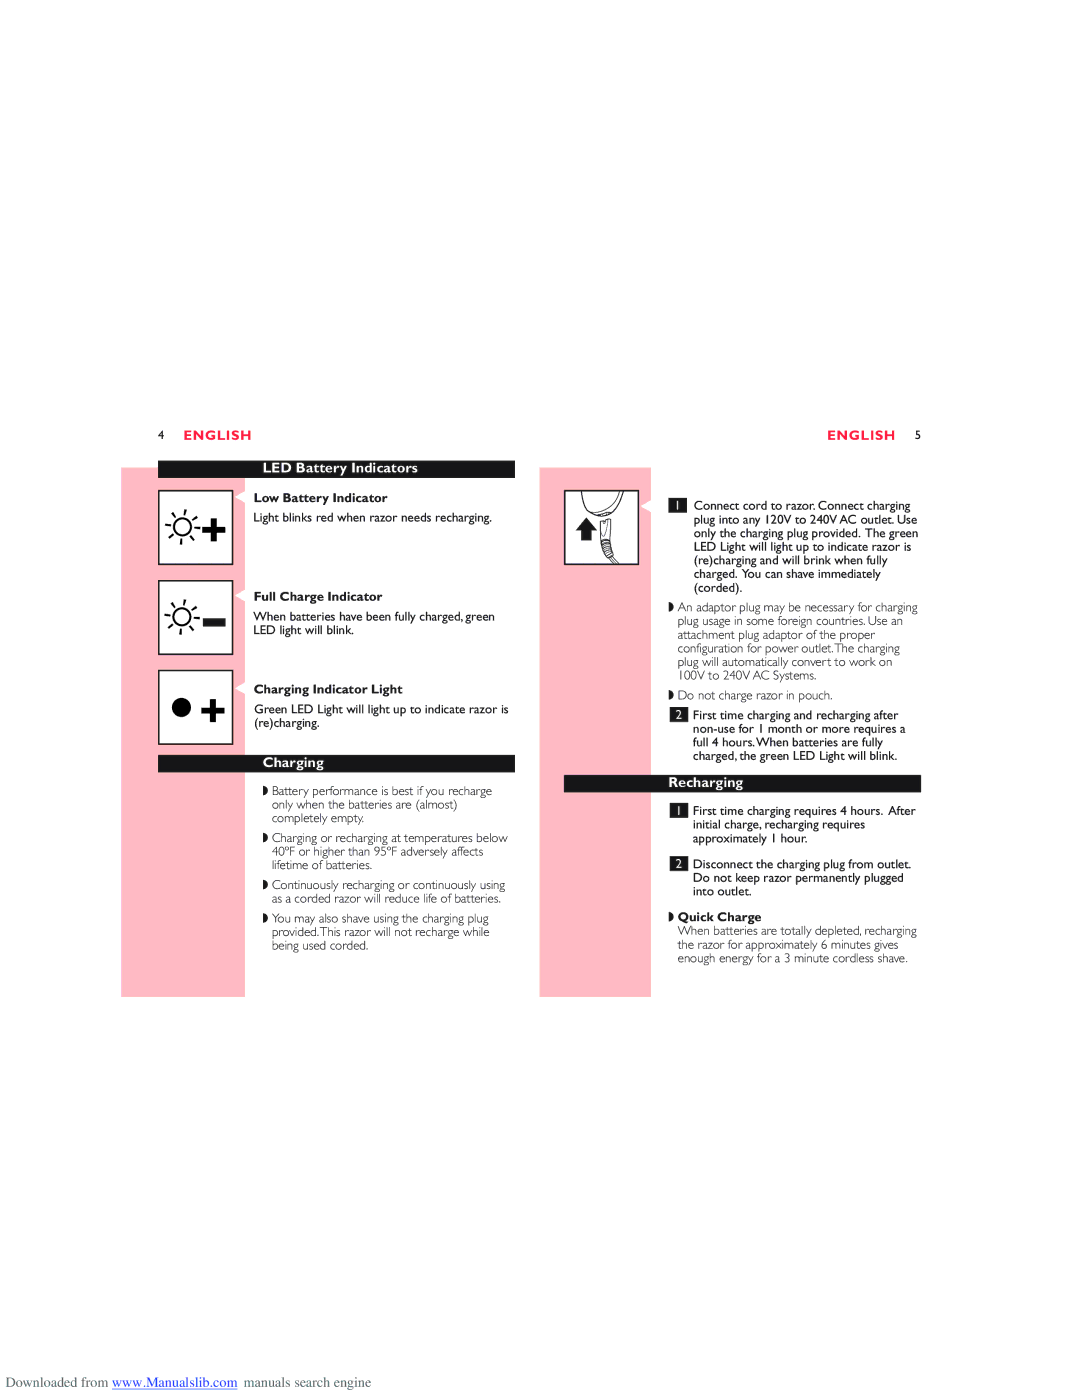
LED Battery Indicators
| C | |
+ | Low Battery Indicator | |
Light blinks red when razor needs recharging. | ||
|
| |
|
| |
- | C | |
Full Charge Indicator | ||
When batteries have been fully charged, green | ||
| ||
| LED light will blink. | |
|
| |
|
| |
| C | |
+ | Charging Indicator Light | |
Green LED Light will light up to indicate razor is | ||
(re)charging. | ||
|
|
Charging
◗Battery performance is best if you recharge only when the batteries are (almost) completely empty.
◗Charging or recharging at temperatures below 40ºF or higher than 95ºF adversely affects lifetime of batteries.
◗Continuously recharging or continuously using as a corded razor will reduce life of batteries.
◗You may also shave using the charging plug provided.This razor will not recharge while being used corded.
ENGLISH 5
C 1 Connect cord to razor. Connect charging plug into any 120V to 240V AC outlet. Use only the charging plug provided. The green LED Light will light up to indicate razor is (re)charging and will brink when fully charged. You can shave immediately (corded).
◗An adaptor plug may be necessary for charging plug usage in some foreign countries. Use an attachment plug adaptor of the proper configuration for power outlet.The charging plug will automatically convert to work on 100V to 240V AC Systems.
◗Do not charge razor in pouch.
2First time charging and recharging after
Recharging
1First time charging requires 4 hours. After initial charge, recharging requires approximately 1 hour.
2Disconnect the charging plug from outlet. Do not keep razor permanently plugged into outlet.
◗Quick Charge
When batteries are totally depleted, recharging the razor for approximately 6 minutes gives enough energy for a 3 minute cordless shave.
Downloaded from www.Manualslib.com manuals search engine