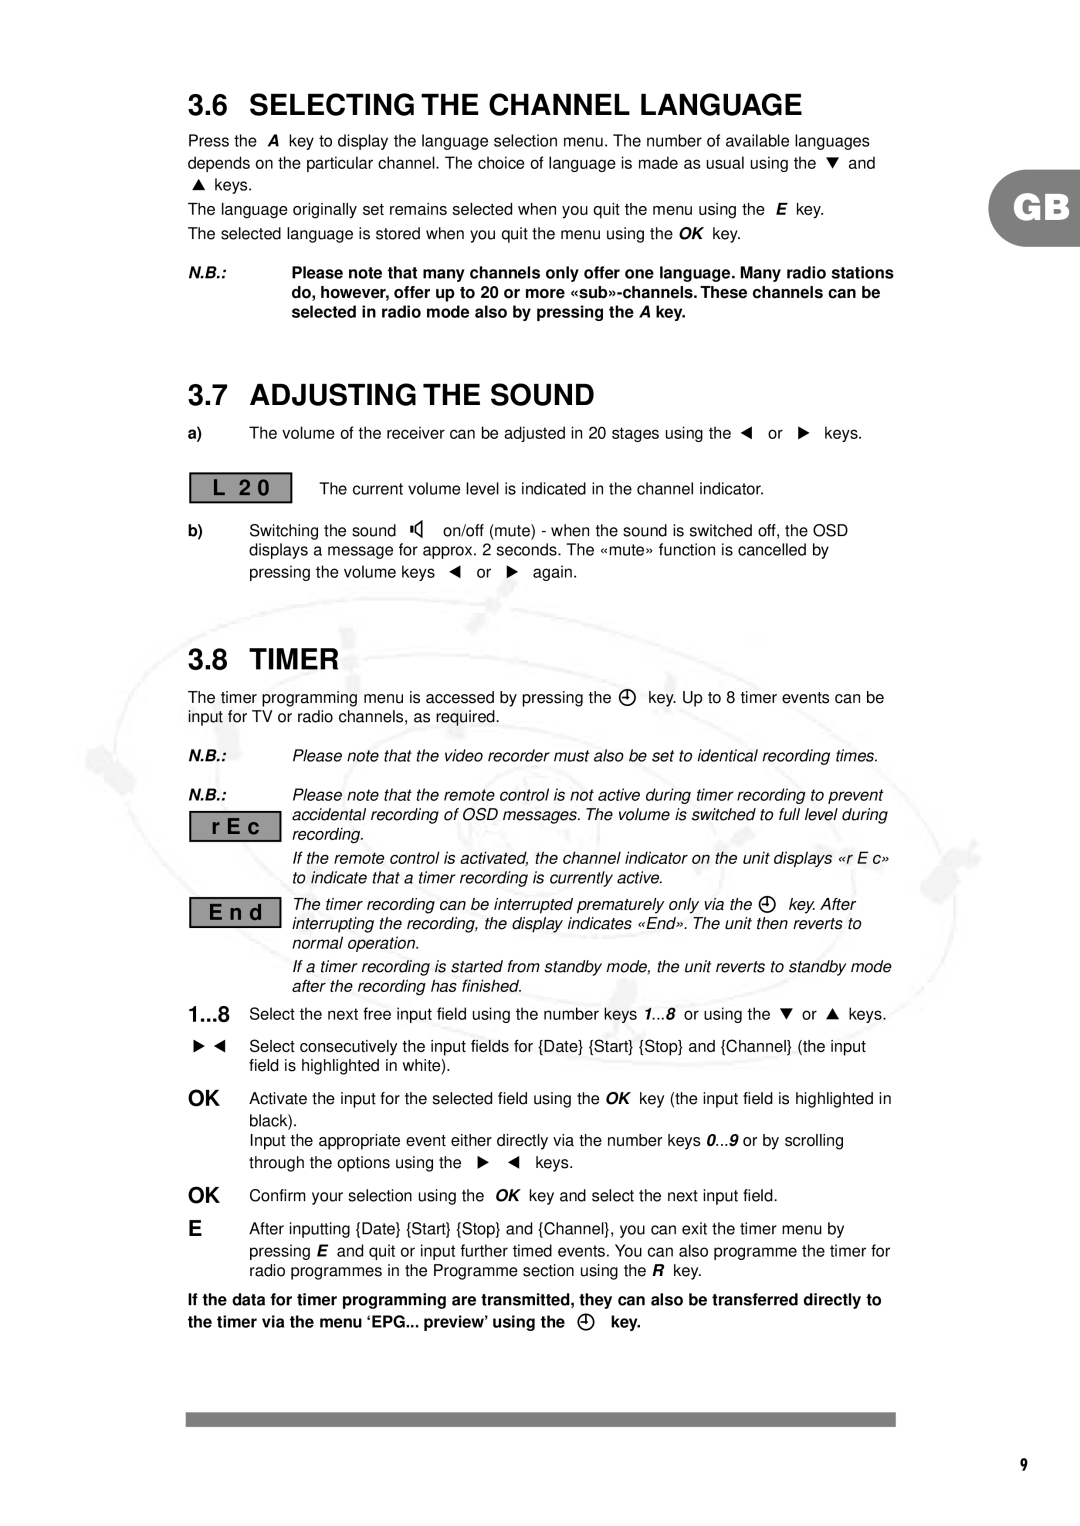
3.6 SELECTING THE CHANNEL LANGUAGE

Press the A key to display the language selection menu. The number of available languages depends on the particular channel. The choice of language is made as usual using the W and

Vkeys.

The language originally set remains selected when you quit the menu using the E key. The selected language is stored when you quit the menu using the OK key.

N.B.: Please note that many channels only offer one language. Many radio stations do, however, offer up to 20 or more «sub»-channels. These channels can be selected in radio mode also by pressing the A key.

3.7 ADJUSTING THE SOUND

a)The volume of the receiver can be adjusted in 20 stages using the C or B keys.

L2 0 The current volume level is indicated in the channel indicator.

b)

Switching the sound G on/off (mute) - when the sound is switched off, the OSD


displays a message for approx. 2 seconds. The «mute» function is cancelled by


pressing the volume keys C or B again.

3.8 TIMER

The timer programming menu is accessed by pressing the G key. Up to 8 timer events can be input for TV or radio channels, as required.

N.B.:

Please note that the video recorder must also be set to identical recording times.

N.B.:

Please note that the remote control is not active during timer recording to prevent


accidental recording of OSD messages. The volume is switched to full level during


r E c


recording.


If the remote control is activated, the channel indicator on the unit displays «r E c»


to indicate that a timer recording is currently active.


The timer recording can be interrupted prematurely only via the G key. After


E n d


interrupting the recording, the display indicates «End». The unit then reverts to


normal operation.


If a timer recording is started from standby mode, the unit reverts to standby mode


after the recording has finished.

1...8 Select the next free input field using the number keys 1...8 or using the W or V keys.

BC Select consecutively the input fields for {Date} {Start} {Stop} and {Channel} (the input field is highlighted in white).

OK

Activate the input for the selected field using the OK key (the input field is highlighted in


black).


Input the appropriate event either directly via the number keys 0...9 or by scrolling


through the options using the B C keys.

OK

Confirm your selection using the OK key and select the next input field.

EAfter inputting {Date} {Start} {Stop} and {Channel}, you can exit the timer menu by pressing E and quit or input further timed events. You can also programme the timer for radio programmes in the Programme section using the R key.

If the data for timer programming are transmitted, they can also be transferred directly to the timer via the menu ‘EPG... preview’ using the G key.

GB

9

Page 11
Image 11
Philips DSR2000/00M manual Selecting the Channel Language, Adjusting the Sound, Timer

DSR2000, DSR2000/00M specifications

The Philips DSR2000/00M, more commonly known as the DSR2000, is a digital satellite receiver that has garnered attention for its impressive functionality and user-friendly interface. Designed for both casual viewers and dedicated enthusiasts, the DSR2000 provides a versatile platform for receiving and enjoying satellite television broadcasts.

One of the hallmark features of the DSR2000 is its robust satellite reception capabilities. With support for multiple satellite systems and advanced tuning technology, the receiver can effortlessly pull in a wide range of channels from various broadcasting services. This capability ensures that users have access to a rich selection of international and local programming, ranging from news to entertainment.

The DSR2000 also excels in image and sound quality. It is equipped with digital output options, allowing for the transmission of high-quality audio and video signals to compatible television sets. The receiver supports various video formats, ensuring compatibility with modern HDTVs and delivering crisp, vibrant images that enhance the viewing experience.

User convenience is another significant aspect of the DSR2000. The device features an intuitive on-screen menu that simplifies navigation through channels and settings. Equipped with a remote control, users can easily access their favorite programs, adjust settings, and set up parental controls. The inclusion of programmable timers enables users to schedule recordings for later viewing, making it easier to keep up with favorite shows.

In terms of connectivity, the DSR2000 offers a range of options. It features multiple output ports, including HDMI and RCA connections, ensuring compatibility with various audio and video systems. This flexibility allows users to integrate the receiver into their existing home entertainment setups seamlessly.

The device is also designed for future scalability. With software updates available, users can ensure that their receiver remains up to date with the latest features and performance enhancements. This commitment to ongoing support adds to the longevity and value of the DSR2000.

In summary, the Philips DSR2000/00M is an impressive digital satellite receiver that combines advanced technology with user-friendly features. Its robust reception capabilities, high-quality audio and video output, and intuitive interface make it a prominent choice for individuals looking to enhance their satellite viewing experience. Whether for casual watching or more dedicated use, the DSR2000 stands out as a reliable and efficient option in the realm of satellite television.