BEFORE REQUESTING SERVICE
If it appears that the
It may be that something simple has been overlooked.
Under no circumstances attempt to repair the system yourself; this will invalidate the warranty.
Look for the specific symptom(s). Then perform only the actions listed to remedy the specific symptom(s).
SYMPTOM | REMEDY |
No power | • Check if the ON/OFF |
| button (1) on the front of the |
| player is set to on. |
| • Check if both plugs of the mains |
| cord are properly connected. |
| • Check if there is power at the AC |
| outlet by plugging in another |
| appliance. |
No picture | • Check if the TV is switched on. |
| • Select the same channel and source |
| on the TV as on the player. |
| • Check the video connection. |
Distorted picture ..........• Check the disc for fingerprints and
clean with a soft cloth, wiping from centre to edge.
•Sometimes a small
amount of picture distortion may appear .This is not a malfunction.
Completely distorted |
|
picture with |
|
player menu | • NTSC/PAL switch in wrong |
| position. |
No colour in picture |
|
with player menu | • NTSC/PAL switch in wrong |
| position. |
Disc can’t be played | • Ensure the disc label is upwards. |
| • Clean the disc. |
| • Check if the disc is defective by |
| trying another disc. |
SYMPTOM | REMEDY |
No audio at |
|
digital output | ...............• check the digital connections |
| • Check the settings menu to make |
| sure that the digital output is set |
| to on. |
| • Check if the audio format of the |
| selected audio language matches |
| your receiver capabilities. |
Buttons do not work ....• Turn the player OFF and ON
with the power ON/OFF button (1) on the front of the player.
Cleaning Discs
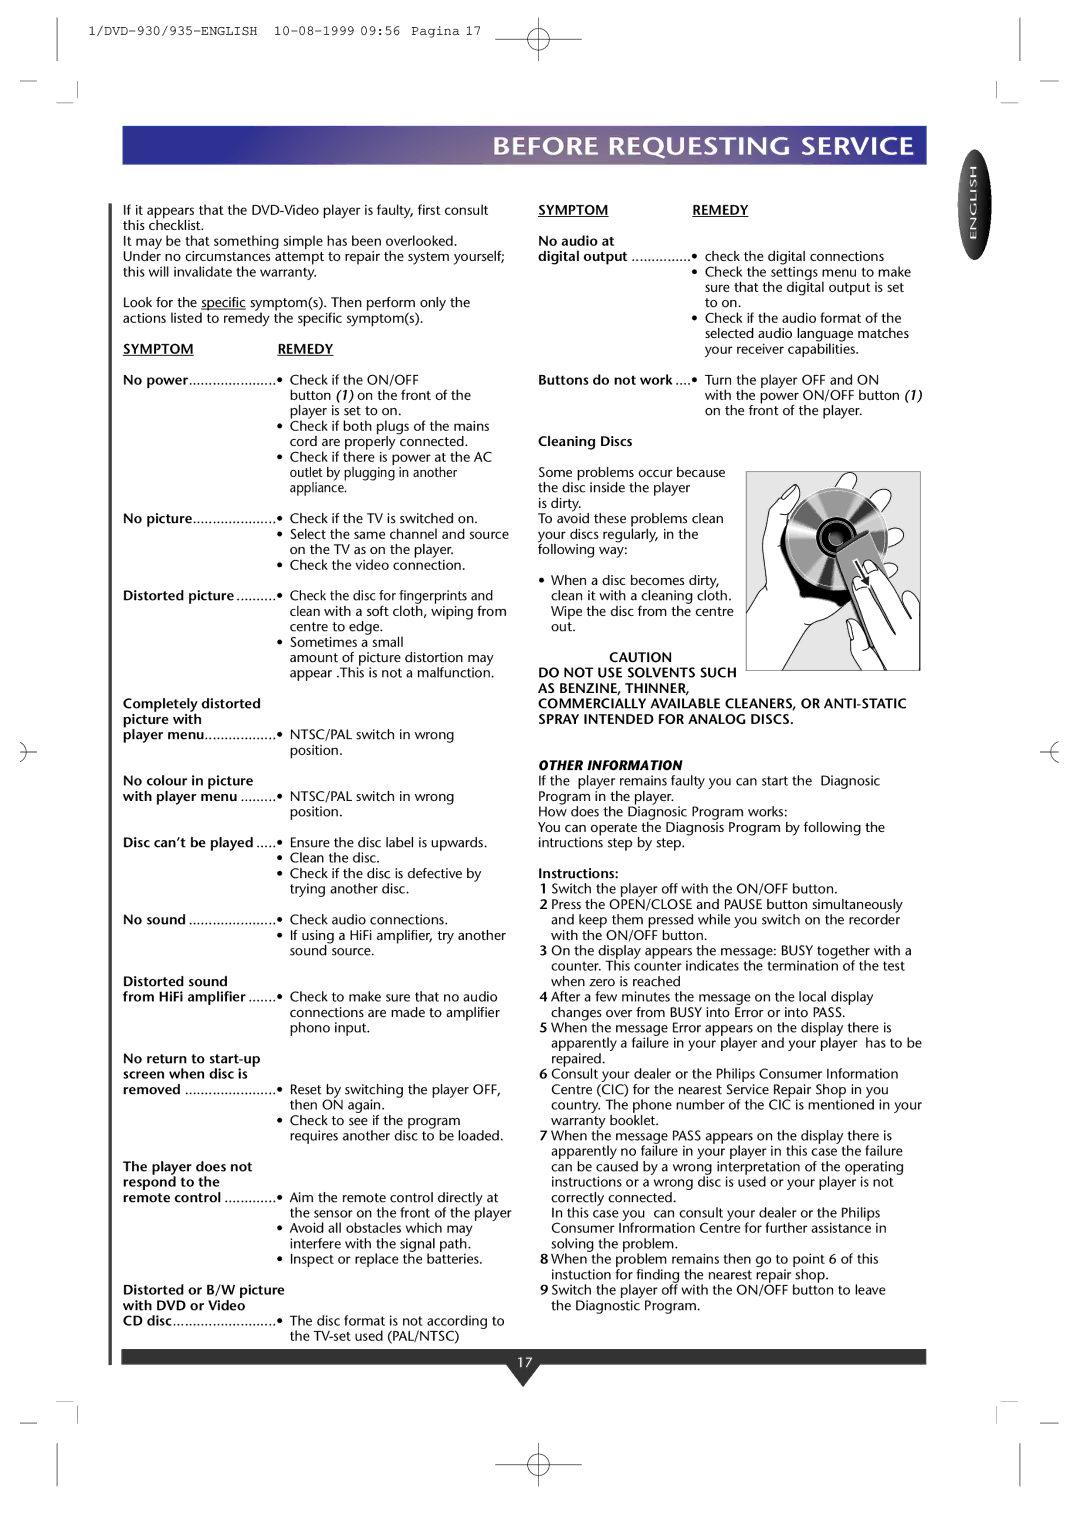
Some problems occur because the disc inside the player
is dirty.
To avoid these problems clean your discs regularly, in the following way:
• When a disc becomes dirty, clean it with a cleaning cloth. Wipe the disc from the centre out.
CAUTION
DO NOT USE SOLVENTS SUCH AS BENZINE, THINNER,
COMMERCIALLY AVAILABLE CLEANERS, OR
OTHER INFORMATION
If the player remains faulty you can start the Diagnosic Program in the player.
How does the Diagnosic Program works:
You can operate the Diagnosis Program by following the intructions step by step.
Instructions:
1 Switch the player off with the ON/OFF button.
ENGLISH
No sound | • |
| • |
Distorted sound |
|
from HiFi amplifier | • |
No return to |
|
screen when disc is |
|
removed | • |
| • |
The player does not |
|
respond to the |
|
remote control | • |
| • |
| • |
Distorted or B/W picture with DVD or Video
CD disc | • |
Check audio connections.
If using a HiFi amplifier, try another sound source.
Check to make sure that no audio connections are made to amplifier phono input.
Reset by switching the player OFF, then ON again.
Check to see if the program requires another disc to be loaded.
Aim the remote control directly at the sensor on the front of the player Avoid all obstacles which may interfere with the signal path. Inspect or replace the batteries.
The disc format is not according to the
2 Press the OPEN/CLOSE and PAUSE button simultaneously and keep them pressed while you switch on the recorder with the ON/OFF button.
3 On the display appears the message: BUSY together with a counter. This counter indicates the termination of the test when zero is reached
4 After a few minutes the message on the local display changes over from BUSY into Error or into PASS.
5 When the message Error appears on the display there is apparently a failure in your player and your player has to be repaired.
6 Consult your dealer or the Philips Consumer Information Centre (CIC) for the nearest Service Repair Shop in you country. The phone number of the CIC is mentioned in your warranty booklet.
7 When the message PASS appears on the display there is apparently no failure in your player in this case the failure can be caused by a wrong interpretation of the operating instructions or a wrong disc is used or your player is not correctly connected.
In this case you can consult your dealer or the Philips Consumer Infrormation Centre for further assistance in solving the problem.
8 When the problem remains then go to point 6 of this instuction for finding the nearest repair shop.
9 Switch the player off with the ON/OFF button to leave the Diagnostic Program.
17
