TUNER

English

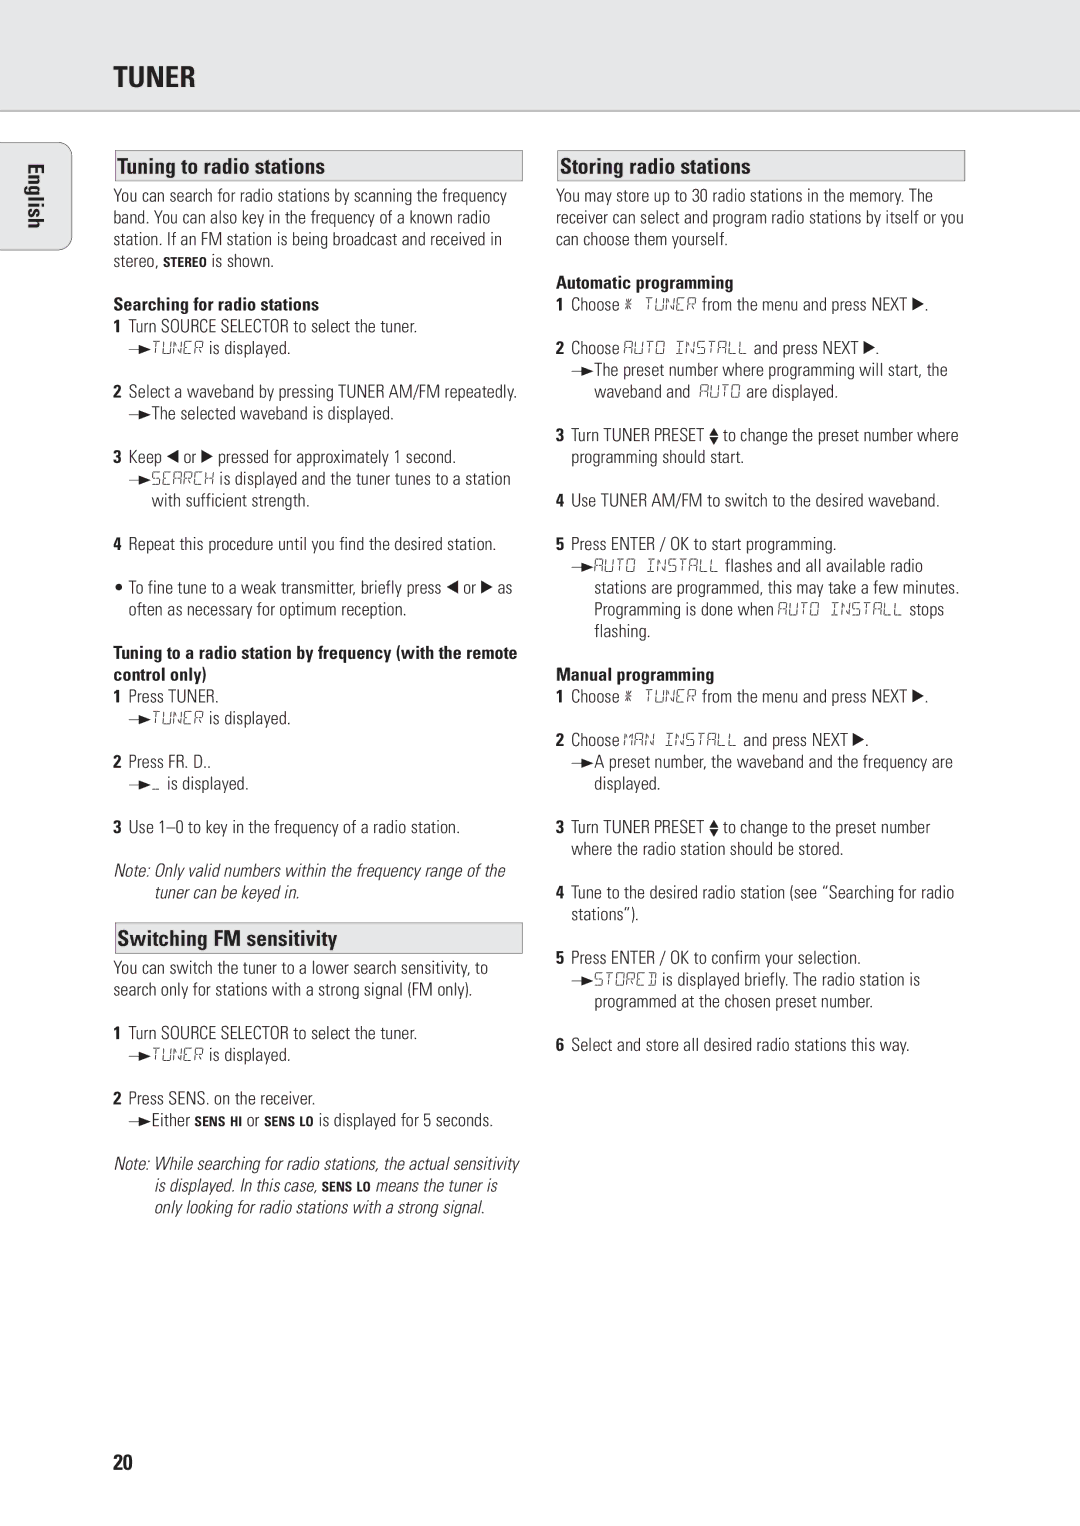
Tuning to radio stations

You can search for radio stations by scanning the frequency band. You can also key in the frequency of a known radio station. If an FM station is being broadcast and received in stereo, STEREO is shown.

Searching for radio stations

1Turn SOURCE SELECTOR to select the tuner. yTUNER is displayed.

2Select a waveband by pressing TUNER AM/FM repeatedly. yThe selected waveband is displayed.

3Keep 1 or 2 pressed for approximately 1 second.

ySEARCH is displayed and the tuner tunes to a station with sufficient strength.

4Repeat this procedure until you find the desired station.

To fine tune to a weak transmitter, briefly press 1 or 2 as often as necessary for optimum reception.

Tuning to a radio station by frequency (with the remote control only)

1Press TUNER.

yTUNER is displayed.

2Press FR. D..

y_ is displayed.

3Use 1–0 to key in the frequency of a radio station.

Note: Only valid numbers within the frequency range of the tuner can be keyed in.

Switching FM sensitivity

You can switch the tuner to a lower search sensitivity, to search only for stations with a strong signal (FM only).

1Turn SOURCE SELECTOR to select the tuner. yTUNER is displayed.

2Press SENS. on the receiver.

yEither SENS HI or SENS LO is displayed for 5 seconds.

Note: While searching for radio stations, the actual sensitivity is displayed. In this case, SENS LO means the tuner is only looking for radio stations with a strong signal.

Storing radio stations

You may store up to 30 radio stations in the memory. The receiver can select and program radio stations by itself or you can choose them yourself.

Automatic programming

1Choose * TUNER from the menu and press NEXT 2.

2Choose AUTO INSTALL and press NEXT 2.

yThe preset number where programming will start, the waveband and AUTO are displayed.

3Turn TUNER PRESET X to change the preset number where programming should start.

4Use TUNER AM/FM to switch to the desired waveband.

5Press ENTER / OK to start programming.

yAUTO INSTALL flashes and all available radio stations are programmed, this may take a few minutes. Programming is done when AUTO INSTALL stops flashing.

Manual programming

1Choose * TUNER from the menu and press NEXT 2.

2Choose MAN INSTALL and press NEXT 2.

yA preset number, the waveband and the frequency are displayed.

3Turn TUNER PRESET X to change to the preset number where the radio station should be stored.

4Tune to the desired radio station (see “Searching for radio stations”).

5Press ENTER / OK to confirm your selection.

ySTORED is displayed briefly. The radio station is programmed at the chosen preset number.

6Select and store all desired radio stations this way.

20

Page 20
Image 20
Philips FR970 manual Tuner, English Tuning to radio stations, Switching FM sensitivity, Storing radio stations

FR970 specifications

The Philips FR970 and FR960 are both advanced robotic vacuum cleaners designed to provide consumers with convenient and efficient cleaning solutions. These models combine state-of-the-art technology and user-centered features aimed at simplifying household cleaning tasks.

The FR970 is equipped with a powerful suction system that effectively captures dust, dirt, and pet hair from various floor types including carpets, tiles, and hardwood. Its suction power is complemented by an array of sensors that help the robot navigate around obstacles, ensuring thorough coverage of your home without getting stuck. One of its standout features is the Smart Detect technology, which allows the vacuum to identify high-traffic areas that need more attention and adjust its cleaning pattern accordingly.

A notable feature of the FR970 is its mapping capability. Utilizing advanced navigation technology, the robot creates a map of your home, enabling it to plan its cleaning route more efficiently. This not only improves cleaning performance but also minimizes the chance of missing spots. Users can also benefit from the scheduling function, allowing them to set cleaning times according to their convenience, ensuring a consistently clean environment with minimal effort.

On the other hand, the Philips FR960 shares many of these advanced features, but is typically available at a more budget-friendly price point. The FR960 also utilizes intelligent mapping technology and Smart Detect capabilities, but may have slightly lower suction power compared to the FR970. This model is designed to deliver efficient cleaning in a more economical package, making it suitable for those who want advanced robotic cleaning without breaking the bank.

Both models come with easy-to-use interfaces, often controllable via a smartphone app. This integration allows users to monitor cleaning progress, adjust settings, and receive notifications directly on their mobile devices. Additionally, they come equipped with washable filters, promoting a longer lifespan and ease of maintenance.

In summary, the Philips FR970 and FR960 robotic vacuum cleaners stand out due to their intelligent features, efficient cleaning systems, and user-friendly management options. They cater to various cleaning needs and preferences, making them excellent choices for anyone looking to automate their home cleaning routine. Whether you opt for the higher-end FR970 or the cost-effective FR960, both models promise a clean home with minimal effort.