FW-C30, FW-C35 specifications
The Philips FW-C35 and FW-C30 are compact stereo systems that stand out in the realm of home audio solutions, combining functionality with style. These models are designed to deliver a rich sound experience, making them an ideal choice for music enthusiasts looking for a convenient and versatile system for their homes.The FW-C35 features a sophisticated design with a sleek finish, making it a visually appealing addition to any room. It includes a powerful CD player that supports various formats, including CD-R/RW, allowing users to enjoy their favorite music collections with high fidelity. The system is equipped with a cassette deck, giving music lovers the nostalgic capability to play and record tapes, which can be a delightful experience for those who still cherish this format.
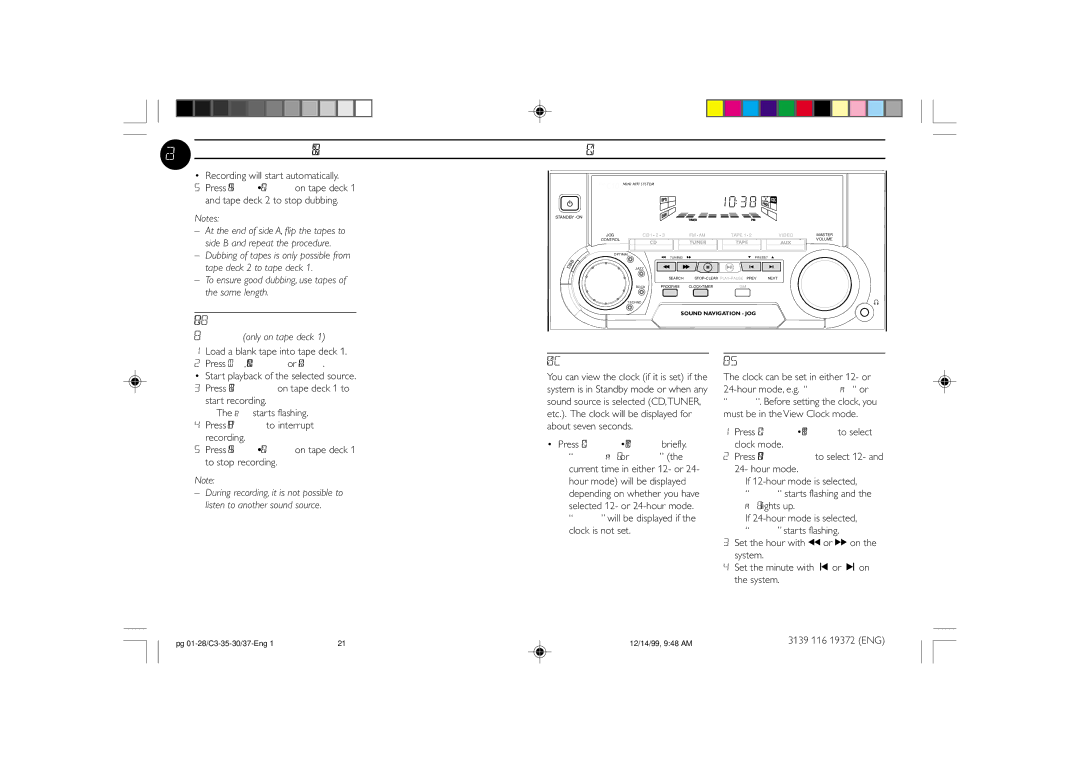
On the other hand, the FW-C30 offers many similar features but in a more simplified and compact form. Both systems include a built-in FM/AM tuner, providing access to various radio stations and the opportunity to discover new music and channels. The tuner's digital display makes it easy to navigate through frequencies and store favorite stations for quick access.
Sound quality is where both systems excel. They incorporate advanced audio technologies, such as Dynamic Bass Boost, which enhances low-frequency sounds and provides a deeper bass response. This feature is particularly beneficial for genres like hip-hop and electronic music, where basslines are pivotal to the listening experience. Additionally, both models include equalizer presets, allowing users to adjust the sound profile to their preference, whether they enjoy rock, jazz, or pop.
Connectivity options are another strong point. The FW-C35 and FW-C30 come equipped with USB ports, enabling users to play music directly from flash drives. This feature is convenient for those who prefer digital music over physical copies. Furthermore, the systems may include auxiliary inputs, making it easy to connect other devices like smartphones or tablets for instant audio playback.
In summary, the Philips FW-C35 and FW-C30 are perfect for anyone seeking quality sound in a compact design. With their robust features, including CD and cassette playback, FM/AM radio, Dynamic Bass Boost, and versatile connectivity options, they are well-equipped to meet diverse audio needs, ensuring users can enjoy their favorite music effortlessly in any setting.