Philips CDR Mini Hi-Fi System FW-R33/R55: Getting started…
R | L |
|
| LINE |
|
| OUT |
|
| AUX/ |
|
| CDR |
|
| IN |
|
| AM ANTENNA | FM ANTENNA |
| SUBWOOFER |
|
| OUT |
|
|
| AC |
|
| MAINS |
|
| ~ |
1 | English | |
2 | ||
| ||
3 |
|
General information
This Quick Installation Card gives a rough overview and helps to quickly start with basic steps. Please read the supplied instruction manual for detailed information.
Power
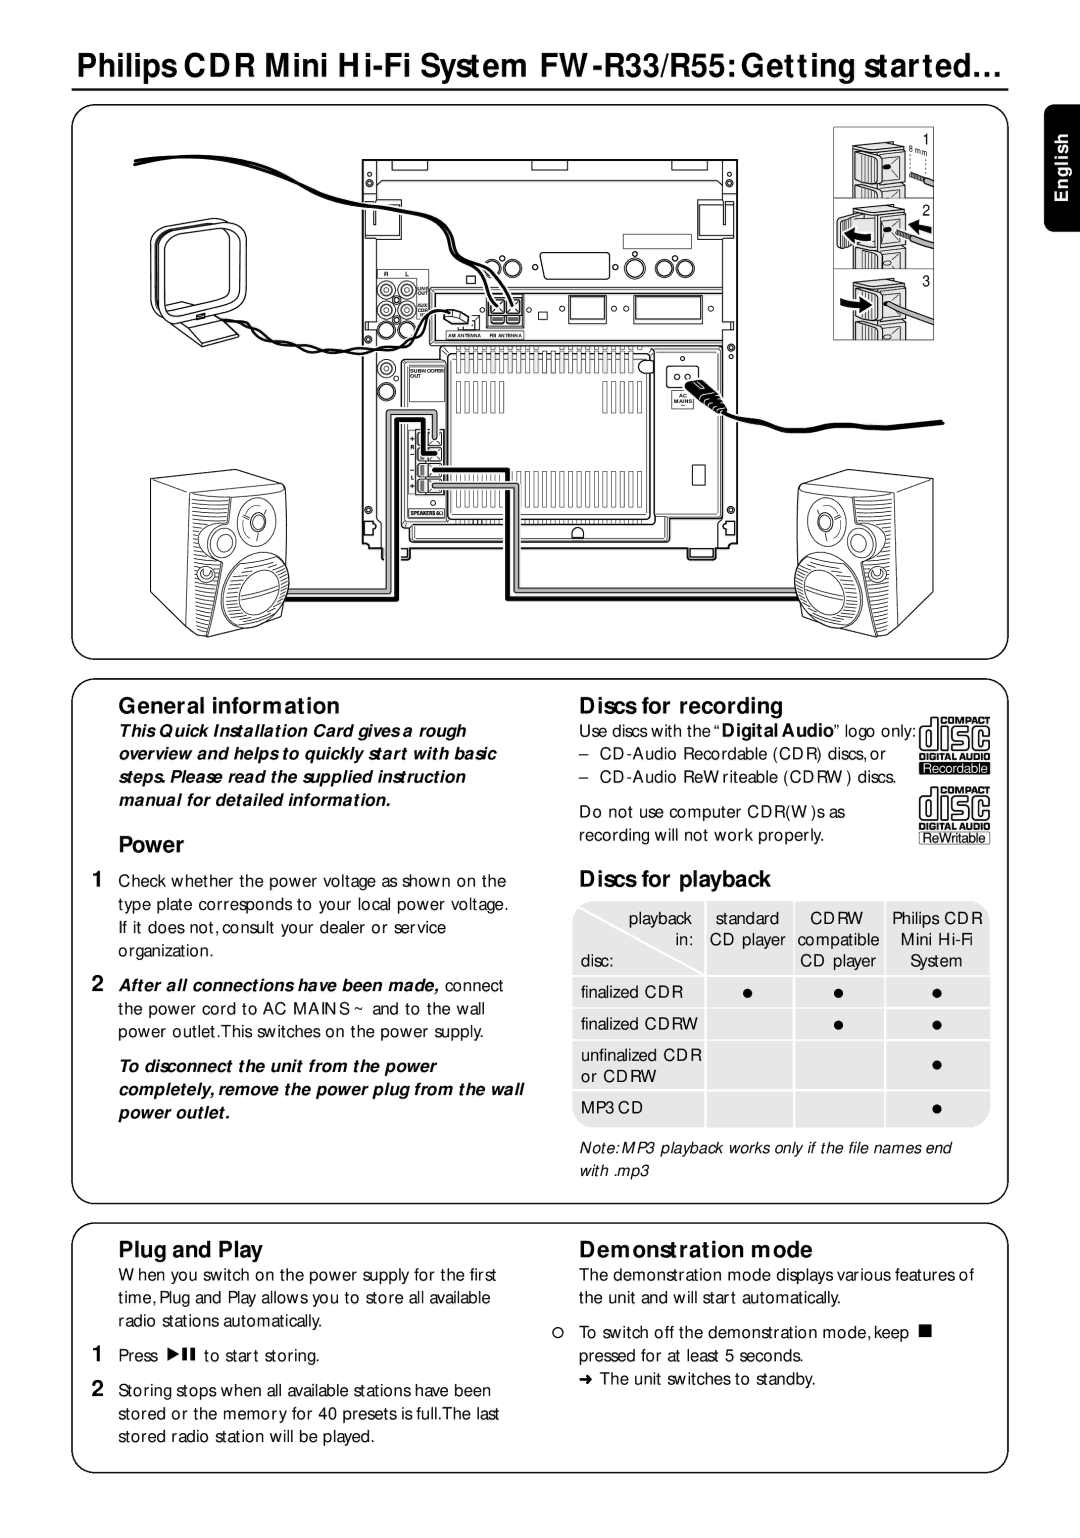
1Check whether the power voltage as shown on the type plate corresponds to your local power voltage. If it does not, consult your dealer or service organization.
2After all connections have been made, connect the power cord to AC MAINS ~ and to the wall power outlet.This switches on the power supply.
To disconnect the unit from the power completely, remove the power plug from the wall power outlet.
Discs for recording
Use discs with the “Digital Audio” logo only:
–
–
Do not use computer CDR(W)s as recording will not work properly.
Discs for playback
playback | standard | CDRW | Philips CDR |
in: | CD player | compatible | Mini |
disc: |
| CD player | System |
finalized CDR | ● | ● | ● |
finalized CDRW |
| ● | ● |
unfinalized CDR |
|
| ● |
or CDRW |
|
| |
|
|
| |
MP3 CD |
|
| ● |
| Note: MP3 playback works only if the file names end |
| with .mp3 |
Plug and Play | Demonstration mode |
When you switch on the power supply for the first | The demonstration mode displays various features of |
time, Plug and Play allows you to store all available | the unit and will start automatically. |
radio stations automatically. | To switch off the demonstration mode, keep Ç |
0 | |
1 Press ÉÅto start storing. | pressed for at least 5 seconds. |
2 Storing stops when all available stations have been | ➜ The unit switches to standby. |
| |
stored or the memory for 40 presets is full.The last |
|
stored radio station will be played. |
|
