Preparations

C Speakers Connection


h

Front Speakers


lis


g


VOLUME


Connect the speaker wires to the SPEAKERS


n

7


BOOSTER IN


E

(FRONT) terminals, right speaker to "R" and left

1

R L


POWER SWITCH


OFF

ON

5

speaker to "L", coloured (marked) wire to "+"


SPEAKERS 6


R

R

AC MAINS


2

￿– +


4

and black (unmarked) wire to "-".


6

L

L


￿– +


VOLTAGE￿


SELECTOR

3


110V-￿ 220V-￿


127V

240V


1

2


● Fully insert the stripped portion of the speaker


wire into the terminal as shown.

Left) terminals respectively.

2Connect the speaker wires to the BOOSTER

Notes:


SPEAKERS terminals, right speaker to "R" and left

– For optimal sound performance, use the supplied


speaker to "L", coloured (marked) wire to "+"

speakers.

3

and black (unmarked) wire to "-".

– Do not connect more than one speaker to any

Set the VOLTAGE SELECTOR to the local

one pair of +/- speaker terminals.

4

power line voltage.

– Do not connect speakers with an impedance

Plug in the AC mains to the wall socket.

lower than the speakers supplied. Please refer to

5

Switch on the POWER SWITCH to activate

the SPECIFICATIONS section of this manual.


the power booster amplifier.

6Press STANDBY ON y button to switch the

D Video Out Connection

system ON or to Standby mode.

Connect the VIDEO OUT (CVBS) terminal

7 Rotate the VOLUME control to adjust the

loudness of the power booster amplifier.

at the rear of the system to the TV or VCR


VIDEO IN for viewing or recording.


Note:

To avoid magnetic interference with the picture on your TV, do not position the front speakers too close to the TV.

EConnecting other equipment to your system

Connect the audio left and right OUT terminals of a TV,VCR, Laser Disc player, DVD player or CD Recorder to the AUX/CDR IN terminals.

Note:

– If you are connecting equipment with a mono output (a single audio out terminal), connect it to the AUX/CDR IN left terminal. Alternatively, you can use a “single to double” cinch cable (still be mono sound).

FPower Booster Connection

1Connect the BOOSTER OUT (Right and Left) terminals of the mini system to the power booster amplifier BOOSTER IN (Right and

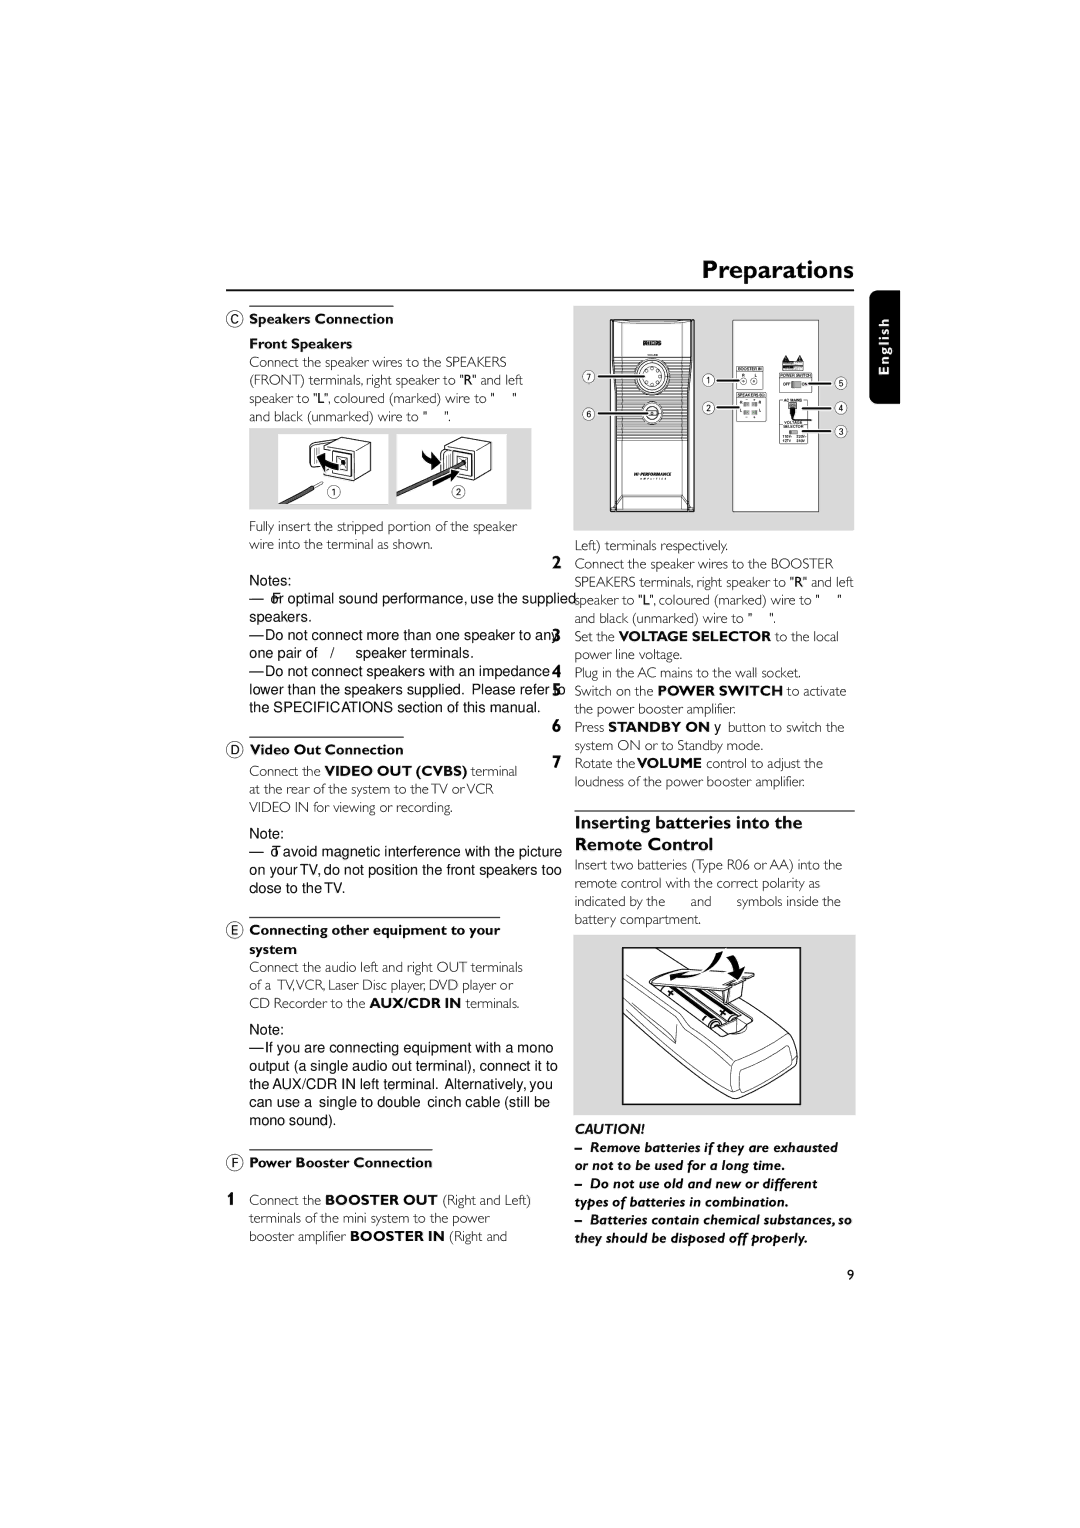
Inserting batteries into the Remote Control

Insert two batteries (Type R06 or AA) into the remote control with the correct polarity as indicated by the + and - symbols inside the battery compartment.

CAUTION!

Remove batteries if they are exhausted or not to be used for a long time.

Do not use old and new or different types of batteries in combination.

Batteries contain chemical substances, so they should be disposed off properly.

9

Page 9
Image 9
Philips FWV595 manual Inserting batteries into the Remote Control

FWV595 specifications

The Philips FWV595 is a well-rounded multimedia system that exemplifies modern audio technology, catering to users looking for an immersive listening experience. This compact yet powerful device integrates a plethora of features designed to enhance sound quality, user convenience, and connectivity.

At the heart of the FWV595 is a robust audio system that delivers high-quality sound reproduction. It boasts a total output power that ensures clarity and depth across a wide frequency range, allowing users to enjoy music, movies, and games with an exceptional audio backdrop. With its dynamic bass enhancement technology, the FWV595 provides that extra punch, making bass-heavy tracks thump while keeping higher frequencies crisp and clear.

One of the standout characteristics of the Philips FWV595 is its versatility in media playback. The system supports various formats, enabling users to enjoy their favorite media from CDs, USB drives, or via Bluetooth. This wireless connectivity option allows seamless pairing with smartphones or tablets, making it easy to stream music from popular apps. Additionally, the inclusion of an FM tuner broadens listening options, giving users access to their favorite radio stations.

The FWV595 also features an intuitive user interface, equipped with a clear LCD display that ensures easy navigation through different settings and playback options. A remote control is often included for added convenience, allowing users to control the system from a distance without having to engage directly with the unit.

In terms of design, the Philips FWV595 showcases a modern aesthetic that can blend effortlessly into any home environment. The compact size means it can fit easily on shelves or entertainment centers without taking up excessive space, while still providing robust performance.

Another important aspect of the FWV595 is its reliability and durability, typical of Philips products. Users can expect a long-lasting device, well-built to withstand the rigors of daily use. With a combination of cutting-edge technology, user-friendly features, and a stylish design, the Philips FWV595 stands out as a compelling choice for anyone looking to elevate their audio experience at home.