18
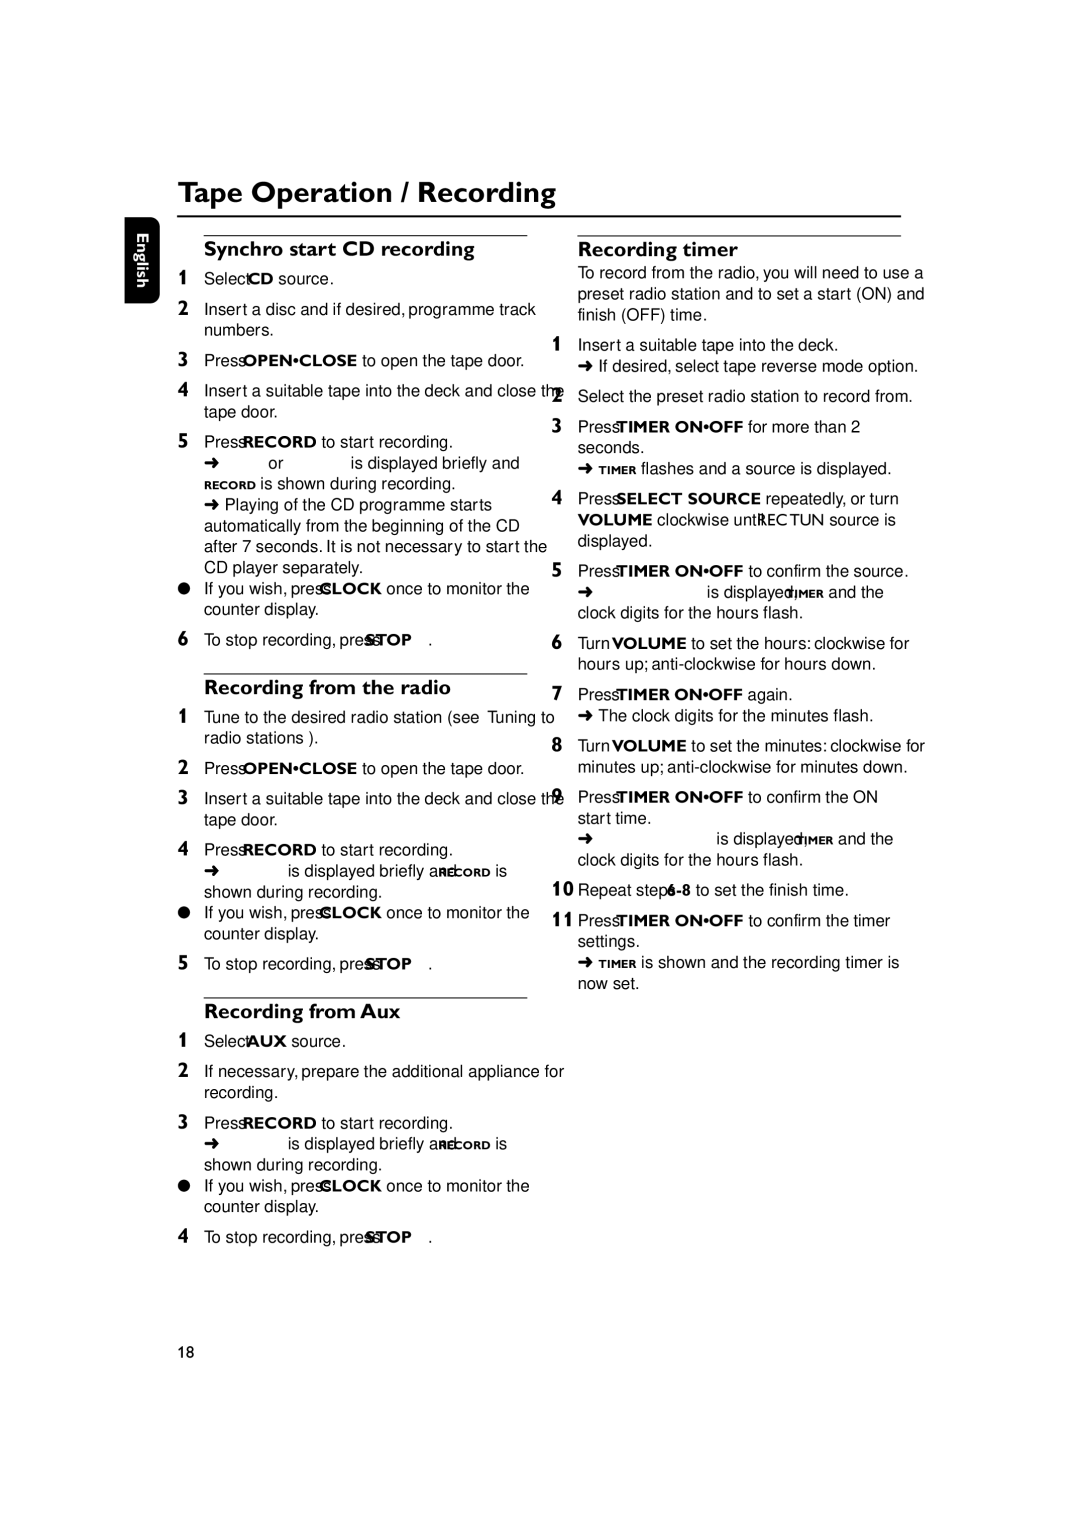
To stop recording, press STOP 9.
4
Recording from Aux
1 Select AUX source.
2 If necessary, prepare the additional appliance for recording.
3 Press RECORD to start recording.
➜ RECORD is displayed briefly and RECORD is shown during recording.
● If you wish, press CLOCK once to monitor the counter display.
To stop recording, press STOP 9.
5
Recording from the radio
1 Tune to the desired radio station (see “Tuning to radio stations”).
2 Press OPEN•CLOSE to open the tape door.
3 Insert a suitable tape into the deck and close the tape door.
4 Press RECORD to start recording.
➜ RECORD is displayed briefly and RECORD is shown during recording.
● If you wish, press CLOCK once to monitor the counter display.
To stop recording, press STOP 9.
6
Synchro start CD recording
1 Select CD source.
2 Insert a disc and if desired, programme track numbers.
3 Press OPEN•CLOSE to open the tape door.
4 Insert a suitable tape into the deck and close the tape door.
5 Press RECORD to start recording.
➜ COPY or RECORD is displayed briefly and RECORD is shown during recording.
➜ Playing of the CD programme starts automatically from the beginning of the CD after 7 seconds. It is not necessary to start the CD player separately.
● If you wish, press CLOCK once to monitor the counter display.
Tape Operation / Recording
English
Recording timer
To record from the radio, you will need to use a preset radio station and to set a start (ON) and finish (OFF) time.
1Insert a suitable tape into the deck.
➜If desired, select tape reverse mode option.
2Select the preset radio station to record from.
3Press TIMER ON•OFF for more than 2 seconds.
➜TIMER flashes and a source is displayed.
4Press SELECT SOURCE repeatedly, or turn VOLUME clockwise until REC TUN source is displayed.
5Press TIMER ON•OFF to confirm the source.
➜SET ON TIME is displayed, TIMER and the clock digits for the hours flash.
6Turn VOLUME to set the hours: clockwise for hours up; anti-clockwise for hours down.
7Press TIMER ON•OFF again.
➜The clock digits for the minutes flash.
8Turn VOLUME to set the minutes: clockwise for minutes up; anti-clockwise for minutes down.
9Press TIMER ON•OFF to confirm the ON start time.
➜SET OFF TIME is displayed, TIMER and the clock digits for the hours flash.
10Repeat steps 6-8to set the finish time.
11Press TIMER ON•OFF to confirm the timer settings.
➜TIMER is shown and the recording timer is now set.