Preparations
IMPORTANT!
–Make sure to complete the preparation procedures before operating the system.
Before using the remote control
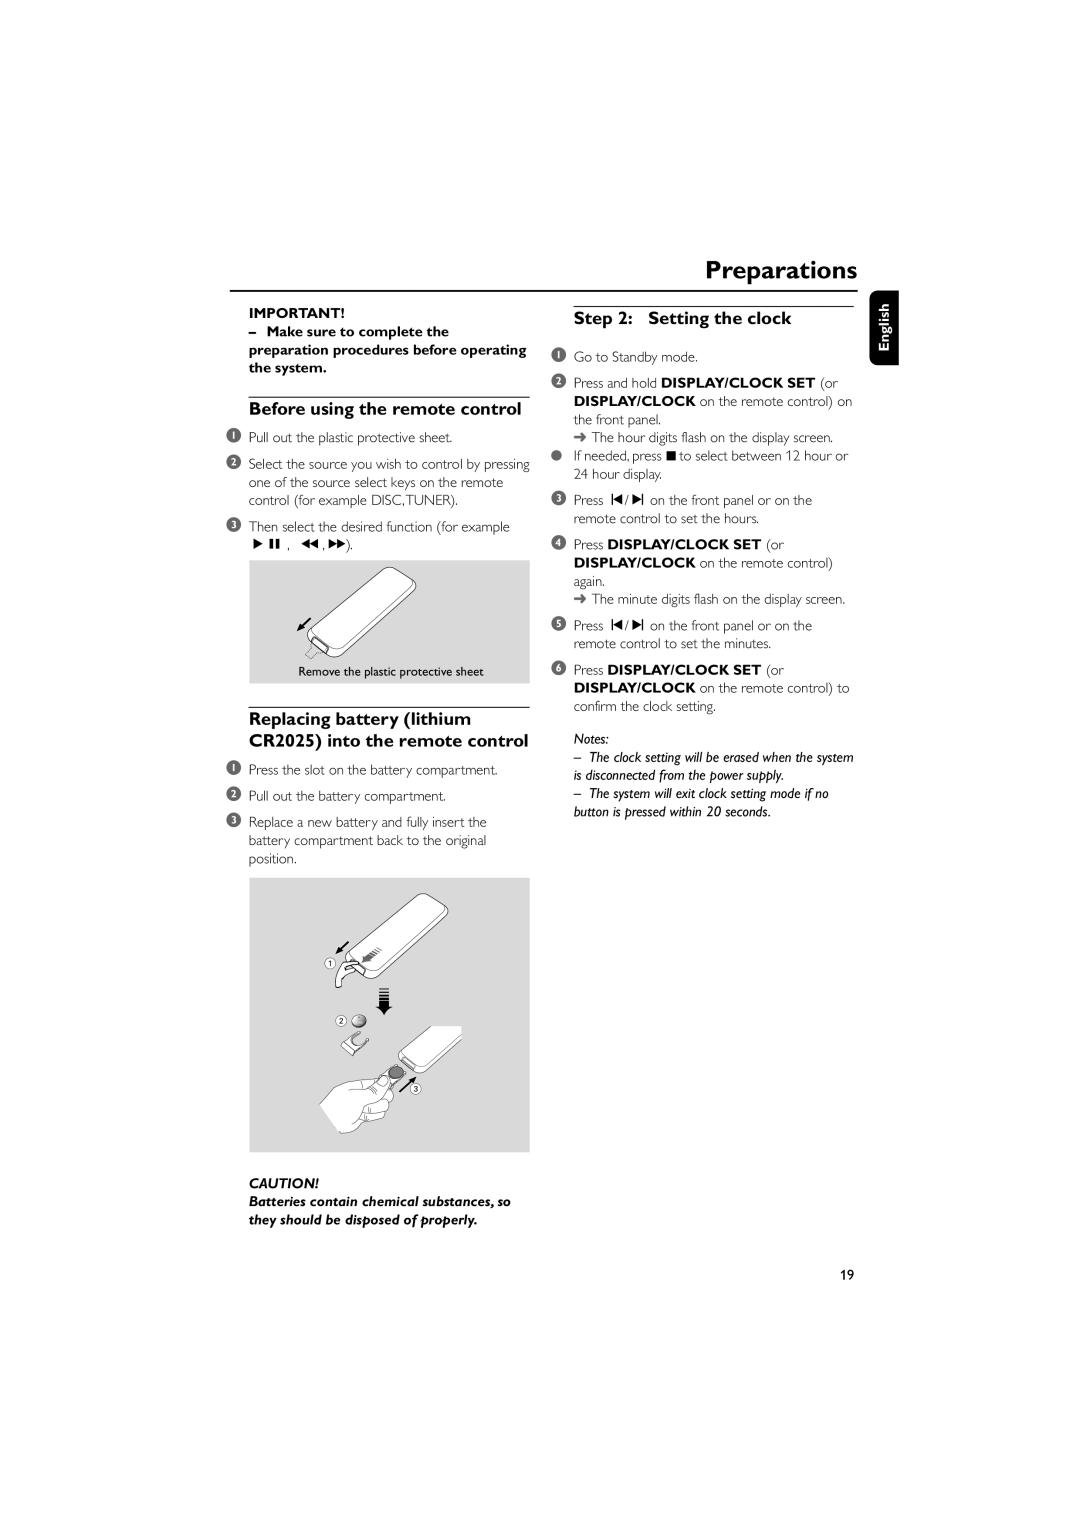
1Pull out the plastic protective sheet.
2Select the source you wish to control by pressing one of the source select keys on the remote control (for example DISC,TUNER).
3Then select the desired function (for example ÉÅ , à , á).
Remove the plastic protective sheet
Replacing battery (lithium CR2025) into the remote control
1Press the slot on the battery compartment.
2Pull out the battery compartment.
3Replace a new battery and fully insert the battery compartment back to the original position.
Step 2: Setting the clock
1Go to Standby mode.
2Press and hold DISPLAY/CLOCK SET (or DISPLAY/CLOCK on the remote control) on the front panel.
➜The hour digits flash on the display screen. ● If needed, press 9 to select between 12 hour or
24 hour display.
3Press í/ë on the front panel or on the remote control to set the hours.
4Press DISPLAY/CLOCK SET (or DISPLAY/CLOCK on the remote control) again.
➜ The minute digits flash on the display screen.
5Press í/ë on the front panel or on the remote control to set the minutes.
6Press DISPLAY/CLOCK SET (or DISPLAY/CLOCK on the remote control) to confirm the clock setting.
Notes:
–The clock setting will be erased when the system is disconnected from the power supply.
–The system will exit clock setting mode if no button is pressed within 20 seconds.
English
1![]()
![]()
2CR2025
![]()
![]()
![]() 3
3
CAUTION!
Batteries contain chemical substances, so they should be disposed of properly.
19
