Connecting additional components

You can connect other audio and audio/visual components to the DVD system in order to use the Home Cinema Audio System’s surround sound capabilities.

IMPORTANT!

For connection to additional components, the audio/video cables are not supplied.

When making connections, make sure that the color of cables matching the color of jacks.

Always refer to the instruction manual of the connected equipment to make an optimal connection.

Some DVD discs have anti-copying devices, so

you will not able to record the disc through a VCR.

Connecting a CD Recorder

For analog recording

Use the audio cables to connect AUDIO-CDR OUT (L/R) jacks to the corresponding AUDIO IN jacks on the CD Recorder.

For listening to the analog playback of the connecting device

Use the audio cables (not supplied) to connect AUDIO-CDR IN (L/R) jacks to the corresponding AUDIO OUT jacks on the CD Recorder.

Connecting a VCR

Use audio/video cables to connect a VCR to the DVD system.

For recording

1Connect AUDIO-VCR OUT (L/R) jacks to AUDIO IN on the VCR.

2Connect VIDEO-VCR OUT jack to VIDEO IN jack on the VCR.

For viewing to the playback of the connecting device

1Connect AUDIO-VCR IN (L/R) jacks to AUDIO OUT on the VCR.

2Connect VIDEO-VCR IN jack to VIDEO OUT jack on the VCR.

Note:

– Make sure you connect the VCR to both the IN and OUT sets of jacks.

Connecting a Satellite Receiver or Cable Box

Use a video cable to connect a satellite receiver or cable box to the DVD system.

Connect VIDEO-SAT IN jack to the VIDEO OUT jack of the connecting device.

For analog connection

Use the audio cables to connect AUDIO-SAT (L/R) jacks to the AUDIO OUT jacks on the satellite receiver or cable box.

For digital connection

Use an optical fiber-optic cable to connect OPTICAL-SAT IN jack to the DIGITAL OPTICAL OUT jack on the satellite receiver or cable box.

Note:

– If your satellite receiver or cable box is only equipped with a coaxial output, connection to the DVD system is not possible.

Connecting an auxiliary audio device

Use the audio cables to connect AUDIO-AUX (L/R) jacks to the corresponding AUDIO OUT jacks on an external audio device (such as an MP3 player, playback cassette deck, or portable CD player).

Connecting a second Subwoofer

You can connect a larger powered subwoofer to the system. Connect the subwoofer to the SUBWOOFER PRE-OUTjack using a shielded audio cable.

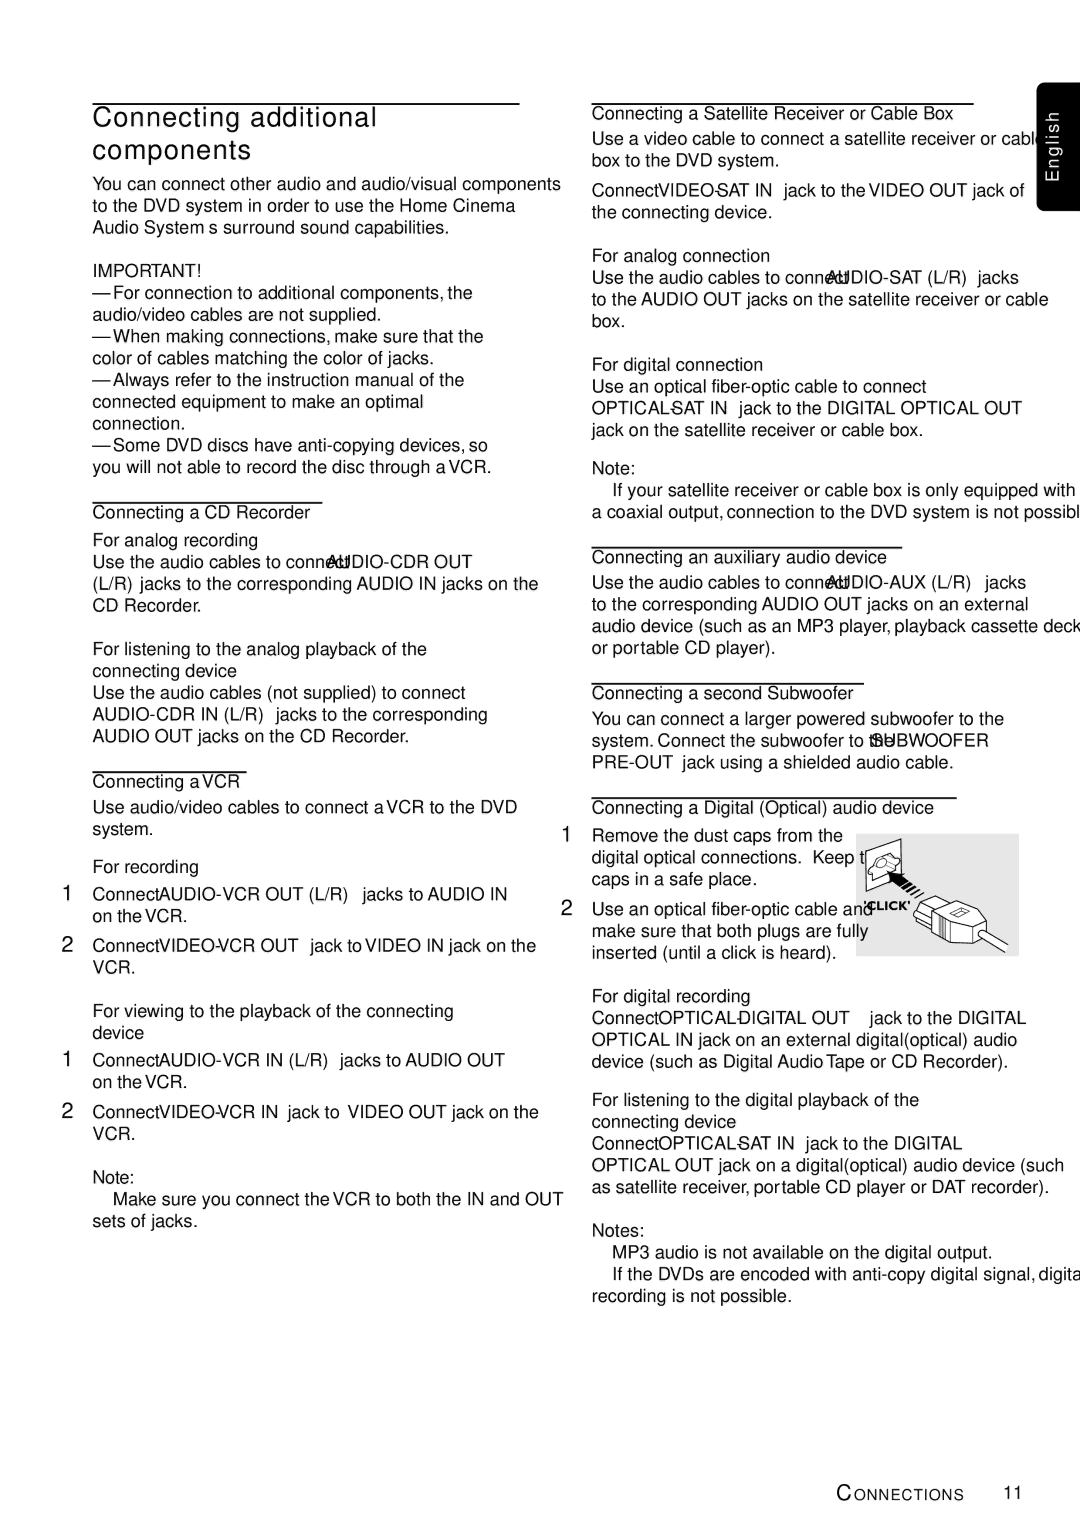
Connecting a Digital (Optical) audio device

1Remove the dust caps from the

digital optical connections. Keep the caps in a safe place.

2 Use an optical fiber-optic cable and make sure that both plugs are fully inserted (until a click is heard).

For digital recording

Connect OPTICAL-DIGITAL OUT jack to the DIGITAL OPTICAL IN jack on an external digital(optical) audio device (such as Digital Audio Tape or CD Recorder).

For listening to the digital playback of the connecting device

Connect OPTICAL-SAT IN jack to the DIGITAL OPTICAL OUT jack on a digital(optical) audio device (such as satellite receiver, portable CD player or DAT recorder).

Notes:

MP3 audio is not available on the digital output.

If the DVDs are encoded with anti-copy digital signal, digital recording is not possible.

E n g l i s h

CONNECTIONS 11

Page 13
Image 13
Philips MX 5000DMX, MX5000D, MX5000/37 warranty Connecting additional components

MX5000/37, MX5000D, MX 5000DMX specifications

The Philips MX 5000DMX, MX5000D, and MX5000/37 are versatile audio systems renowned for their impressive sound quality and user-friendly features. These models are designed for both home entertainment and professional uses, providing an excellent solution for music lovers and audiophiles alike.

One of the key features of the Philips MX 5000 series is its powerful output capability. The system boasts a substantial wattage, delivering rich, clear sound with deep bass and crisp treble. This makes it ideal for hosting parties or simply enjoying music in high fidelity. Additionally, the models come with advanced sound processing technologies, enhancing audio playback across various formats.

The MX 5000 series is equipped with multiple audio inputs, allowing users to connect various devices such as CD players, MP3 players, and even television sets. This versatility ensures that users can enjoy their favorite music and audio content seamlessly. The inclusion of a built-in radio tuner further expands the entertainment options, giving users access to a wide array of radio stations.

One notable characteristic of the Philips MX 5000 series is its user-friendly interface. The systems feature intuitive controls, making it easy to adjust settings and navigate through playlists. The inclusion of a remote control adds convenience, allowing users to operate the system from a distance without interrupting their enjoyment.

Moreover, the MX 5000 models support various audio formats, ensuring compatibility with a wide range of media. From traditional CDs to modern digital formats, users can play their favorite tracks without the hassle of format conversions. This flexibility caters to varied user preferences and enhances the overall listening experience.

The design of the Philips MX 5000 series is also noteworthy. With a sleek and modern aesthetic, these systems are not just functional but also visually appealing. They can easily blend into any home or entertainment setup, serving as both a high-performance audio solution and an attractive piece of decor.

In conclusion, the Philips MX 5000DMX, MX5000D, and MX5000/37 are engineered for exceptional performance and versatility. With powerful sound output, diverse connectivity options, a user-friendly interface, and a stylish design, they stand out as excellent choices for those seeking to enhance their audio experience at home or for professional use.