Installation
EN
Or:
Select the second option if you wish to continue installation.
Click ‘Next’ to continue.
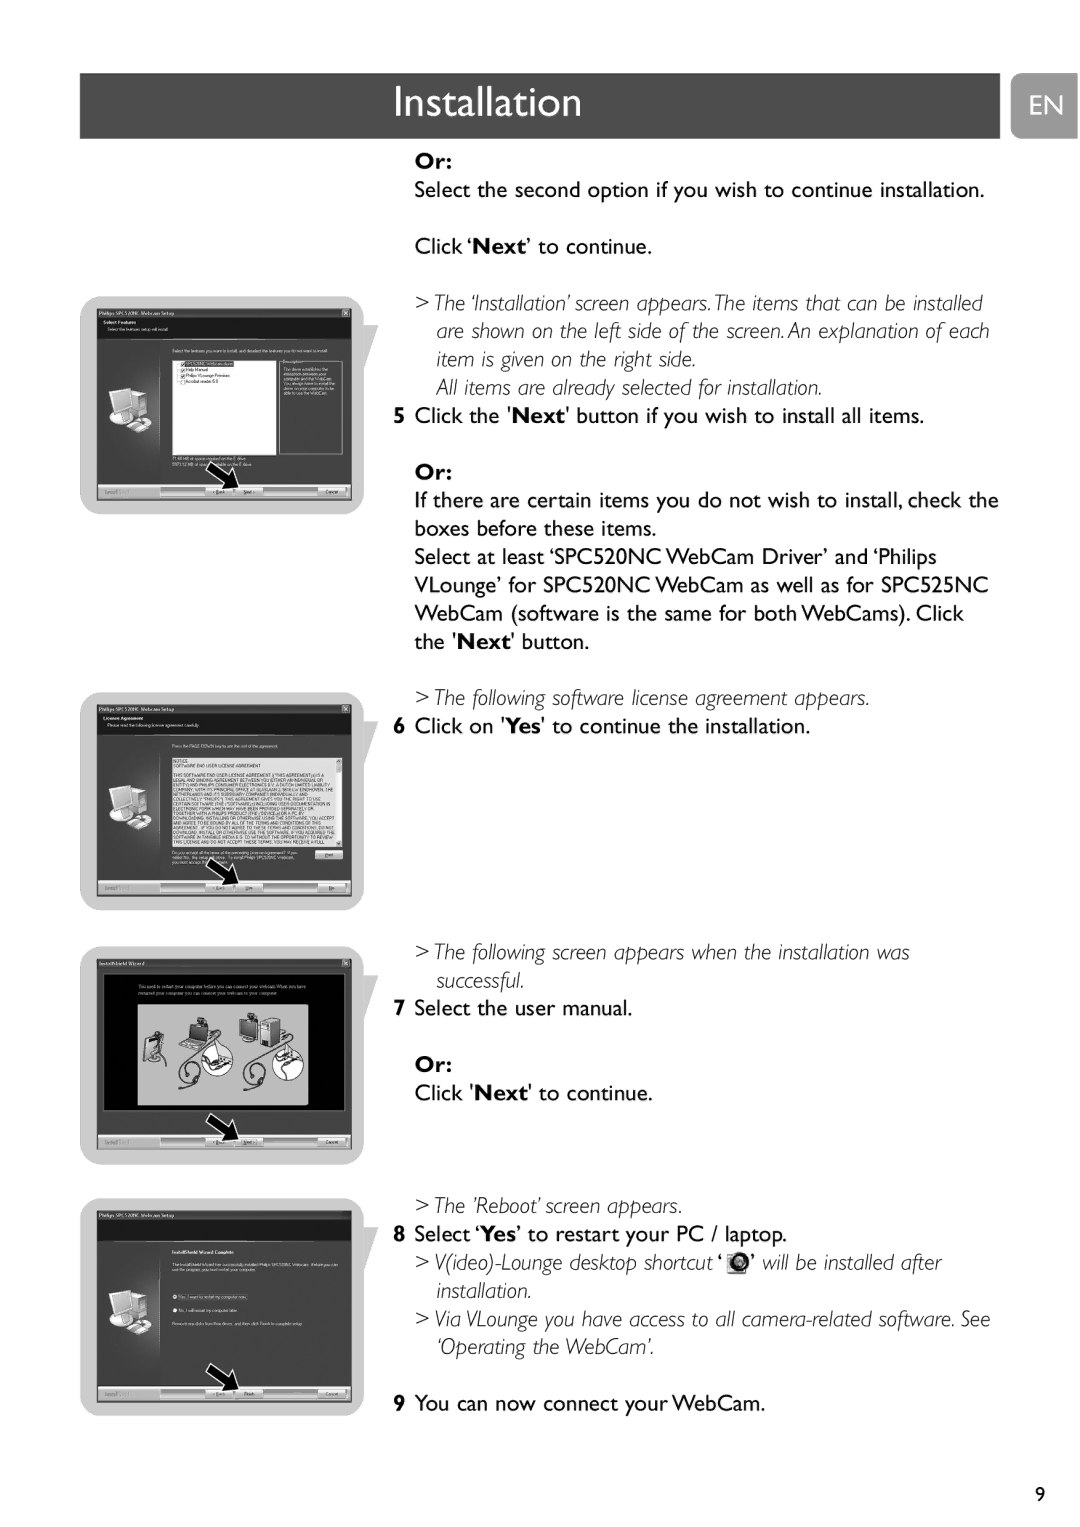
>The ‘Installation’ screen appears. The items that can be installed are shown on the left side of the screen. An explanation of each
item is given on the right side.
All items are already selected for installation.
5Click the 'Next' button if you wish to install all items.
Or:
If there are certain items you do not wish to install, check the boxes before these items.
Select at least ‘SPC520NC WebCam Driver’ and ‘Philips VLounge’ for SPC520NC WebCam as well as for SPC525NC WebCam (software is the same for both WebCams). Click the 'Next' button.
> The following software license agreement appears.
6Click on 'Yes' to continue the installation.
>The following screen appears when the installation was successful.
7Select the user manual.
Or:
Click 'Next' to continue.
>The ’Reboot’ screen appears.
8Select ‘Yes’ to restart your PC / laptop.
>![]() ’ will be installed after installation.
’ will be installed after installation.
>Via VLounge you have access to all
9You can now connect your WebCam.
9
