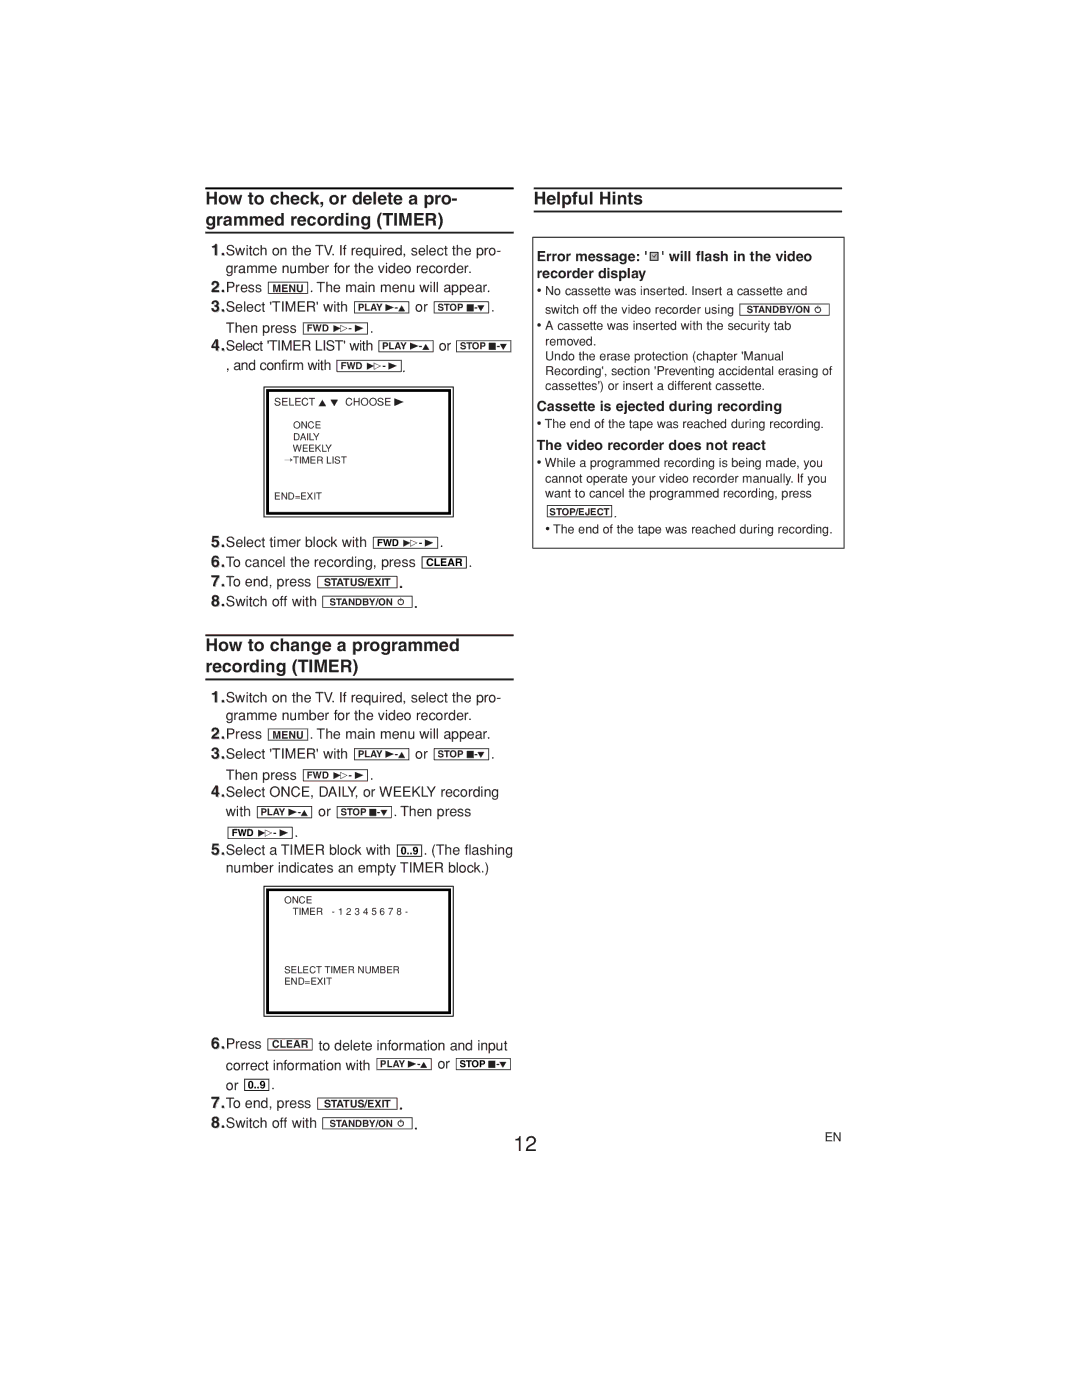
How to check, or delete a pro- grammed recording (TIMER)
1.Switch on the TV. If required, select the pro- gramme number for the video recorder.
2.Press MENU . The main menu will appear.
3.Select 'TIMER' with PLAY
Then press FWD 1- B .
4.Select 'TIMER LIST' with PLAY
, and confirm with FWD 1- B .
SELECT K L CHOOSE B
ONCE
DAILY WEEKLY
→TIMER LIST
END=EXIT
5.Select timer block with FWD 1- B .
6.To cancel the recording, press CLEAR .
7.To end, press | STATUS/EXIT . |
8.Switch off with | STANDBY/ON y . |
Helpful Hints
Error message: '  ' will flash in the video recorder display
•No cassette was inserted. Insert a cassette and
switch off the video recorder using
•A cassette was inserted with the security tab removed.
Undo the erase protection (chapter 'Manual Recording', section 'Preventing accidental erasing of cassettes') or insert a different cassette.
Cassette is ejected during recording
•The end of the tape was reached during recording.
The video recorder does not react
•While a programmed recording is being made, you cannot operate your video recorder manually. If you want to cancel the programmed recording, press
STOP/EJECT .
•The end of the tape was reached during recording.
How to change a programmed recording (TIMER)
1.Switch on the TV. If required, select the pro- gramme number for the video recorder.
2.Press MENU . The main menu will appear.
3.Select 'TIMER' with PLAY
Then press FWD 1- B .
4.Select ONCE, DAILY, or WEEKLY recording with PLAY
FWD 1- B .
5.Select a TIMER block with 0..9 . (The flashing
number indicates an empty TIMER block.)
ONCE
TIMER - 1 2 3 4 5 6 7 8 -
SELECT TIMER NUMBER
END=EXIT
6.Press | CLEAR |
| to delete information and input | |||||||
correct information with |
|
|
| or |
| |||||
PLAY | STOP | |||||||||
or |
| . |
|
|
|
|
|
|
|
|
0..9 |
|
|
|
|
|
|
| |||
7.To end, press |
|
|
| . |
|
| ||||
| STATUS/EXIT | |||||||||
|
|
| ||||||||
8.Switch off with |
|
|
|
| . |
|
| |||
| STANDBY/ON y |
|
| |||||||
12 | EN |
|