2. Installing your video recorder
Preparation for use
This chapter shows you how to prepare the video recorder use. The video recorder automatically seeks out and stores all available TV channels.
'Aim' correctly
In the following sections, you require the remote control for the first time. When using, always aim the front of the remote control at the video recorder and not at the TV.
Connecting additional devices
After you have connected additional devices (satellite receiver, etc.) through the aerial cable, switch them on. The automatic channel search will recognise them and save them.
1.Select the desired language for the
menu by pressing PLAY
2.Press MENU .
3.Confirm with PROG P+ .
The automatic TV channel search starts.
PLEASE WAIT
STARTFINISH
❚ ❚ ❚ ❚ ❚ ❚ ❚ ❚ ❚ ❚ ❚ ❚ ❚ ❚ ❚ ❚ ❚ ❚ ❚ ❚ ❚ ❚ ❚
The video recorder does not find any TV channels during the search
*Select channel 1 on the TV. Can you see the saved TV channel on the TV?
If not, check the cable connection of the aerial (aerial socket), video recorder, TV.
*The video recorder searches the entire fre- quency range in order to find and save the largest possible number of TV channels. It is pos- sible that the TV channels in your country are broadcast in a higher frequency range. As soon as this range is reached during the search, the video recorder will find the TV channels.
4.'TIME' and 'DATE' will appear on the TV
screen.
TIME
DATE
END=EXIT
5.Check 'TIME'. If required, please change the time with the number buttons 0..9 .
6.Check if the displayed settings for 'DAY', 'MONTH' and 'YEAR' are correct.
7.When all information is correct, save by pressing STATUS/EXIT .
The preparation for use is now complete.
Satellite receiver
If you are connecting a satellite receiver, please read the section 'Using the satellite receiver'.
Decoder
If you are connecting a decoder, you must install it as described in the next section.
Decoder allocation
Some TV channels transmit encoded TV signals which can only be viewed with a purchased or rented decoder. You can connect such a decoder to this video recorder. The following function will automatically activate the connected decoder for the desired TV channel.
1.Switch the TV on. If applicable, select the programme number for the video recorder operation.
2.Use PLAY
3.Press MENU . The main menu will appear.
4.Use PLAY B- K or STOP C- L to select 'TUNER
SET UP'. Then press | FWD 1- B | . |
| |||||||||||||
5.Use |
|
|
|
|
| or |
|
|
|
|
| to select 'MANU- | ||||
|
| PLAY B- K | STOP C- L |
| ||||||||||||
AL TUNING'. Then press |
|
|
|
|
| . | ||||||||||
| FWD 1- B | |||||||||||||||
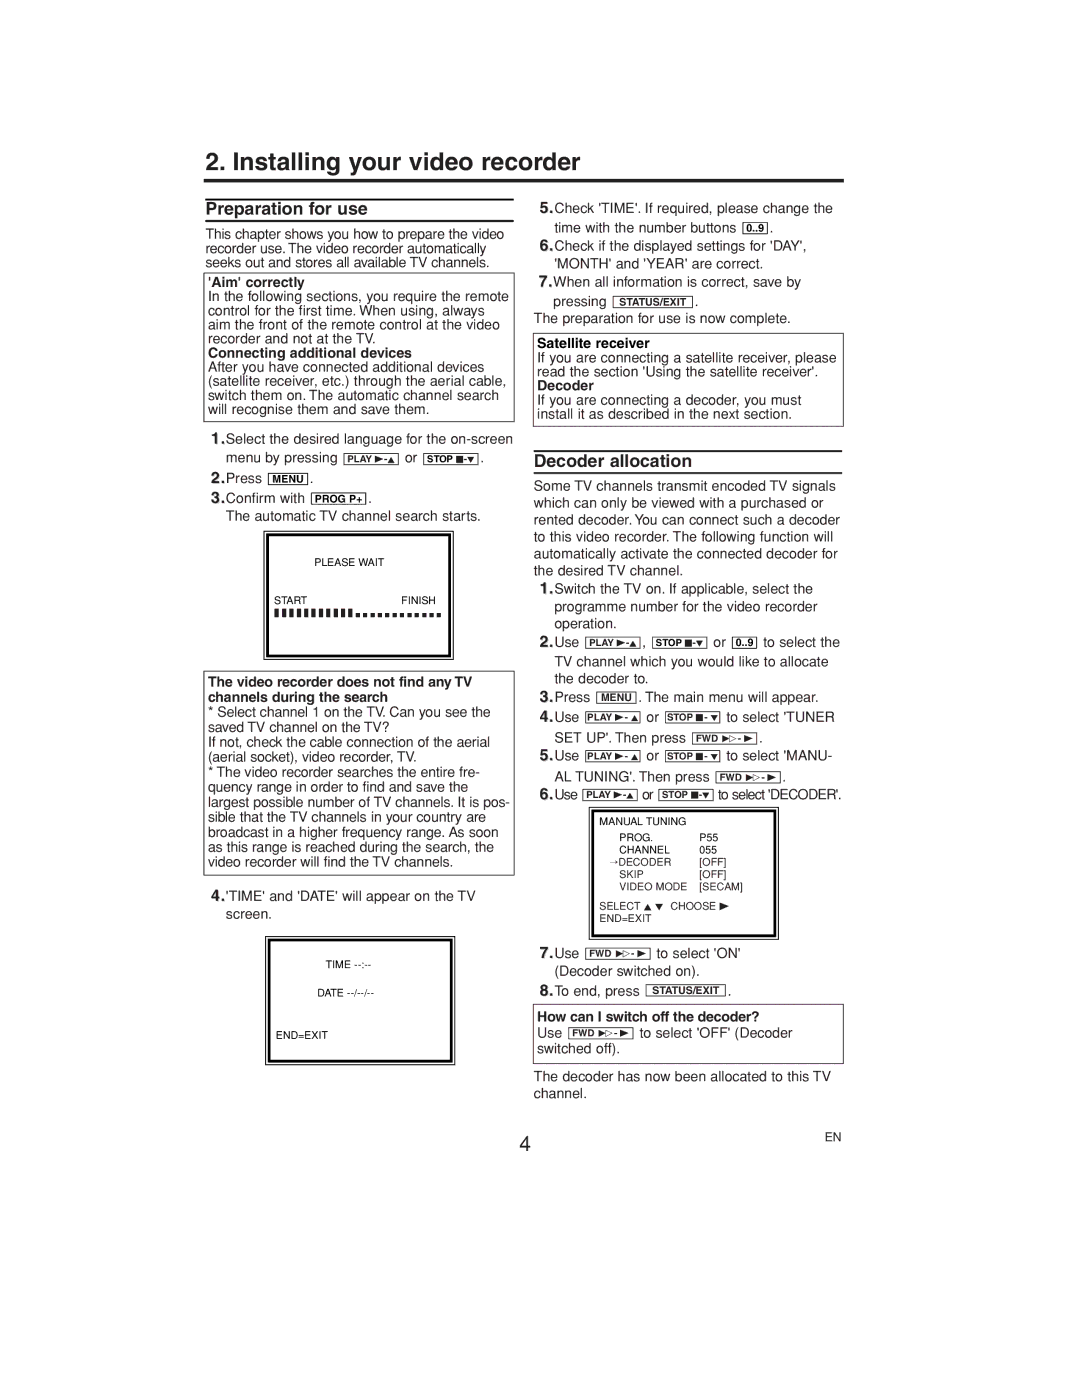
6.Use |
|
|
|
|
| or |
|
|
|
|
| to select 'DECODER'. | ||||
|
| PLAY | STOP | |||||||||||||
|
|
|
|
|
|
|
|
|
|
|
|
| ||||
|
|
|
| MANUAL TUNING |
|
|
|
|
|
|
|
| ||||
|
|
|
| PROG. | P55 |
| ||||||||||
|
|
|
| CHANNEL | 055 |
|
|
|
|
| ||||||
|
|
|
| →DECODER | [OFF] |
| ||||||||||
|
|
|
| SKIP | [OFF] |
| ||||||||||
|
|
|
| VIDEO MODE | [SECAM] |
| ||||||||||
|
|
|
| SELECT K L CHOOSE B |
| |||||||||||
|
|
|
| END=EXIT |
|
|
|
|
|
|
|
| ||||
|
|
|
|
|
|
|
|
|
|
|
|
|
|
|
|
|
|
|
|
|
|
|
|
|
|
|
|
|
|
|
|
|
|
FWD 1- B to select 'ON' (Decoder switched on).
8.To end, press STATUS/EXIT .
How can I switch off the decoder?
Use FWD 1- B to select 'OFF' (Decoder switched off).
The decoder has now been allocated to this TV channel.
4 | EN |
|