Pioneer
 101
101
 DEMONSTRATION


Here is a quick way to demonstrate the basic features of your Pioneer 101.
I. Supplies Needed
•A quarter (25¢)
•A nickel (5¢)
•A Penny (1¢)
•A small piece of aluminum foil
•A Nail
II.Position your Pioneer 101
•Place the detector on a table, with the search coil hanging over the edge.
•Be sure that the search coil is far away from walls or metal objects. Keep the search coil away from any metal in the table.
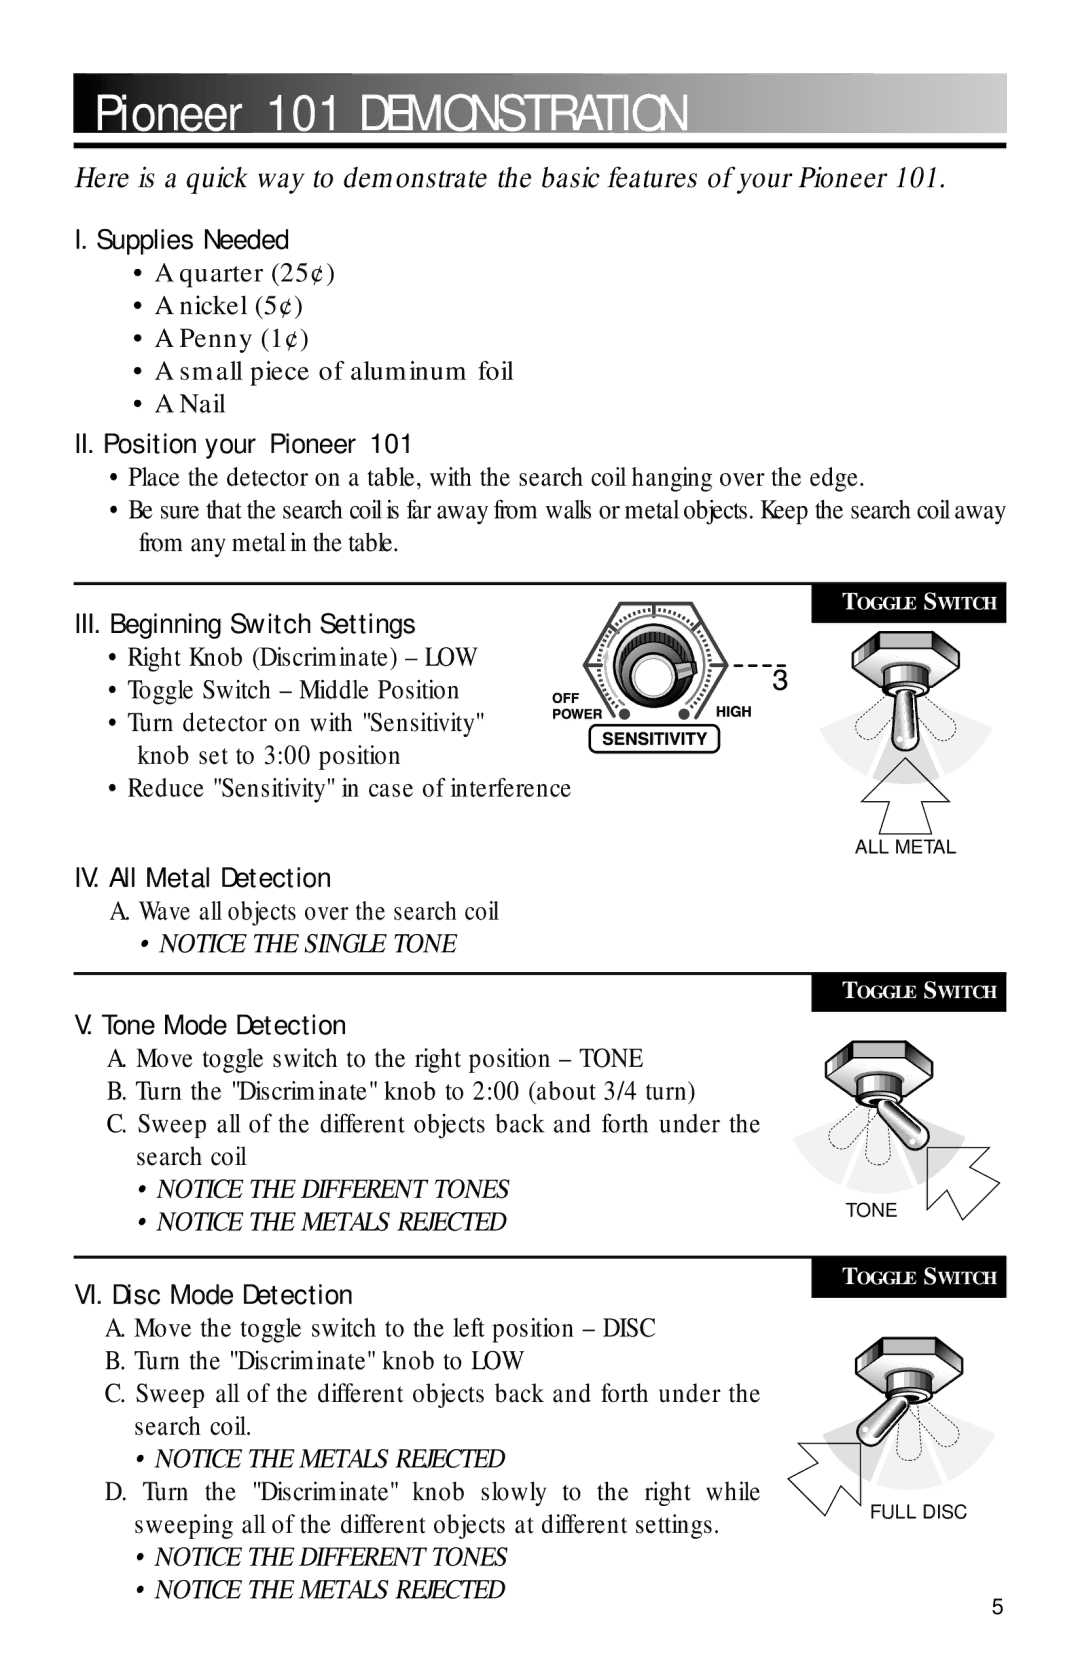
TOGGLE SWITCH
III. Beginning Switch Settings
• Right Knob (Discriminate) – LOW
• Toggle Switch – Middle Position
• Turn detector on with "Sensitivity" knob set to 3:00 position
•Reduce "Sensitivity" in case of interference
ALL METAL
IV. All Metal Detection
A. Wave all objects over the search coil
•NOTICE THE SINGLE TONE
V. Tone Mode Detection
A. Move toggle switch to the right position – TONE
B. Turn the "Discriminate" knob to 2:00 (about 3/4 turn)
C. Sweep all of the different objects back and forth under the search coil
•NOTICE THE DIFFERENT TONES
•NOTICE THE METALS REJECTED
TOGGLE SWITCH
TONE
VI. Disc Mode Detection
A. Move the toggle switch to the left position – DISC B. Turn the "Discriminate" knob to LOW
C. Sweep all of the different objects back and forth under the search coil.
•NOTICE THE METALS REJECTED
D. Turn the "Discriminate" knob slowly to the right while sweeping all of the different objects at different settings.
•NOTICE THE DIFFERENT TONES
•NOTICE THE METALS REJECTED
TOGGLE SWITCH
FULL DISC
5