
vsx-d412 specifications
The Pioneer VSX-D412 is a versatile and feature-rich home theater receiver that appeals to both audiophiles and casual listeners alike. Launched in the early 2000s, this model showcases a commitment to delivering high-quality sound and performance in an affordable package.One of the standout features of the VSX-D412 is its power output. This receiver is rated at 100 watts per channel, which means it can drive a wide range of speakers to deliver clear and dynamic audio. The device supports various speaker configurations, including 5.1-channel setups, allowing users to create an immersive surround sound experience.
In terms of connectivity, the VSX-D412 excels with multiple inputs and outputs. It includes several analog audio inputs and supports composite video, making it compatible with a variety of sources like DVD players, gaming consoles, and cable boxes. The standard surround sound formats, including Dolby Pro Logic and Dolby Digital, ensure that viewers can experience movies and music with rich, enveloping sound.
The device also features the Advanced Surround Technology, which enables users to customize their audio experience further. With preset sound modes designed for movies, music, or games, users can easily switch between profiles to suit their viewing or listening preference.
Additionally, the VSX-D412 incorporates Pioneer’s proprietary technologies, such as the Auto Level Control, which helps maintain a consistent volume level across different audio sources. This is particularly useful when switching between loud action movie scenes and quieter dialogue, ensuring that users do not need to adjust the volume constantly.
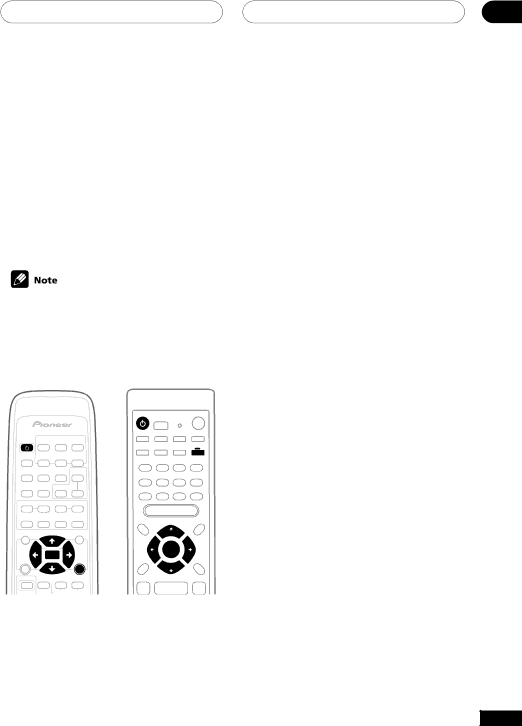
Remote control functionality adds to its convenience, allowing users to manage all their audio and video components from a comfortable distance.
The design of the Pioneer VSX-D412 reflects simplicity and practicality, with a user-friendly interface that allows quick access to various functions.
In summary, the Pioneer VSX-D412 is a reliable home theater receiver that combines quality sound performance, versatile connectivity options, and user-friendly features. It remains a solid choice for those seeking to enhance their audio experience without breaking the bank, making it a notable investment for home entertainment enthusiasts.