Connecting the Optional Touchscreen
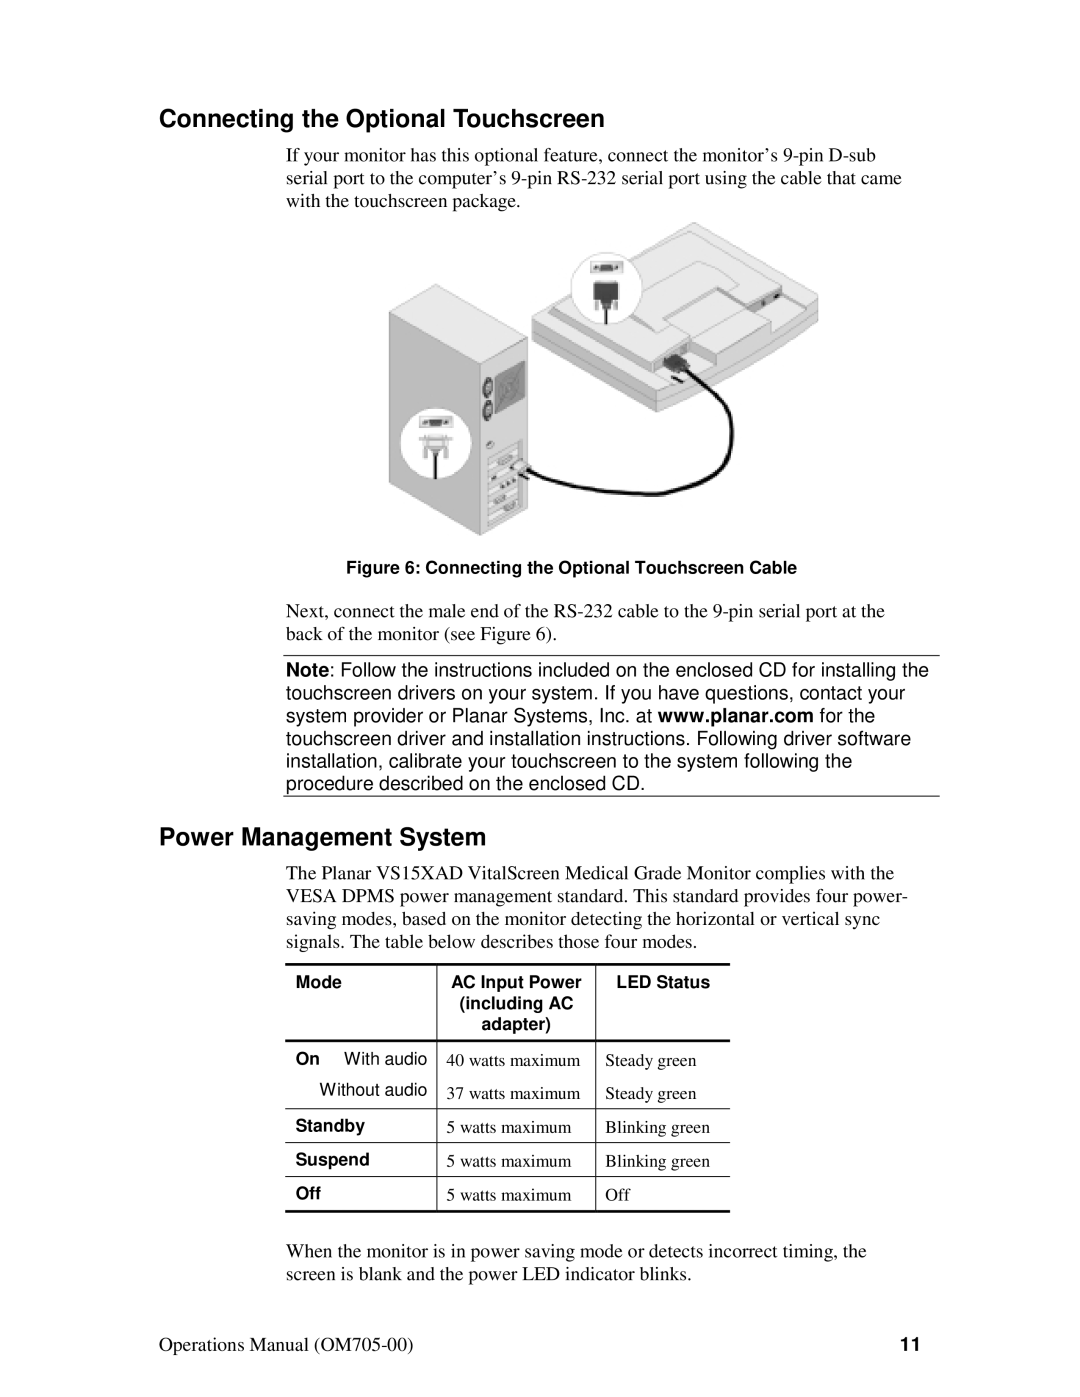
If your monitor has this optional feature, connect the monitor’s
Figure 6: Connecting the Optional Touchscreen Cable
Next, connect the male end of the
Note: Follow the instructions included on the enclosed CD for installing the touchscreen drivers on your system. If you have questions, contact your system provider or Planar Systems, Inc. at www.planar.com for the touchscreen driver and installation instructions. Following driver software installation, calibrate your touchscreen to the system following the procedure described on the enclosed CD.
Power Management System
The Planar VS15XAD VitalScreen Medical Grade Monitor complies with the VESA DPMS power management standard. This standard provides four power- saving modes, based on the monitor detecting the horizontal or vertical sync signals. The table below describes those four modes.
Mode | AC Input Power | LED Status |
| (including AC |
|
| adapter) |
|
|
|
|
On With audio | 40 watts maximum | Steady green |
Without audio | 37 watts maximum | Steady green |
|
|
|
Standby | 5 watts maximum | Blinking green |
|
|
|
Suspend | 5 watts maximum | Blinking green |
|
|
|
Off | 5 watts maximum | Off |
|
|
|
When the monitor is in power saving mode or detects incorrect timing, the screen is blank and the power LED indicator blinks.
Operations Manual | 11 |
