U4-237 specifications
The PLUS Vision U4-237 is a state-of-the-art presentation tool designed for modern meeting environments. Its sleek design and advanced features make it a versatile solution for both professional and educational settings.One of the standout characteristics of the U4-237 is its impressive resolution. With a Full HD display, the content is presented with incredible clarity and detail, ensuring that every presentation, video, and image is sharp and easy to see. This high resolution is particularly beneficial for detailed diagrams, graphs, and text-heavy slides, where clarity is essential for audience comprehension.
The U4-237 is equipped with advanced projection technology, including 3LCD technology, which enhances color accuracy and brightness. This feature ensures that vibrant colors are presented faithfully, making it ideal for a variety of content types, from colorful charts to intricate presentations.
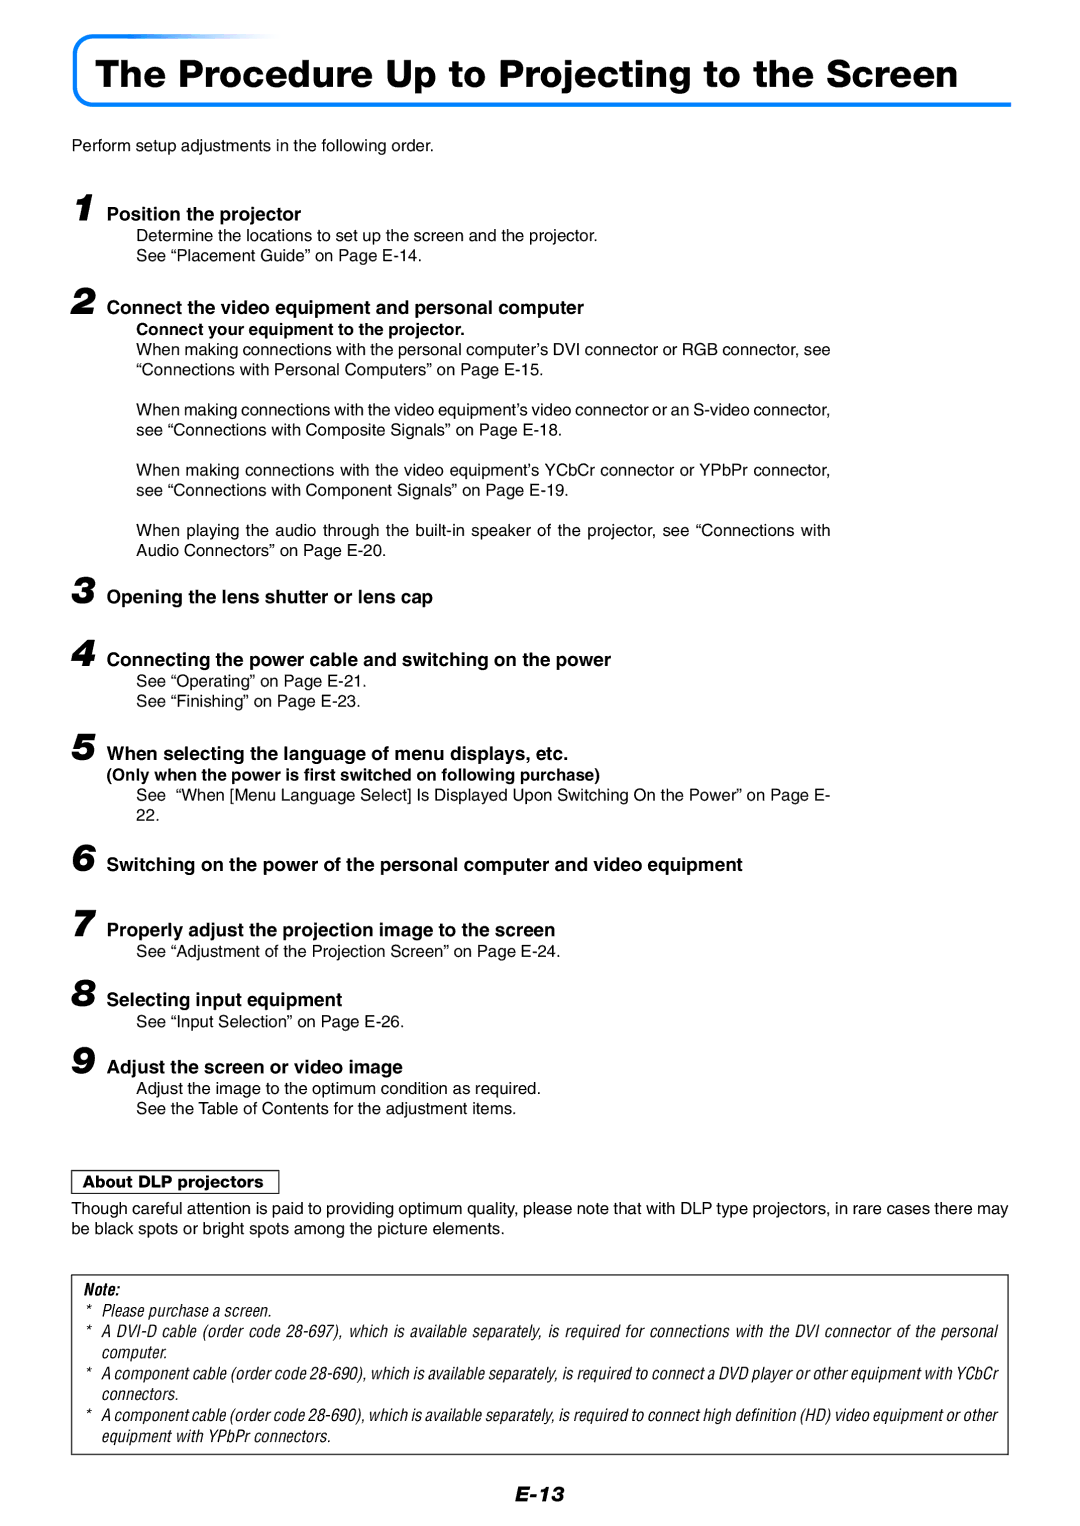
Ease of connectivity is another key feature of the PLUS Vision U4-237. It offers multiple input options, including HDMI, VGA, and USB, allowing users to easily connect laptops, tablets, and other devices. Wireless connectivity options are also available, supporting seamless presentations without the hassle of tangled cables.
The U4-237 boasts a user-friendly interface, which simplifies navigation through menus and settings. This intuitive design allows users to quickly adjust settings like brightness and contrast, ensuring optimal performance in varying lighting conditions. The built-in speaker enhances sound delivery, negating the need for additional audio equipment during presentations.
Additionally, the PLUS Vision U4-237 is designed with energy efficiency in mind. It incorporates a long lamp life, reducing maintenance costs and downtime. This reliability makes it a perfect choice for regular use in classrooms or boardrooms.
Another notable feature is the comprehensive range of projection modes available, including eco mode, which conserves energy while still delivering quality images. The device also includes a remote control for convenient operation from a distance, making it easy to manage presentations smoothly.
In conclusion, the PLUS Vision U4-237 stands out for its high-definition display, advanced 3LCD technology, versatile connectivity options, user-friendly interface, and energy-efficient design. It is an excellent investment for anyone looking to elevate their presentation experience, whether in a professional or educational environment.

