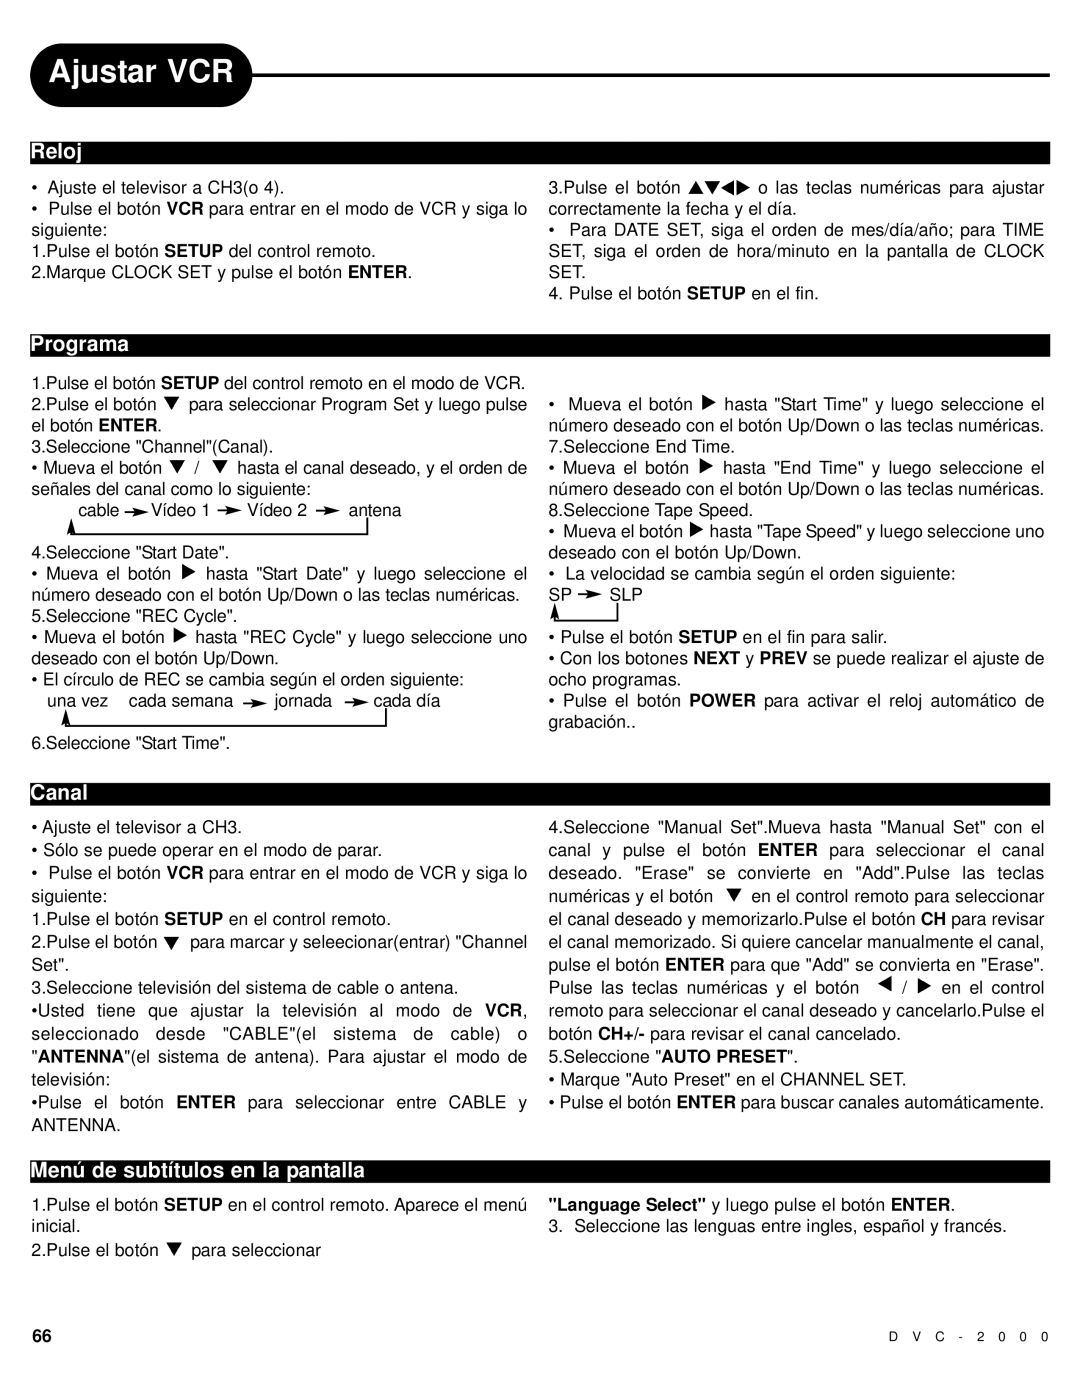
Ajustar VCR

Reloj

Ajuste el televisor a CH3(o 4).

Pulse el botón VCR para entrar en el modo de VCR y siga lo siguiente:

1.Pulse el botón SETUP del control remoto. 2.Marque CLOCK SET y pulse el botón ENTER.

3.Pulse el botón o las teclas numéricas para ajustar correctamente la fecha y el día.

Para DATE SET, siga el orden de mes/día/año; para TIME SET, siga el orden de hora/minuto en la pantalla de CLOCK SET.

4. Pulse el botón SETUP en el fin.

Programa

1.Pulse el botón SETUP del control remoto en el modo de VCR. 2.Pulse el botón para seleccionar Program Set y luego pulse el botón ENTER.

3.Seleccione "Channel"(Canal).

Mueva el botón / hasta el canal deseado, y el orden de señales del canal como lo siguiente:

cable


Vídeo 1


Vídeo 2


antena


4.Seleccione "Start Date".

Mueva el botón hasta "Start Date" y luego seleccione el número deseado con el botón Up/Down o las teclas numéricas. 5.Seleccione "REC Cycle".

Mueva el botón hasta "REC Cycle" y luego seleccione uno deseado con el botón Up/Down.

El círculo de REC se cambia según el orden siguiente:

una vez cada semana


jornada


cada día


6.Seleccione "Start Time".

Mueva el botón hasta "Start Time" y luego seleccione el número deseado con el botón Up/Down o las teclas numéricas. 7.Seleccione End Time.

Mueva el botón hasta "End Time" y luego seleccione el número deseado con el botón Up/Down o las teclas numéricas. 8.Seleccione Tape Speed.

Mueva el botón hasta "Tape Speed" y luego seleccione uno deseado con el botón Up/Down.

La velocidad se cambia según el orden siguiente:

SP SLP

Pulse el botón SETUP en el fin para salir.

Con los botones NEXT y PREV se puede realizar el ajuste de ocho programas.

Pulse el botón POWER para activar el reloj automático de grabación..

Canal

• Ajuste el televisor a CH3.

4.Seleccione "Manual Set".Mueva hasta "Manual Set" con el

• Sólo se puede operar en el modo de parar.

canal y pulse el botón ENTER para seleccionar el canal

• Pulse el botón VCR para entrar en el modo de VCR y siga lo

deseado. "Erase" se convierte en "Add".Pulse las teclas

siguiente:


numéricas y el botón en el control remoto para seleccionar

1.Pulse el botón SETUP en el control remoto.

el canal deseado y memorizarlo.Pulse el botón CH para revisar

2.Pulse el botón

para marcar y seleecionar(entrar) "Channel

el canal memorizado. Si quiere cancelar manualmente el canal,

Set".


pulse el botón ENTER para que "Add" se convierta en "Erase".

3.Seleccione televisión del sistema de cable o antena.

Pulse las teclas numéricas y el botón / en el control

•Usted tiene que ajustar la televisión al modo de VCR,

remoto para seleccionar el canal deseado y cancelarlo.Pulse el

seleccionado desde "CABLE"(el sistema de cable) o

botón CH+/- para revisar el canal cancelado.

"ANTENNA"(el sistema de antena). Para ajustar el modo de

5.Seleccione "AUTO PRESET".

televisión:


• Marque "Auto Preset" en el CHANNEL SET.

•Pulse el botón ENTER para seleccionar entre CABLE y

• Pulse el botón ENTER para buscar canales automáticamente.

ANTENNA.


Menú de subtítulos en la pantalla

1.Pulse el botón SETUP en el control remoto. Aparece el menú inicial.

2.Pulse el botón para seleccionar

"Language Select" y luego pulse el botón ENTER.

3. Seleccione las lenguas entre ingles, español y francés.

66

D V C - 2 0 0 0

Page 40
Image 40
Polaroid DVC-2000 manual Ajustar VCR, Reloj, Programa, Canal, Menú de subtítulos en la pantalla

DVC-2000 specifications

The Polaroid DVC-2000 is a versatile digital camcorder that combines user-friendly features with advanced technology to cater to both amateur and semi-professional videographers. Released in the early 2000s, this camcorder marked a significant step in Polaroid's evolution into digital video, moving away from its traditional instant photography roots.

One of the standout features of the DVC-2000 is its compact design, allowing users to easily carry it for spontaneous video recording. Weighing in at just over two pounds, it strikes a balance between portability and functionality. This camcorder boasted a 680,000 pixel CCD image sensor, delivering crisp and vibrant video quality that was impressive for its time. The DVC-2000 supports 640 x 480 resolution, which was a high standard for personal camcorders during its era, enabling it to capture sharp details and colors in varying conditions.

Equipped with a 10x optical zoom lens and a 200x digital zoom, the DVC-2000 offered versatility for capturing scenes from a distance while maintaining clarity. The built-in image stabilization technology was another pivotal feature, helping to reduce blurriness and shakiness in handheld shots. This was particularly advantageous for home videos or recordings in dynamic environments.

For connectivity, the DVC-2000 included USB output, making it easy to transfer recorded video files to computers for editing or sharing. Additionally, it featured an external microphone input, allowing users to enhance audio quality for a more professional sound in their videos. The camcorder's LCD screen provided a clear viewfinder, simplifying the process of framing shots and adjusting settings.

The DVC-2000 utilized MiniDV tapes, which provided a convenient format for storing video. Although tape technology has largely been replaced by digital storage solutions, MiniDV offered relatively high-quality recording with a decent capacity for extended video lengths.

In terms of battery life, the DVC-2000 was equipped with a rechargeable lithium-ion battery, allowing for extended shooting sessions without the constant need for recharging.

Overall, the Polaroid DVC-2000 represented an intersection of innovative technology and user-friendly design, making it an attractive option for individuals eager to dive into digital video. Its combination of quality features ensured that it carved a place in the hearts of many video enthusiasts during its time.