LCD-1550 specifications
The Polaroid LCD-1550 is a versatile and innovative digital display designed for users seeking high-quality visuals and user-friendly features. With its sleek design and modern aesthetics, the LCD-1550 stands out in any setting, whether it be for personal, professional, or educational use.One of the standout features of the Polaroid LCD-1550 is its 15-inch screen, which provides a vibrant viewing experience with exceptional clarity. The display boasts a resolution of 1024 x 768 pixels, ensuring that images, videos, and presentations come to life with rich colors and sharp details. This makes it ideal for showcasing photographs, watching videos, or delivering presentations that require impactful visuals.
The LCD-1550 employs advanced LCD technology, which is known for its energy efficiency and ability to deliver consistent brightness levels. This technology helps to reduce eye strain during prolonged use, making it a suitable choice for extended viewing periods. Furthermore, its aspect ratio of 4:3 allows for compatibility with various media formats, ensuring that users can enjoy a wide range of content without distortion.
In terms of connectivity, the Polaroid LCD-1550 is equipped with multiple input options, including VGA and RCA ports. This allows users to connect a variety of devices such as laptops, gaming consoles, and DVD players effortlessly. The built-in speakers further enhance the multimedia experience, providing clear sound quality that complements the impressive visuals.
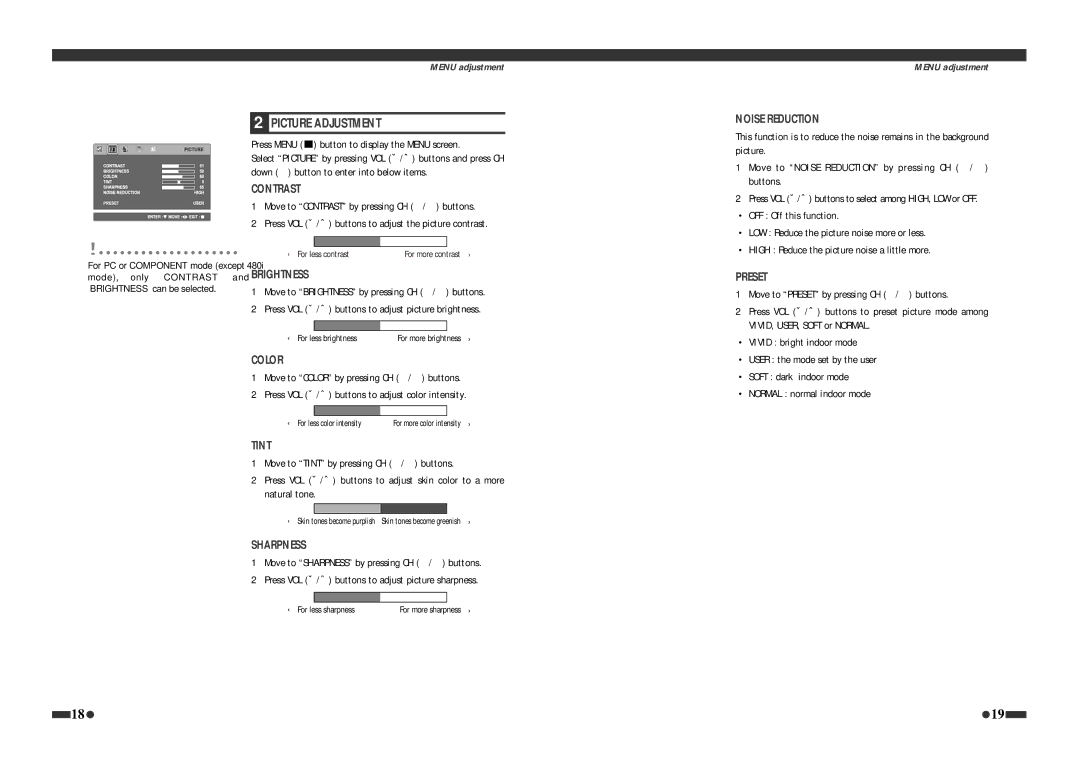
Another significant aspect of the Polaroid LCD-1550 is its user-friendly interface. The on-screen menu is intuitive, allowing users to navigate through settings and customize their viewing experience with ease. Additionally, the monitor features a tilt function, enabling users to adjust the angle for optimal viewing comfort.
Designed for durability and longevity, the Polaroid LCD-1550 is built with high-quality materials that ensure resilience against everyday wear and tear. This makes it a reliable choice for both home and office environments.
In summary, the Polaroid LCD-1550 combines exceptional display quality, advanced technology, and practical features, making it a noteworthy option for anyone in need of a dependable and visually appealing digital display. Whether for sharing memories, conducting meetings, or enjoying entertainment, the LCD-1550 delivers on multiple fronts, making it a valuable addition to any setup.

