PAINTING THE CABINET, BRACKET KNOBS AND BRACKET:
1.Apply two thin coats of primer to the cabinet and knobs. The bracket does not require a primer.
2.When the primer is completely dry, apply the finish color [figure 7].
3.When the paint is completely dry, remove the masking material.
4.Do not reattach the speaker to the bracket until the bracket is mounted. Try to keep all handling of freshly painted parts to a minimum.
PEINTURE DE L’ENCEINTE, DES SUPPORTS ET DES BOUTONS DES SUPPORTS:
1.Appliquez deux minces couches de peinture d’apprêt aux enceintes et aux boutons. Le support ne requiert pas d’apprêt.
2.Lorsque la peinture d’apprêt est complètement sèche, appliquez la peinture de finition [figure 7].
3.Lorsque la peinture de finition est complètement sèche, retirez les cache-peinture.
4.Installez le support au mur avant d’y monter l’enceinte. Évitez autant que possible de manipuler les pièces fraîchement peintes.
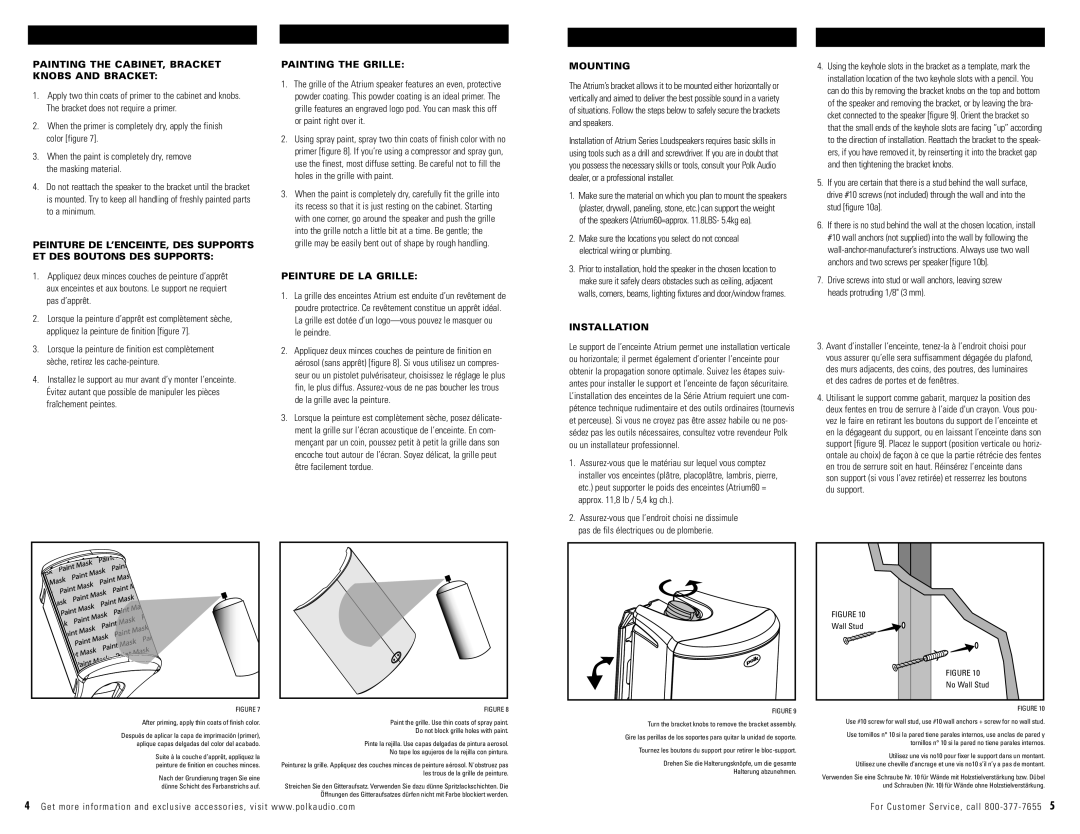
FIGURE 7
After priming, apply thin coats of finish color.
Después de aplicar la capa de imprimación (primer), aplique capas delgadas del color del acabado.
Suite à la couche d’apprêt, appliquez la peinture de finition en couches minces.
Nach der Grundierung tragen Sie eine dünne Schicht des Farbanstrichs auf.
PAINTING THE GRILLE:
1.The grille of the Atrium speaker features an even, protective powder coating. This powder coating is an ideal primer. The grille features an engraved logo pod. You can mask this off or paint right over it.
2.Using spray paint, spray two thin coats of finish color with no primer [figure 8]. If you’re using a compressor and spray gun, use the finest, most diffuse setting. Be careful not to fill the holes in the grille with paint.
3.When the paint is completely dry, carefully fit the grille into its recess so that it is just resting on the cabinet. Starting with one corner, go around the speaker and push the grille into the grille notch a little bit at a time. Be gentle; the grille may be easily bent out of shape by rough handling.
PEINTURE DE LA GRILLE:
1.La grille des enceintes Atrium est enduite d’un revêtement de poudre protectrice. Ce revêtement constitue un apprêt idéal. La grille est dotée d’un logo—vous pouvez le masquer ou
le peindre.
2.Appliquez deux minces couches de peinture de finition en aérosol (sans apprêt) [figure 8]. Si vous utilisez un compres- seur ou un pistolet pulvérisateur, choisissez le réglage le plus fin, le plus diffus. Assurez-vous de ne pas boucher les trous de la grille avec la peinture.
3.Lorsque la peinture est complètement sèche, posez délicate- ment la grille sur l’écran acoustique de l’enceinte. En com- mençant par un coin, poussez petit à petit la grille dans son encoche tout autour de l’écran. Soyez délicat, la grille peut être facilement tordue.
FIGURE 8
Paint the grille. Use thin coats of spray paint.
Do not block grille holes with paint.
Pinte la rejilla. Use capas delgadas de pintura aerosol.
No tape los agujeros de la rejilla con pintura.
Peinturez la grille. Appliquez des couches minces de peinture aérosol. N'obstruez pas les trous de la grille de peinture.
Streichen Sie den Gitteraufsatz. Verwenden Sie dazu dünne Spritzlackschichten. Die Öffnungen des Gitteraufsatzes dürfen nicht mit Farbe blockiert werden.
MOUNTING
The Atrium’s bracket allows it to be mounted either horizontally or vertically and aimed to deliver the best possible sound in a variety of situations. Follow the steps below to safely secure the brackets and speakers.
Installation of Atrium Series Loudspeakers requires basic skills in using tools such as a drill and screwdriver. If you are in doubt that you possess the necessary skills or tools, consult your Polk Audio dealer, or a professional installer.
1.Make sure the material on which you plan to mount the speakers (plaster, drywall, paneling, stone, etc.) can support the weight of the speakers (Atrium60=approx. 11.8LBS- 5.4kg ea).
2.Make sure the locations you select do not conceal electrical wiring or plumbing.
3.Prior to installation, hold the speaker in the chosen location to make sure it safely clears obstacles such as ceiling, adjacent walls, corners, beams, lighting fixtures and door/window frames.
INSTALLATION
Le support de l’enceinte Atrium permet une installation verticale ou horizontale; il permet également d’orienter l’enceinte pour obtenir la propagation sonore optimale. Suivez les étapes suiv- antes pour installer le support et l’enceinte de façon sécuritaire. L’installation des enceintes de la Série Atrium requiert une com- pétence technique rudimentaire et des outils ordinaires (tournevis et perceuse). Si vous ne croyez pas être assez habile ou ne pos- sédez pas les outils nécessaires, consultez votre revendeur Polk ou un installateur professionnel.
1.Assurez-vous que le matériau sur lequel vous comptez installer vos enceintes (plâtre, placoplâtre, lambris, pierre, etc.) peut supporter le poids des enceintes (Atrium60 = approx. 11,8 lb / 5,4 kg ch.).
2.Assurez-vous que l’endroit choisi ne dissimule
pas de fils électriques ou de plomberie.
FIGURE 9
Turn the bracket knobs to remove the bracket assembly.
Gire las perillas de los soportes para quitar la unidad de soporte. Tournez les boutons du support pour retirer le bloc-support.
Drehen Sie die Halterungsknöpfe, um die gesamte
Halterung abzunehmen.
4.Using the keyhole slots in the bracket as a template, mark the installation location of the two keyhole slots with a pencil. You can do this by removing the bracket knobs on the top and bottom of the speaker and removing the bracket, or by leaving the bra- cket connected to the speaker [figure 9]. Orient the bracket so that the small ends of the keyhole slots are facing “up” according to the direction of installation. Reattach the bracket to the speak- ers, if you have removed it, by reinserting it into the bracket gap and then tightening the bracket knobs.
5.If you are certain that there is a stud behind the wall surface, drive #10 screws (not included) through the wall and into the stud [figure 10a].
6.If there is no stud behind the wall at the chosen location, install #10 wall anchors (not supplied) into the wall by following the wall-anchor-manufacturer’s instructions. Always use two wall anchors and two screws per speaker [figure 10b].
7.Drive screws into stud or wall anchors, leaving screw heads protruding 1/8" (3 mm).
3.Avant d’installer l’enceinte, tenez-la à l’endroit choisi pour vous assurer qu’elle sera suffisamment dégagée du plafond, des murs adjacents, des coins, des poutres, des luminaires et des cadres de portes et de fenêtres.
4.Utilisant le support comme gabarit, marquez la position des deux fentes en trou de serrure à l’aide d'un crayon. Vous pou- vez le faire en retirant les boutons du support de l’enceinte et en la dégageant du support, ou en laissant l’enceinte dans son support [figure 9]. Placez le support (position verticale ou horiz- ontale au choix) de façon à ce que la partie rétrécie des fentes en trou de serrure soit en haut. Réinsérez l’enceinte dans
son support (si vous l’avez retirée) et resserrez les boutons du support.
FIGURE 10 |
Wall Stud |
FIGURE 10 |
No Wall Stud |
FIGURE 10
Use #10 screw for wall stud, use #10 wall anchors + screw for no wall stud.
Use tornillos n° 10 si la pared tiene parales internos, use anclas de pared y tornillos n° 10 si la pared no tiene parales internos.
Utilisez une vis no10 pour fixer le support dans un montant. Utilisez une cheville d’ancrage et une vis no10 s’il n’y a pas de montant.
Verwenden Sie eine Schraube Nr. 10 für Wände mit Holzstielverstärkung bzw. Dübel und Schrauben (Nr. 10) für Wände ohne Holzstielverstärkung.