CUSTOMIZING YOUR PHONE

Updating Contact Directory

To add or edit a contact:

1.Tap > Features > Contact Directory.

2.To add a contact, tap the Add soft key. To edit a contact, tap the contact you want to edit, and then tap the Edit soft key.

3.Tap a field, and then add or edit the information. The only required field is the Contact field (the phone number).

4.Tap the Save soft key.

To search for a contact:

1.Tap > Features > Contact Directory.

2.Tap the Search soft key, and then enter the first few characters of the contact’s first or last name.

3.Tap the Search soft key.

Adjusting Volume

To change the handset, speakerphone, or headset volume:

>>During a call, press or .

To change the ringer volume:

>>When the phone is idle, press

or .

Updating Ring Tones

(Your company’s settings may not allow this feature.)

To change the incoming ring tone:

1.Tap > Settings > Basic > Ring Type.

2.If your phone has multiple lines, tap the line for which to update the ring tone.

3.Tap the ring type you want, and then tap the Select soft key.

To set a ring tone for a contact:

1.Tap > Features > Contact Directory.

2.Search for the contact (see Updating Contact Directory).

3.Tap the Edit soft key, and then scroll to Ring Type.

4.Enter the number that corresponds to the ring type you want.

(To find the number associated with a ring type, see the instructions to change the incoming ring tone.)

5.Tap the Save soft key.

Setting Up a Screen Saver

(This feature may not be enabled on your phone.)

You can set up your phone so that after the phone is idle for a certain amount of time, your phone will display a screen saver of your own pictures.

You can stop a screen saver at any time and return to the idle screen by tapping the touch screen.

To set up a screen saver:

1.Place your pictures on a USB flash drive, either in the root directory or in a folder.

(For information on supported file types and the maximum file size for pictures, see the User Guide for the Polycom VVX 1500 Phone available at www.polycom.com/ voicedocumentation.)

2.Attach the USB flash drive to the USB port on the right side of your phone. The USB port is behind a door

you flip down. The USB icon, , will display on the touch screen.

3.Tap > Settings > Basic > Preferences > Picture Frame.

4.From the Picture Frame screen:

In the Folder field, enter the name of the folder in which you placed your pictures on the USB flash drive.

(If you placed your pictures in the root directory, leave the field blank.)

In the Time Per Image field, enter the number of seconds you want each picture to display. Enter a number between 3 and 300 seconds. The default is 5 seconds.

5.Tap the Save soft key, and then tap Screen Saver.

6.From the Screen Saver screen:

For the Screen Saver field, select Enabled.

In the Wait Time field, enter the number of minutes the phone should wait after no activity before displaying the screen saver. Enter a number between 1 and 9999 minutes. The default is 15 minutes.

7.Tap the Save soft key.

To disable a screen saver:

1.Tap > Settings > Basic > Preferences > Screen Saver

2.From the Screen Saver screen, select Disabled for the Screen Saver field.

3.Tap the Save soft key.

Updating the Background Picture

(This feature may not be enabled on your phone.)

You can change the background picture on your phone. You can choose a picture that your system administrator has added to your phone, or a picture on your USB flash drive.

To update the background picture:

1.Tap > Settings > Basic > Preferences > Backgrounds.

2.From the Backgrounds screen, tap the background picture you want, and then tap the Select soft key.

To set your own picture as the background picture:

1.Ensure that the picture is on the USB flash drive, the device is attached to your phone, and you have specified the folder the picture is in. For more information, see Setting Up a Screen Saver.

2.Tap > Picture Frame.

3.Tap or one or more times to display the picture you want as the

background picture, and then tap .

The new background picture displays. The picture will display on the Backgrounds screen as “Local File.”

Polycom VVX 1500 Phone Quick User Guide. 1725-16844-001 Rev. A March 2009 Edition

4

Page 4
Image 4
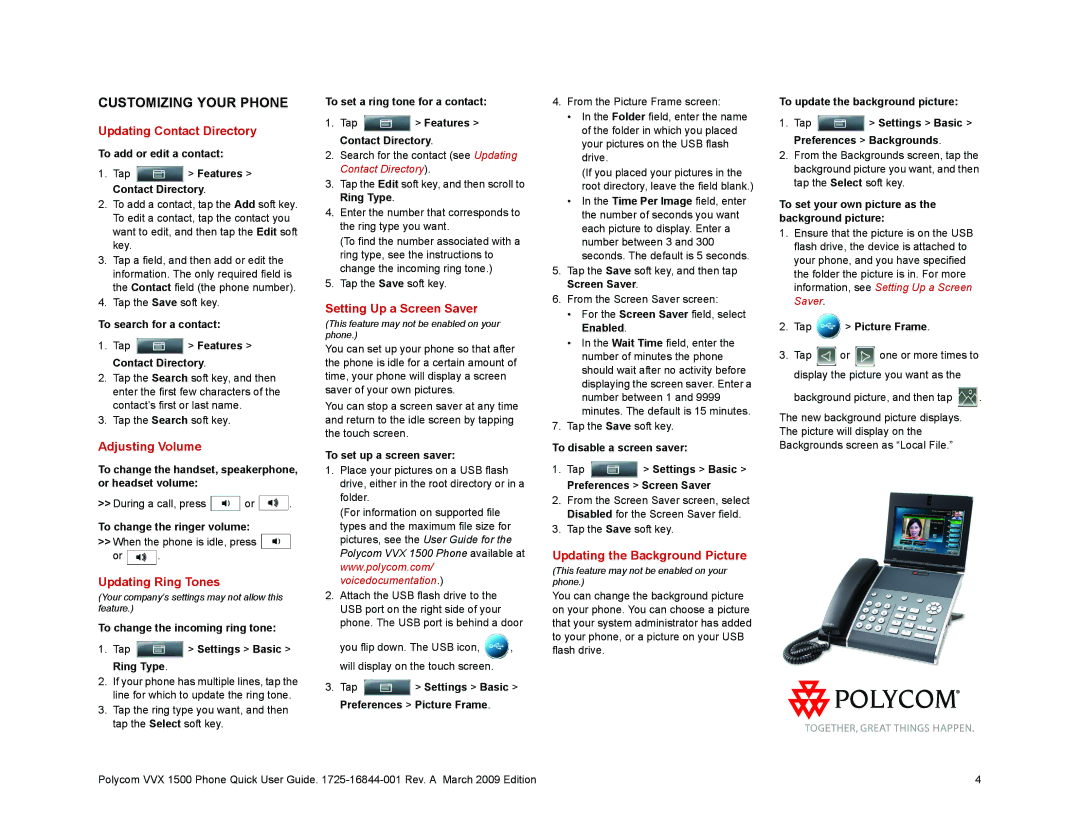
Polycom 1500 manual Updating Contact Directory, Adjusting Volume, Updating Ring Tones, Setting Up a Screen Saver

1500 specifications

The Polycom 1500 is a sophisticated communications device designed to enhance the quality of voice calls in various business environments. This executive tabletop conference phone is renowned for its ability to deliver crystal-clear audio, making it an ideal choice for team meetings, conference calls, and collaborative discussions.

One of the standout features of the Polycom 1500 is its utilization of patented Polycom HD Voice technology, which ensures that every participant's voice is heard clearly and distinctly. This technology captures a wide frequency range, providing natural-sounding audio that significantly improves the overall call experience. The device also supports full-duplex audio, allowing users to speak and listen at the same time without any interruptions or cutouts, essential for smooth, dynamic conversations.

Connectivity is another key aspect of the Polycom 1500. It supports both traditional analog phone lines and Voice over Internet Protocol (VoIP), offering flexibility for different organizational needs. The phone features a large, intuitive LCD screen that displays call information, caller ID, and status updates, allowing for easy management of calls. The interface is user-friendly, enabling quick access to frequently used contacts and call settings.

In addition to its audio capabilities, the Polycom 1500 is equipped with advanced noise reduction technology. This feature minimizes background noise from the surrounding environment, ensuring that distractions do not interfere with the clarity of the conversation. This is particularly valuable in busy office settings or shared workspaces where multiple conversations might be taking place nearby.

Another notable characteristic of the Polycom 1500 is its scalability. The device can be integrated into larger Polycom systems, supporting multiple microphones and speakers, making it suitable for larger meeting rooms. Organizations can enhance their conferencing capabilities by adding more units as needed, facilitating seamless communication across teams.

The Polycom 1500 also prioritizes security, with encrypted communications ensuring that sensitive discussions remain confidential. Furthermore, its sleek design and durable construction make it a fitting addition to any professional setting, combining functionality with aesthetics.

In conclusion, the Polycom 1500 stands out in the realm of conference phones with its combination of HD voice technology, connectivity options, noise reduction, and expandability, making it an excellent choice for organizations looking to improve their communication efficiency.