550D, 500D specifications
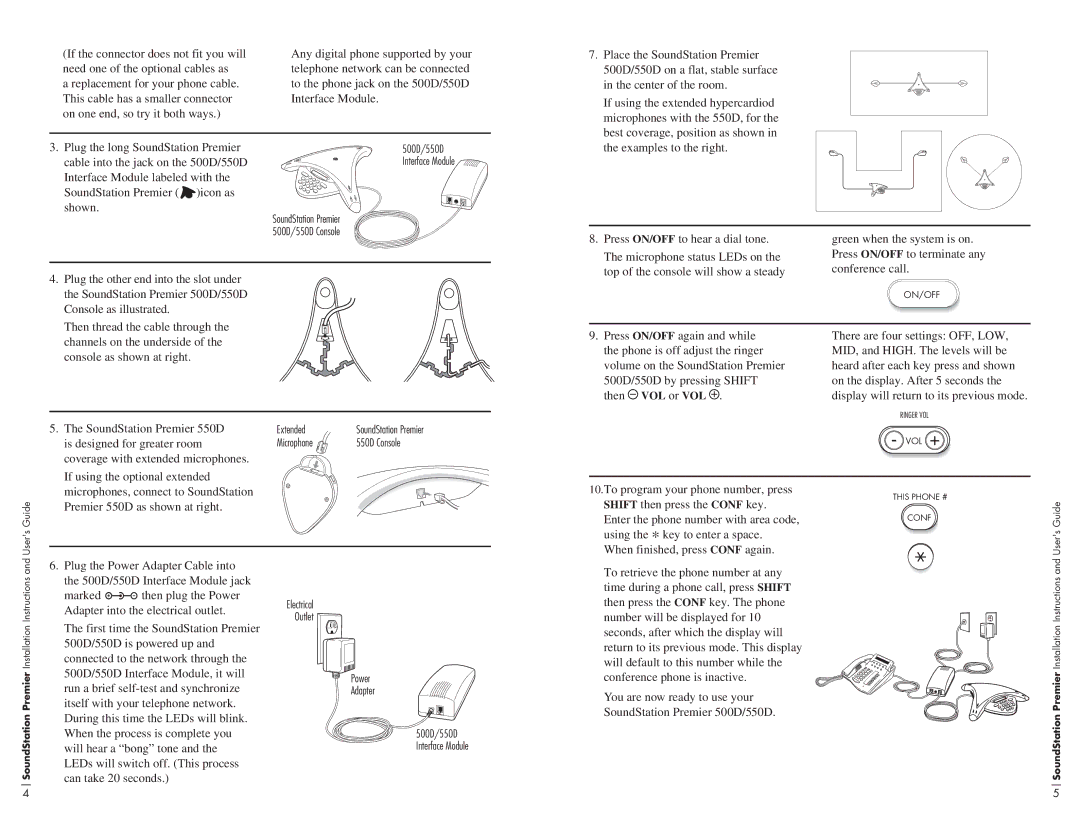
The Polycom 550D and 500D are advanced desktop voice communication solutions designed primarily for business environments, enabling users to communicate effectively and efficiently. These models are part of the Polycom SoundPoint IP Series, known for their exceptional audio quality and robust features.The Polycom 550D is a high-performance phone equipped with a large backlit graphical display, providing users with easy access to call information and contact directories. It supports up to 12 lines, allowing for multiple simultaneous calls. The phone's enhanced features include HD Voice technology, which delivers crystal-clear audio, making conversations more natural. This model also features a USB port, enabling flexible connectivity options and supporting a wide range of applications, such as Bluetooth or multimedia playback.
In contrast, the Polycom 500D is a compact yet powerful option suitable for smaller teams or individuals. While it supports fewer lines, the 500D maintains the same exceptional audio quality that the 550D is known for. The user interface is intuitive, with a simplified graphical display that streamlines access to essential functions. Users can take advantage of the one-touch access to their contacts and call history, making it easier to manage communications throughout the day.
Both models incorporate Polycom's Acoustic Fence and NoiseBlock technologies, which minimize background noise and ensure that conversations remain clear and distraction-free. This feature is particularly beneficial in noisy office environments, enabling users to maintain focus during calls without interruptions.
Furthermore, the Polycom 550D and 500D support various VoIP protocols, ensuring compatibility with a wide array of IP PBX systems and unified communications platforms. They offer advanced security features, including encryption options, which help protect sensitive communications from unauthorized access.
In terms of connectivity, both phones come equipped with Gigabit Ethernet ports, providing high-speed network access. This is essential for organizations looking to future-proof their communication infrastructure and support bandwidth-intensive applications.
In summary, the Polycom 550D and 500D are highly capable IP phones designed for professional use. With their emphasis on superior audio quality, user-friendly interfaces, and advanced features, these models cater to the needs of modern businesses seeking efficient and reliable communication solutions. Whether for a bustling office or a dedicated workspace, Polycom's offerings are a testament to innovation in telecommunication technology.

