
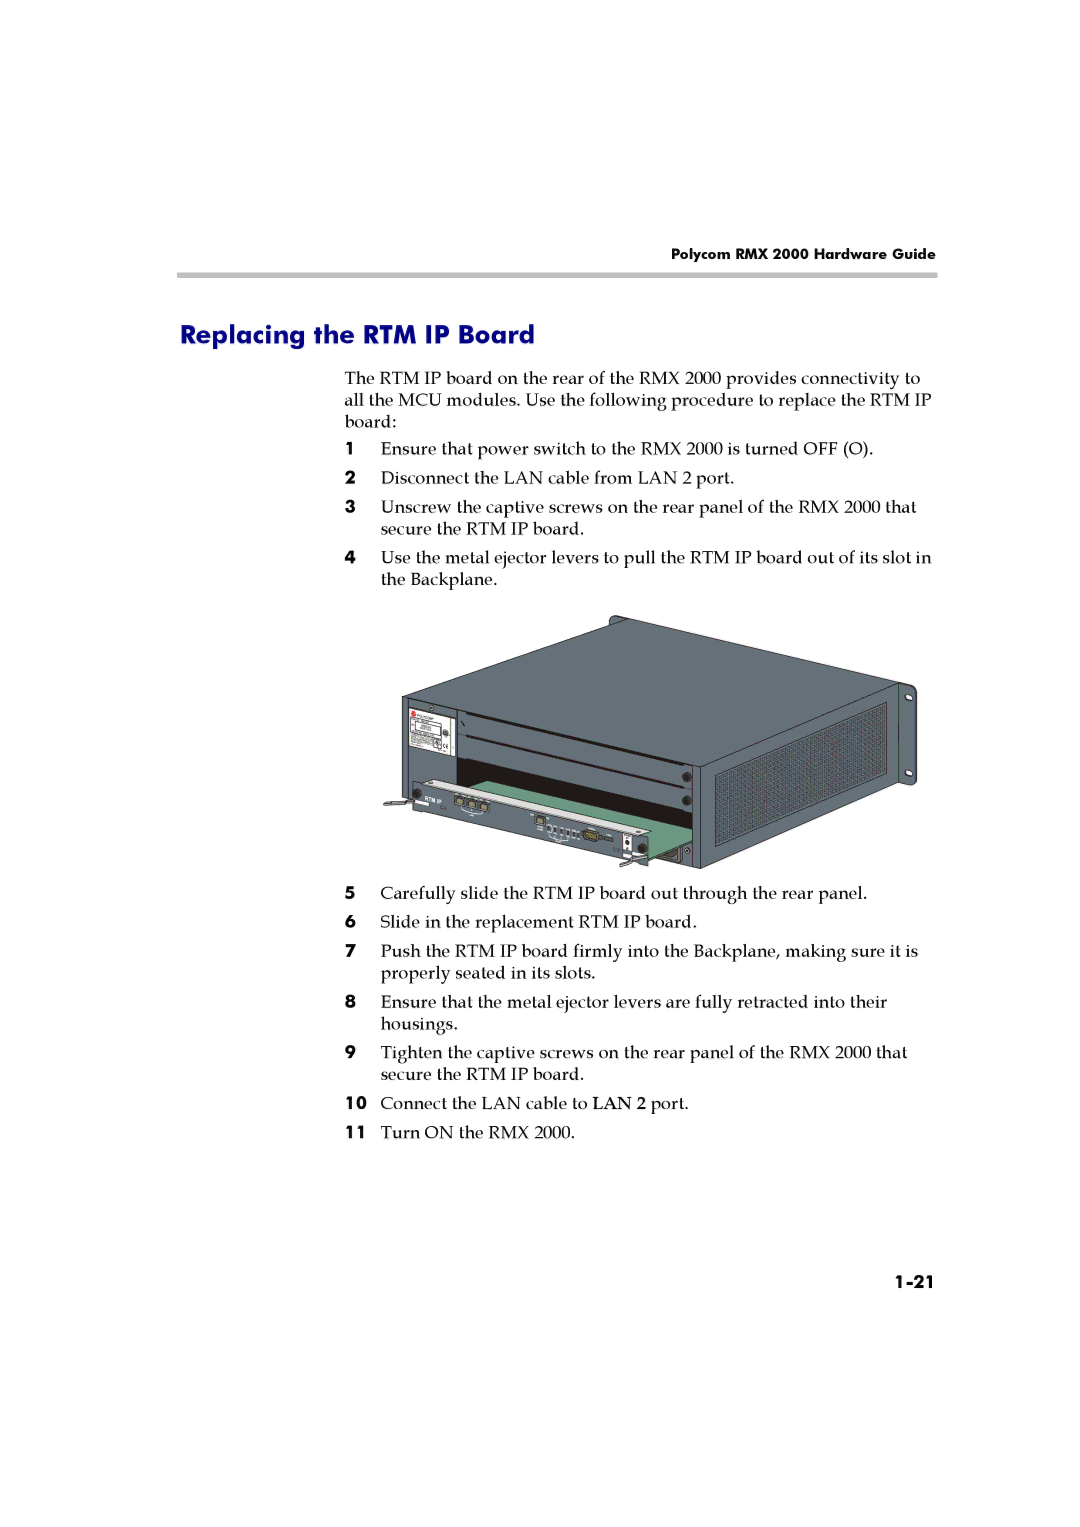
RMX 2000 specifications
The Polycom RMX 2000 is a robust, high-performance multimedia conferencing bridge designed to enhance collaboration in organizations of all sizes. With its advanced capabilities, the RMX 2000 provides a seamless experience for video, voice, and content sharing, ensuring that businesses can communicate effectively in today's fast-paced environment.One of the RMX 2000's standout features is its ability to support a diverse range of communication protocols and standards, which allows for easy integration into existing systems. This versatility means that users can connect from various devices—whether it’s a dedicated video conferencing endpoint, a personal computer, or a mobile device—ensuring that everyone can join meetings without compatibility issues.
The RMX 2000 accommodates a large number of concurrent participants, making it ideal for large-scale meetings and events. It supports up to 144 participants in a single conference, with the ability to expand as needed through additional licenses or system configuration. This scalability is crucial for organizations that require a conferencing solution that can grow with their needs.
In terms of video quality, the RMX 2000 leverages advanced technologies such as HD Voice and 1080p video. This ensures that all participants experience clear, lifelike communication, reducing the fatigue often associated with long meetings. Furthermore, the RMX 2000 supports content sharing capabilities, allowing users to share presentations, documents, and other visual aids in real-time, further enhancing collaboration.
The system boasts robust management and monitoring tools that allow IT administrators to efficiently oversee conference activities. With intuitive interfaces and reporting features, administrators can track usage, manage resources, and ensure that quality of service (QoS) standards are maintained.
Security is also paramount in the RMX 2000, which includes features like encryption and secure access controls to protect sensitive communications. This is particularly important for organizations operating in regulated industries.
Overall, the Polycom RMX 2000 stands out as a versatile and powerful conferencing solution. Its combination of scalability, high-quality audio and video, and comprehensive management tools makes it an excellent choice for organizations looking to improve their communication infrastructure and foster collaboration across teams. With its emphasis on user experience and security, the RMX 2000 is well-equipped to meet the demands of today’s dynamic business environment.