B
A
Fig. 23
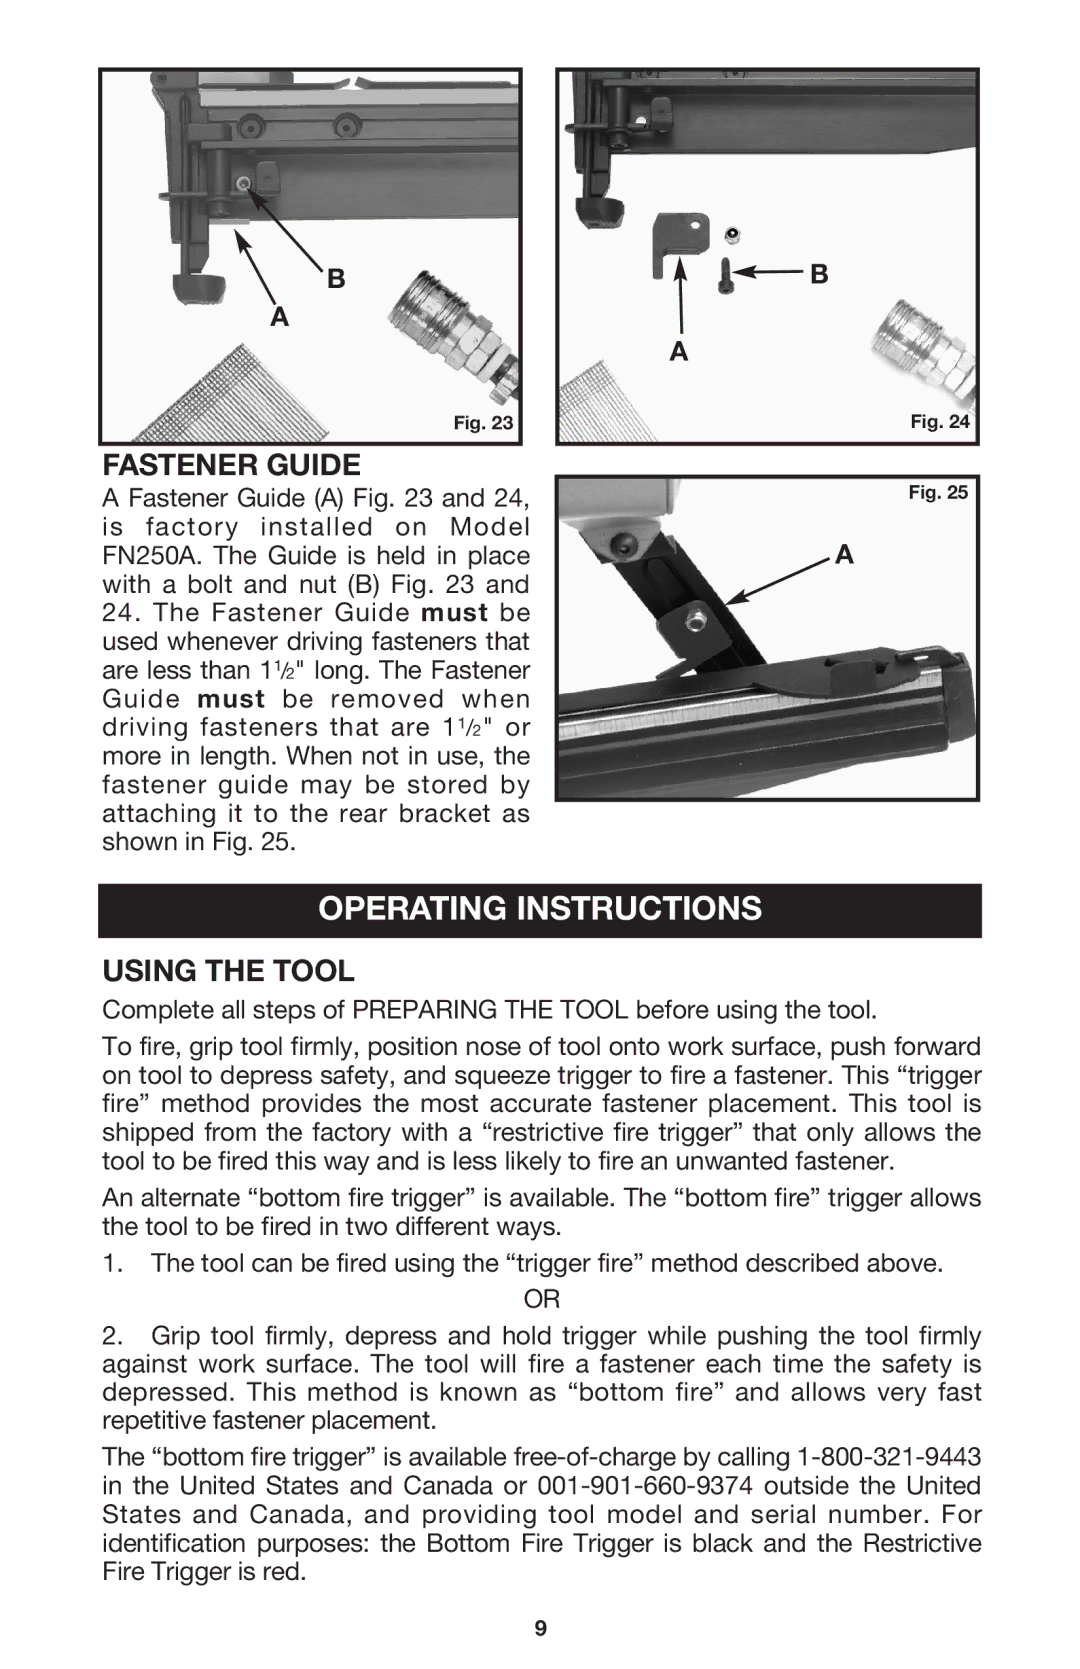
FASTENER GUIDE
A Fastener Guide (A) Fig. 23 and 24, is factory installed on Model FN250A. The Guide is held in place with a bolt and nut (B) Fig. 23 and
24.The Fastener Guide must be used whenever driving fasteners that are less than 11/2" long. The Fastener Guide must be removed when driving fasteners that are 11/2" or more in length. When not in use, the fastener guide may be stored by attaching it to the rear bracket as shown in Fig. 25.
![]() B
B
A
Fig. 24
Fig. 25
A
OPERATING INSTRUCTIONS
USING THE TOOL
Complete all steps of PREPARING THE TOOL before using the tool.
To fire, grip tool firmly, position nose of tool onto work surface, push forward on tool to depress safety, and squeeze trigger to fire a fastener. This “trigger fire” method provides the most accurate fastener placement. This tool is shipped from the factory with a “restrictive fire trigger” that only allows the tool to be fired this way and is less likely to fire an unwanted fastener.
An alternate “bottom fire trigger” is available. The “bottom fire” trigger allows the tool to be fired in two different ways.
1.The tool can be fired using the “trigger fire” method described above.
OR
2.Grip tool firmly, depress and hold trigger while pushing the tool firmly against work surface. The tool will fire a fastener each time the safety is depressed. This method is known as “bottom fire” and allows very fast repetitive fastener placement.
The “bottom fire trigger” is available
9