To stop engine:
SRelease the throttle trigger.
S Push and release the engine ON/STOP switch.
TRIMMER LINE ADVANCE
The cutting head advances line automati- cally. Do not tap head on the ground to ad-
vance line. This may break parts and cause cutting head to malfunction.
Upon unit start up, the line will advance auto- matically to the correct cutting path length. Always keep the shield in place when the tool is being operated.
![]() WARNING: Use only 0.080” (2 mm)
WARNING: Use only 0.080” (2 mm)
diameter round line. Other sizes and shapes of line will not advance properly and will result in improper cutting head function or can cause se- rious injury. Do not use other materials such as wire, string, rope, etc. Wire can break off during cutting and become a dangerous missile that can cause serious injury.
CUTTING METHODS
![]() WARNING: Use minimum speed and do not crowd the line when cutting around hard objects (rock, gravel, fence posts, etc.), which can damage the trimmer head, become entangled in the line, or be thrown causing a serious hazard.
WARNING: Use minimum speed and do not crowd the line when cutting around hard objects (rock, gravel, fence posts, etc.), which can damage the trimmer head, become entangled in the line, or be thrown causing a serious hazard.
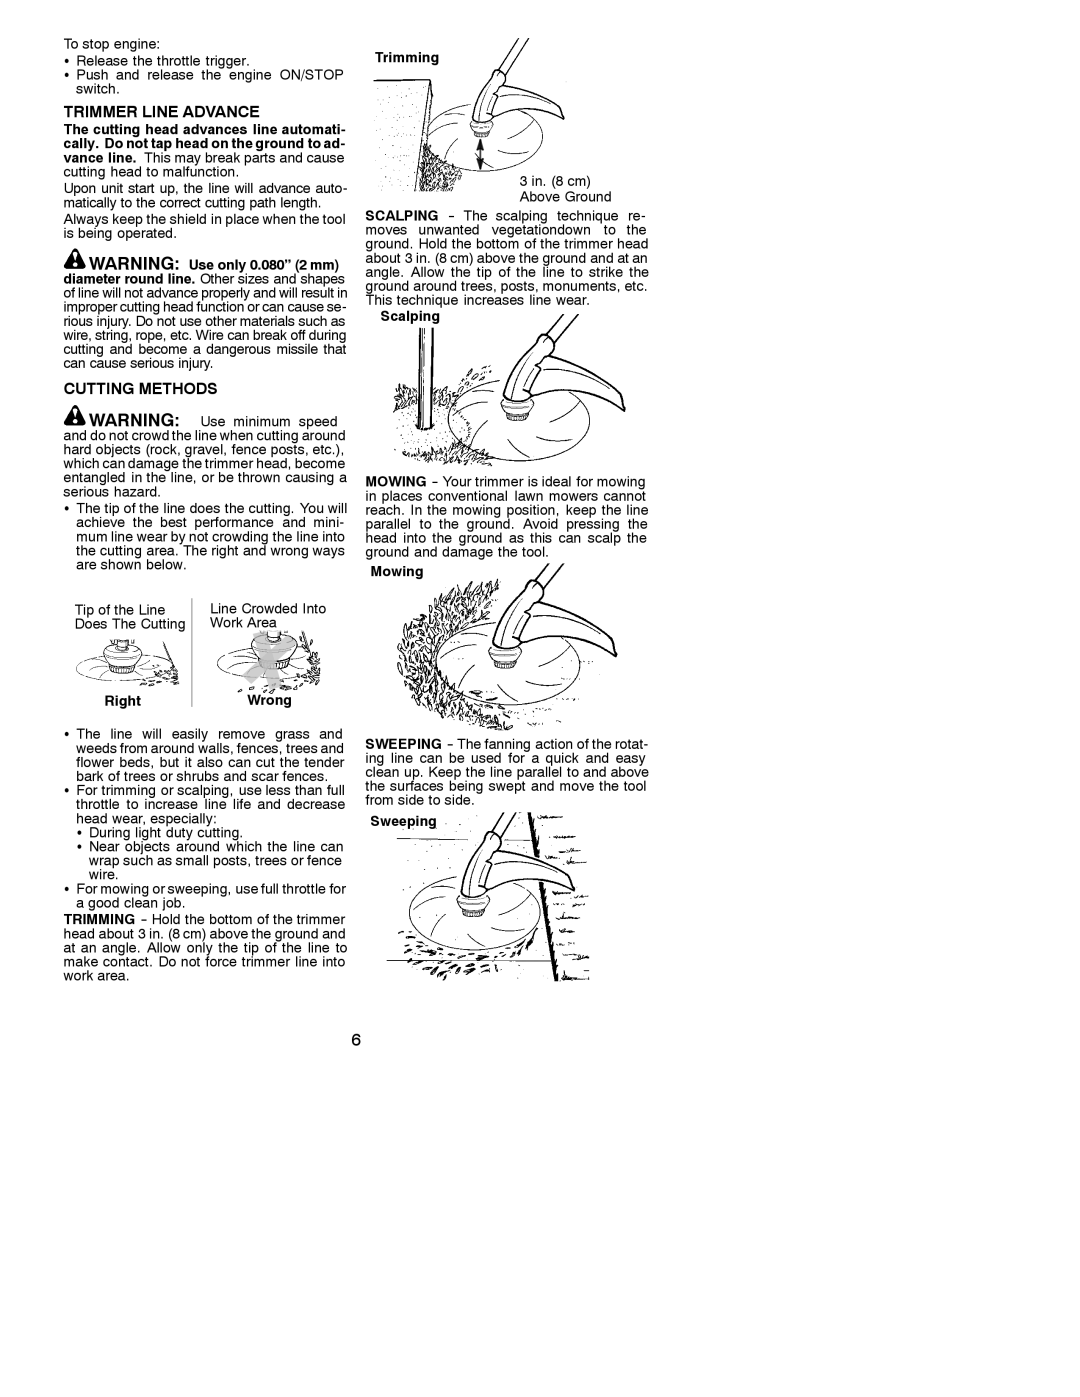
SThe tip of the line does the cutting. You will achieve the best performance and mini- mum line wear by not crowding the line into the cutting area. The right and wrong ways are shown below.
Trimming
3 in. (8 cm) Above Ground
SCALPING
Scalping
MOWING
Mowing
Tip of the Line Does The Cutting
Right
Line Crowded Into Work Area
Wrong
S The line will easily remove grass and weeds from around walls, fences, trees and flower beds, but it also can cut the tender bark of trees or shrubs and scar fences.
SFor trimming or scalping, use less than full throttle to increase line life and decrease head wear, especially:
S During light duty cutting.
S Near objects around which the line can wrap such as small posts, trees or fence wire.
SFor mowing or sweeping, use full throttle for a good clean job.
TRIMMING
SWEEPING
Sweeping
6
