
115156126, PP330 specifications
Poulan is a well-known name in the outdoor power equipment industry, and their model 115156126, specifically the PP330, exemplifies the brand's commitment to quality and functionality. The Poulan PP330 is a versatile and robust trimmer designed for homeowners and landscapers seeking an efficient tool for managing their lawn care needs.One of the standout features of the Poulan PP330 is its powerful 33cc two-cycle gas engine. This engine provides ample power for tackling dense grass and weeds, making it ideal for trimming and edging around gardens, patios, and driveways. The two-cycle design allows for an impressive power-to-weight ratio, meaning that users can enjoy high performance without handling overly heavy equipment.
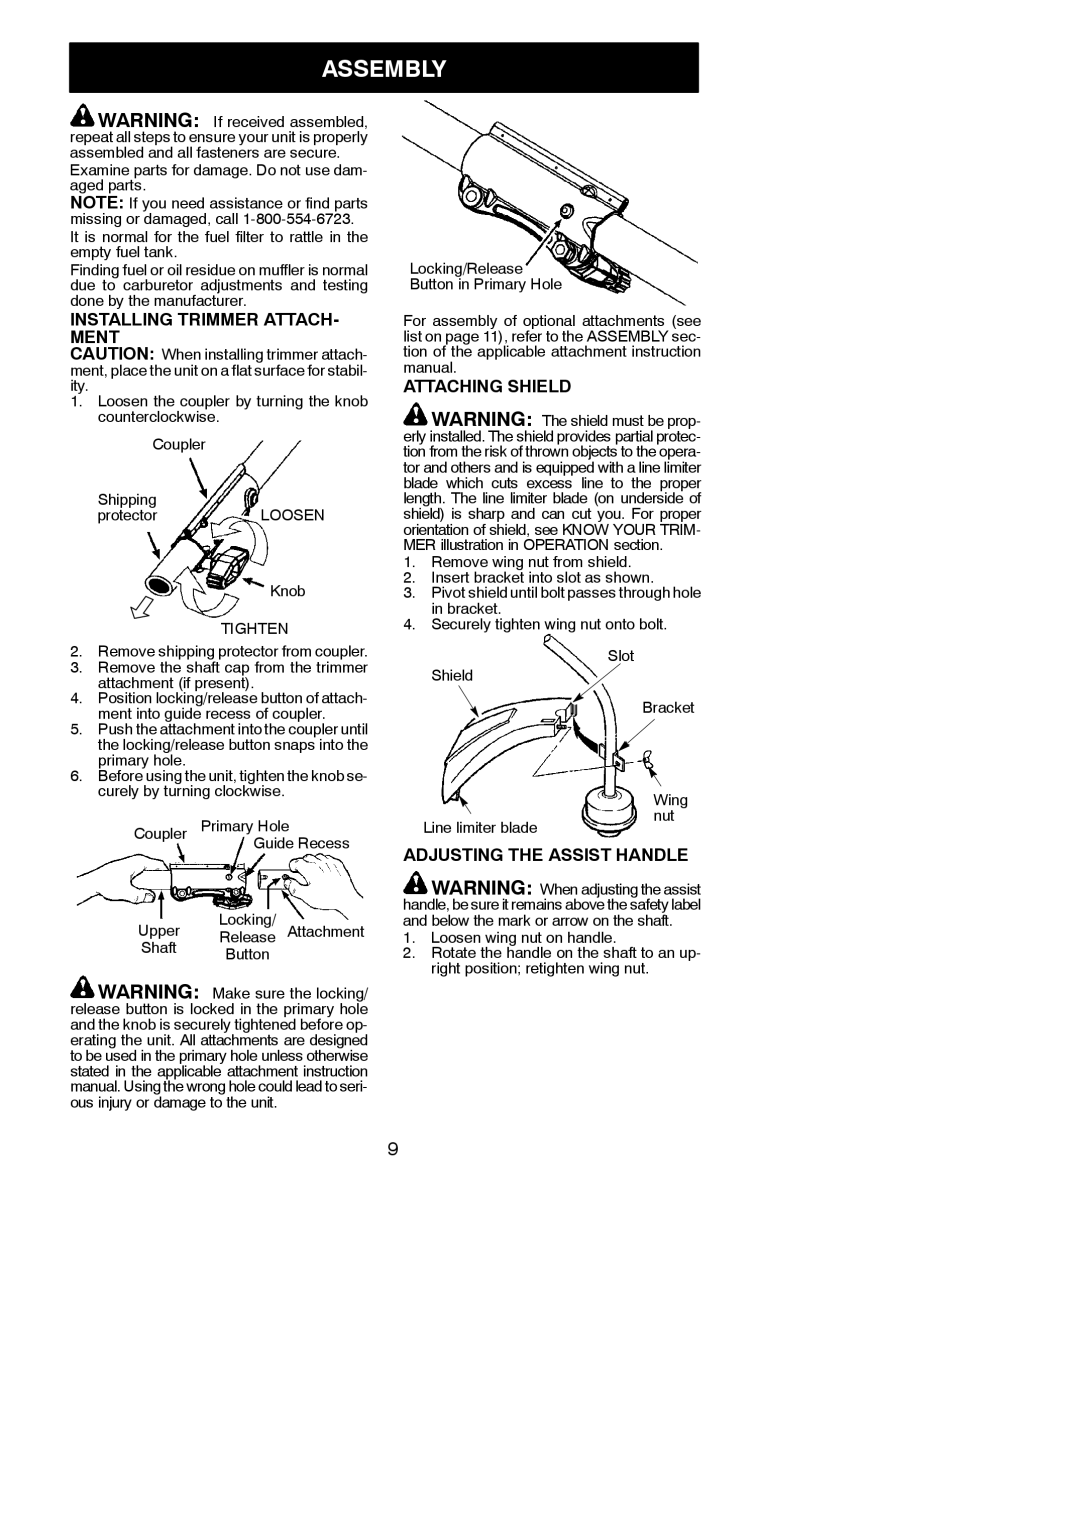
The lightweight design of the PP330 is another notable characteristic. At just under 10 pounds, it offers ease of maneuverability, reducing user fatigue during extended use. The adjustable handle provides further comfort, allowing each user to find a position that best suits their height and working style. Whether users are tackling large areas or intricate landscaping, the PP330's ergonomic design significantly enhances the overall experience.
Equipped with a dual-line bump head, the PP330 ensures efficient trimming and edging. The bump head allows for easy line advancement, enabling users to quickly extend the trimmer line simply by tapping it on the ground. This feature is not only convenient but also helps maintain productivity by reducing downtime.
The Poulan PP330 also incorporates user-friendly technologies. The easy-start system minimizes the effort required to start the engine, making it accessible even to those less experienced with gas-powered equipment. This feature alleviates frustrations commonly associated with gas trimmers, thereby encouraging more frequent use and maintenance of lawns or gardens.
In conclusion, the Poulan 115156126, PP330 is a powerful and user-friendly trimmer that combines a robust engine, lightweight design, and convenient features to provide an exceptional lawn care experience. With its focus on comfort and efficiency, the PP330 stands out as a reliable tool for anyone looking to achieve a well-manicured landscape. Whether you’re a seasoned gardener or a homeowner seeking to enhance your outdoor space, the Poulan PP330 is an admirable choice for all your trimming needs.