6.0Setup and assembly
Remove the sander from its crate and inspect for damage to ensure all parts are intact. Any damage should be reported to your distributor and shipping agent immediately upon discovery.
Before proceeding with installation, read your instruction manual thoroughly. Familiarize yourself with correct
6.1Shipping contents
1 Wide Belt Sander
1Infeed Roller Assembly
1Outfeed Roller Assembly
1Side Support
1Sanding Belt
1Toolbox, containing oil gun, door latches, and draw bar (for the graphite pad)
6.2Installation
If using a forklift, run the forks between the upper cabinet and the conveyor belt. Level the machine and bolt it to the floor with high quality anchor bolts through the mounting holes located on the four corners of the base.
Remove the protective coating from the rollers with a soft cloth moistened with a good commercial solvent. DO NOT USE acetone, gasoline, lacquer thinner or any type of flammable solvent. Do not use an abrasive pad.
6.3Assembly
1.Attach the infeed and outfeed roller assemblies with sixteen 5/16" x 2" hex head screws and spring washers.
2.Mount the side support with two hex cap screws and flat washers.
3.Insert the door latches into the slots on the cabinet doors.
4.Assemble the sanding belt to the rollers. Make sure the arrow on the belt matches the rotation of the rollers.
7.0Electrical connections
![]() All electrical connections should be made by a qualified electrician in compliance with all relevant codes. Failure to comply may result in serious injury and/or damage to the machine and property. The machine must be properly grounded.
All electrical connections should be made by a qualified electrician in compliance with all relevant codes. Failure to comply may result in serious injury and/or damage to the machine and property. The machine must be properly grounded.
1.A cable of the proper gauge should be used to connect the sander to the power supply.
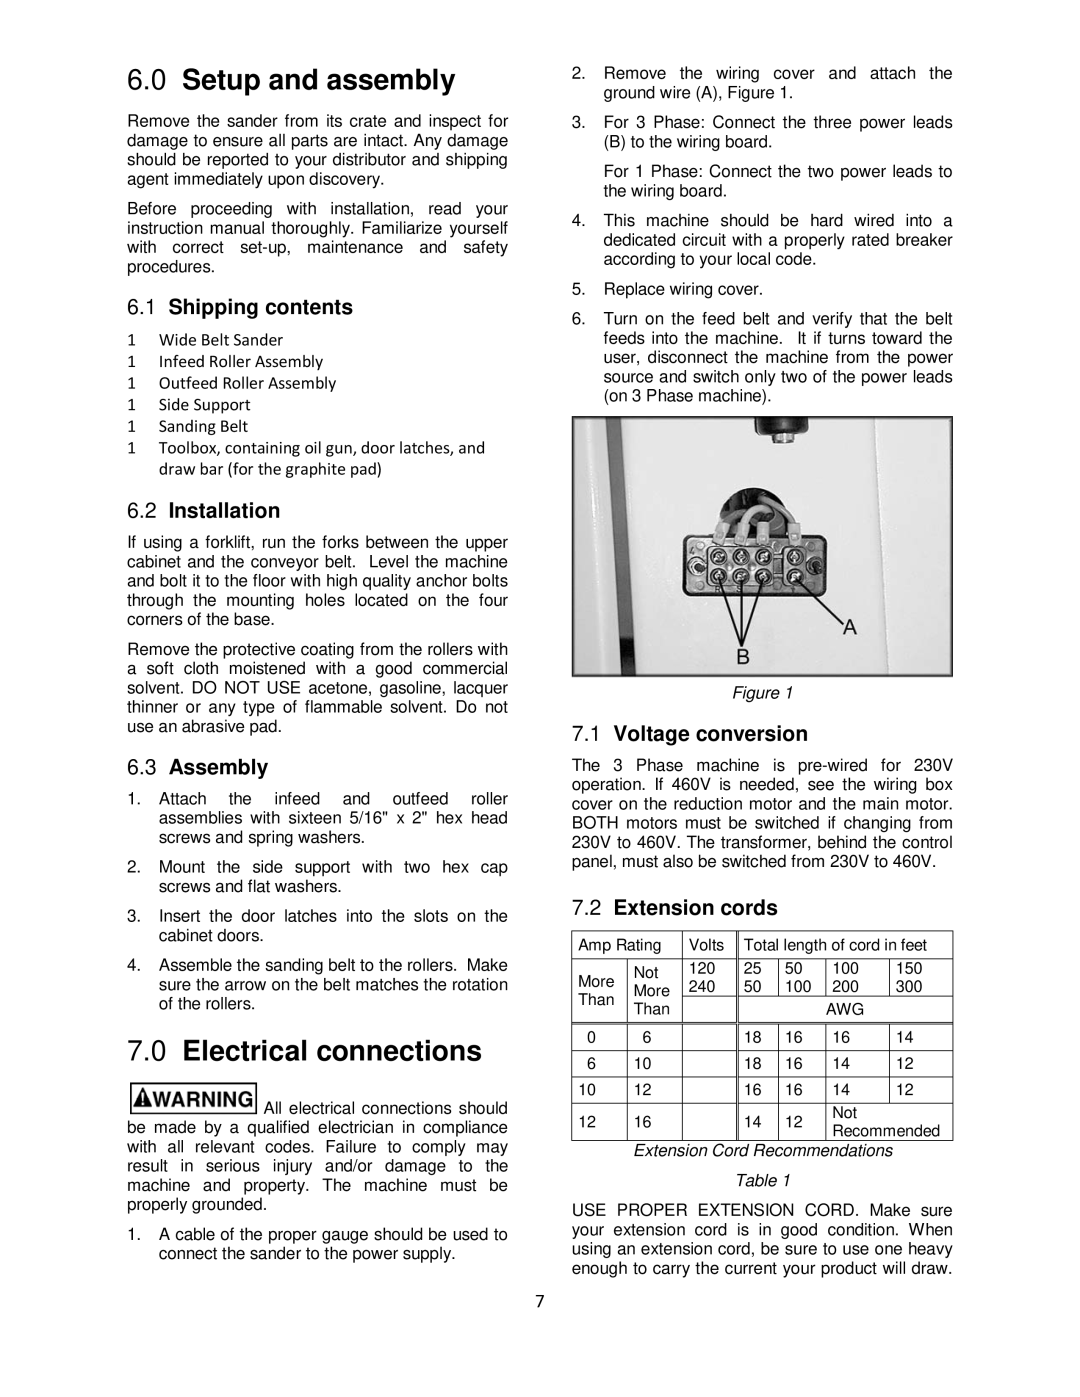
2.Remove the wiring cover and attach the ground wire (A), Figure 1.
3.For 3 Phase: Connect the three power leads
(B) to the wiring board.
For 1 Phase: Connect the two power leads to the wiring board.
4.This machine should be hard wired into a dedicated circuit with a properly rated breaker according to your local code.
5.Replace wiring cover.
6.Turn on the feed belt and verify that the belt feeds into the machine. It if turns toward the user, disconnect the machine from the power source and switch only two of the power leads (on 3 Phase machine).
Figure 1
7.1Voltage conversion
The 3 Phase machine is
7.2Extension cords
Amp Rating | Volts | Total length of cord in feet | ||||
|
|
|
|
|
|
|
More | Not | 120 | 25 | 50 | 100 | 150 |
More | 240 | 50 | 100 | 200 | 300 | |
Than | Than |
|
|
| AWG |
|
|
|
|
|
| ||
0 | 6 |
| 18 | 16 | 16 | 14 |
|
|
|
|
|
|
|
6 | 10 |
| 18 | 16 | 14 | 12 |
|
|
|
|
|
|
|
10 | 12 |
| 16 | 16 | 14 | 12 |
|
|
|
|
|
|
|
12 | 16 |
| 14 | 12 | Not |
|
| Recommended | |||||
|
|
|
|
| ||
Extension Cord Recommendations
Table 1
USE PROPER EXTENSION CORD. Make sure your extension cord is in good condition. When using an extension cord, be sure to use one heavy enough to carry the current your product will draw.
7