CPD10WALLARM specifications
The Premier Mounts CPD10WALLARM is a cutting-edge wall mount designed for optimal functionality and versatility in display mounting. This innovative product caters to a variety of environments, from corporate settings to hospitality venues, ensuring displays are securely mounted while allowing for easy accessibility and adjustment.One of the standout features of the CPD10WALLARM is its robust construction, built to support displays weighing up to 100 pounds. The mount is compatible with various display sizes, typically ranging from 32 to 65 inches, making it an ideal solution for diverse setups. Its solid steel plate and durable finish ensure long-lasting performance, making it suitable for both indoor and outdoor applications.
Another key characteristic is the mount's articulating arm, which allows for flexible positioning of the display. Users can adjust the angle, tilt, and rotation of the screen, providing optimal viewing experiences from multiple angles. This flexibility is especially beneficial in environments where spectators may not be stationary, such as in restaurants or trade shows.
The CPD10WALLARM also integrates advanced cable management features, promoting a clean and organized appearance. It includes cable ties and conduits that help conceal and manage cables, reducing clutter and enhancing the overall aesthetic of the installation. This attention to detail contributes significantly to maintaining a professional appearance in any setting.
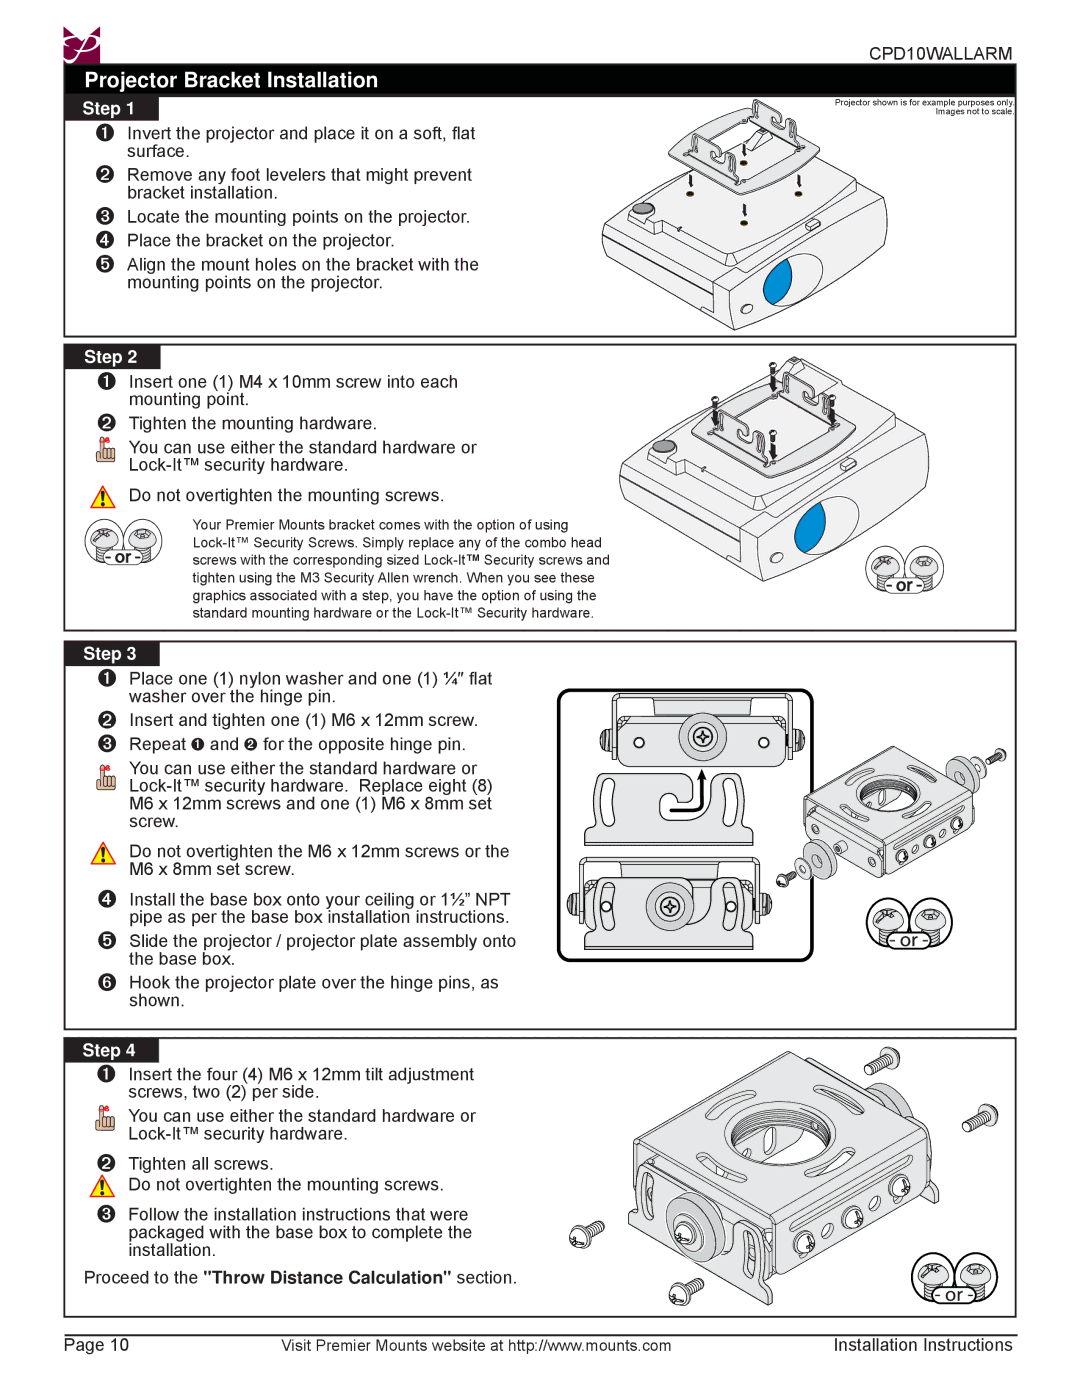
Installation is simplified with the mounting kit provided, which includes all necessary hardware and step-by-step instructions. The wall mount is designed to accommodate different wall types, ensuring a secure installation whether on drywall, concrete, or wooden surfaces. The ability to adjust the levels during installation further enhances its user-friendliness, catering to both professional installers and DIY enthusiasts.
In terms of safety, the Premier Mounts CPD10WALLARM boasts a secure locking mechanism that prevents accidental disengagement of the display from the mount. This feature provides peace of mind, especially in high-traffic areas where displays are vulnerable to bumps or jolts.
Overall, the Premier Mounts CPD10WALLARM combines strength, versatility, aesthetic appeal, and safety, making it an excellent choice for anyone looking to mount a display securely and stylishly in various environments. Its modern design and practical features ensure that it stands out in the competitive market of display mounts.

