RFM
Mount Installation
Step 1
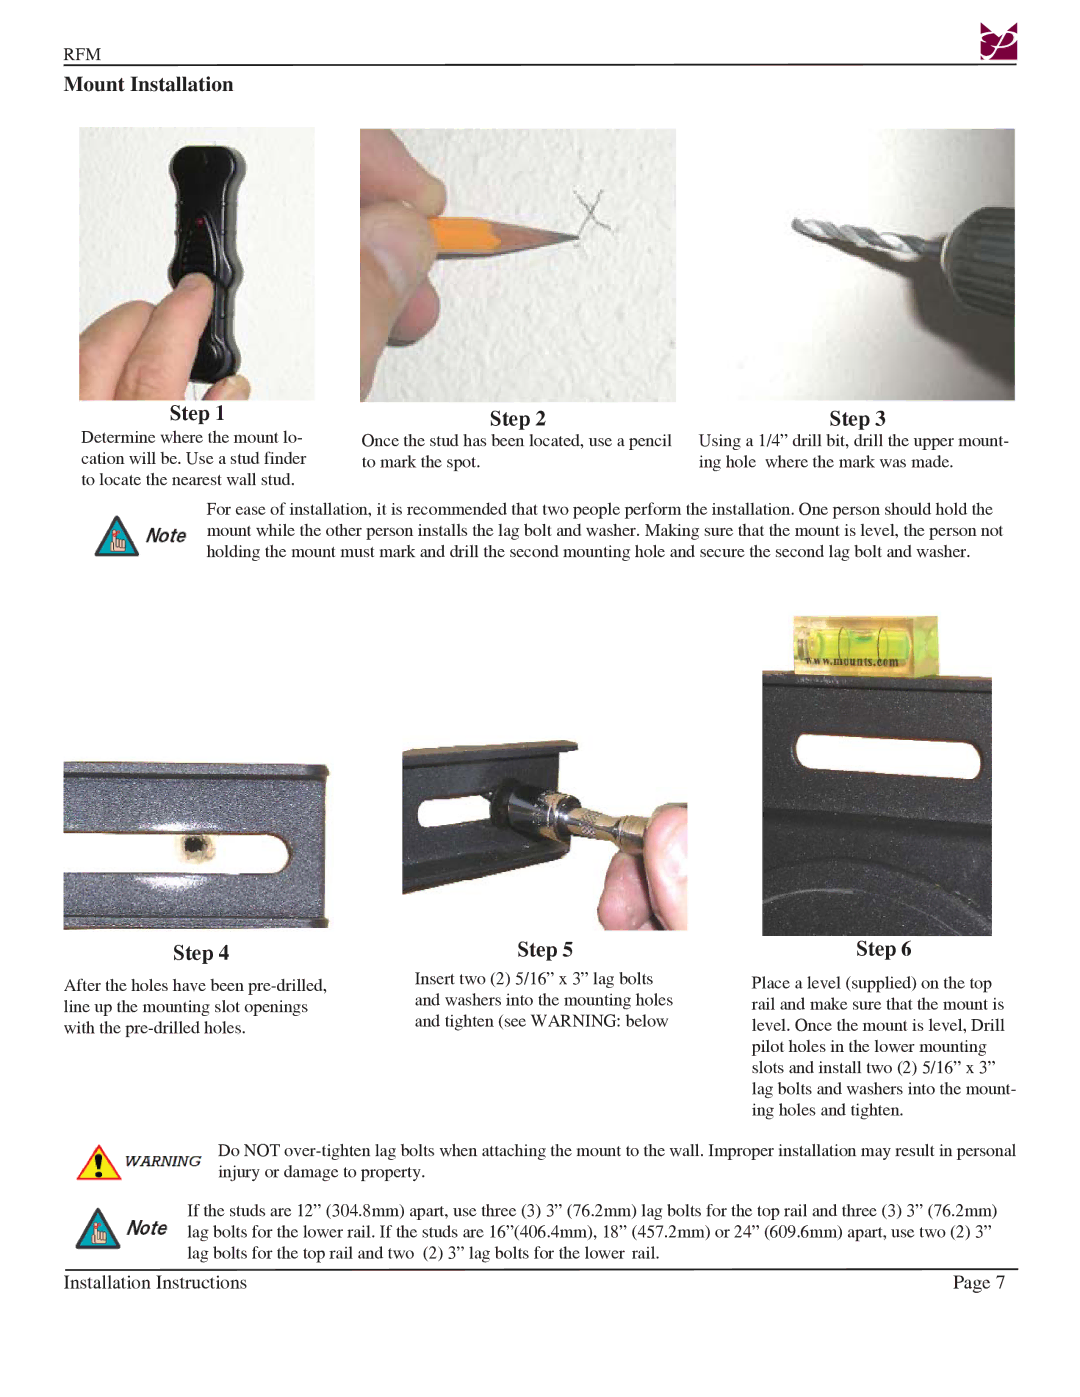
Determine where the mount lo- cation will be. Use a stud finder to locate the nearest wall stud.
Step 2
Once the stud has been located, use a pencil to mark the spot.
Step 3
Using a 1/4” drill bit, drill the upper mount- ing hole where the mark was made.
For ease of installation, it is recommended that two people perform the installation. One person should hold the mount while the other person installs the lag bolt and washer. Making sure that the mount is level, the person not holding the mount must mark and drill the second mounting hole and secure the second lag bolt and washer.
Step 4 | Step 5 | Step 6 |
After the holes have been
Insert two (2) 5/16” x 3” lag bolts and washers into the mounting holes and tighten (see WARNING: below
Place a level (supplied) on the top rail and make sure that the mount is level. Once the mount is level, Drill pilot holes in the lower mounting slots and install two (2) 5/16” x 3” lag bolts and washers into the mount- ing holes and tighten.
Do NOT
If the studs are 12” (304.8mm) apart, use three (3) 3” (76.2mm) lag bolts for the top rail and three (3) 3” (76.2mm) lag bolts for the lower rail. If the studs are 16”(406.4mm), 18” (457.2mm) or 24” (609.6mm) apart, use two (2) 3” lag bolts for the top rail and two (2) 3” lag bolts for the lower rail.
Installation Instructions | Page 7 |
