Assembly
1.Place unit upside down on an elevated surface for handle assembly. An elevated surface is necessary to prevent placing pressure on one handle while installing the second handle. Failure to use an elevated surface may result in damage to the first handle installed.
2.Remove the screws from mounting projections on the griddle.
3.Position the handles lining up holes in the handles with mounting projections on the griddle.
4.Replace the screws and fasten securely, Fig. A. Caution:
Fig. A
How To Use
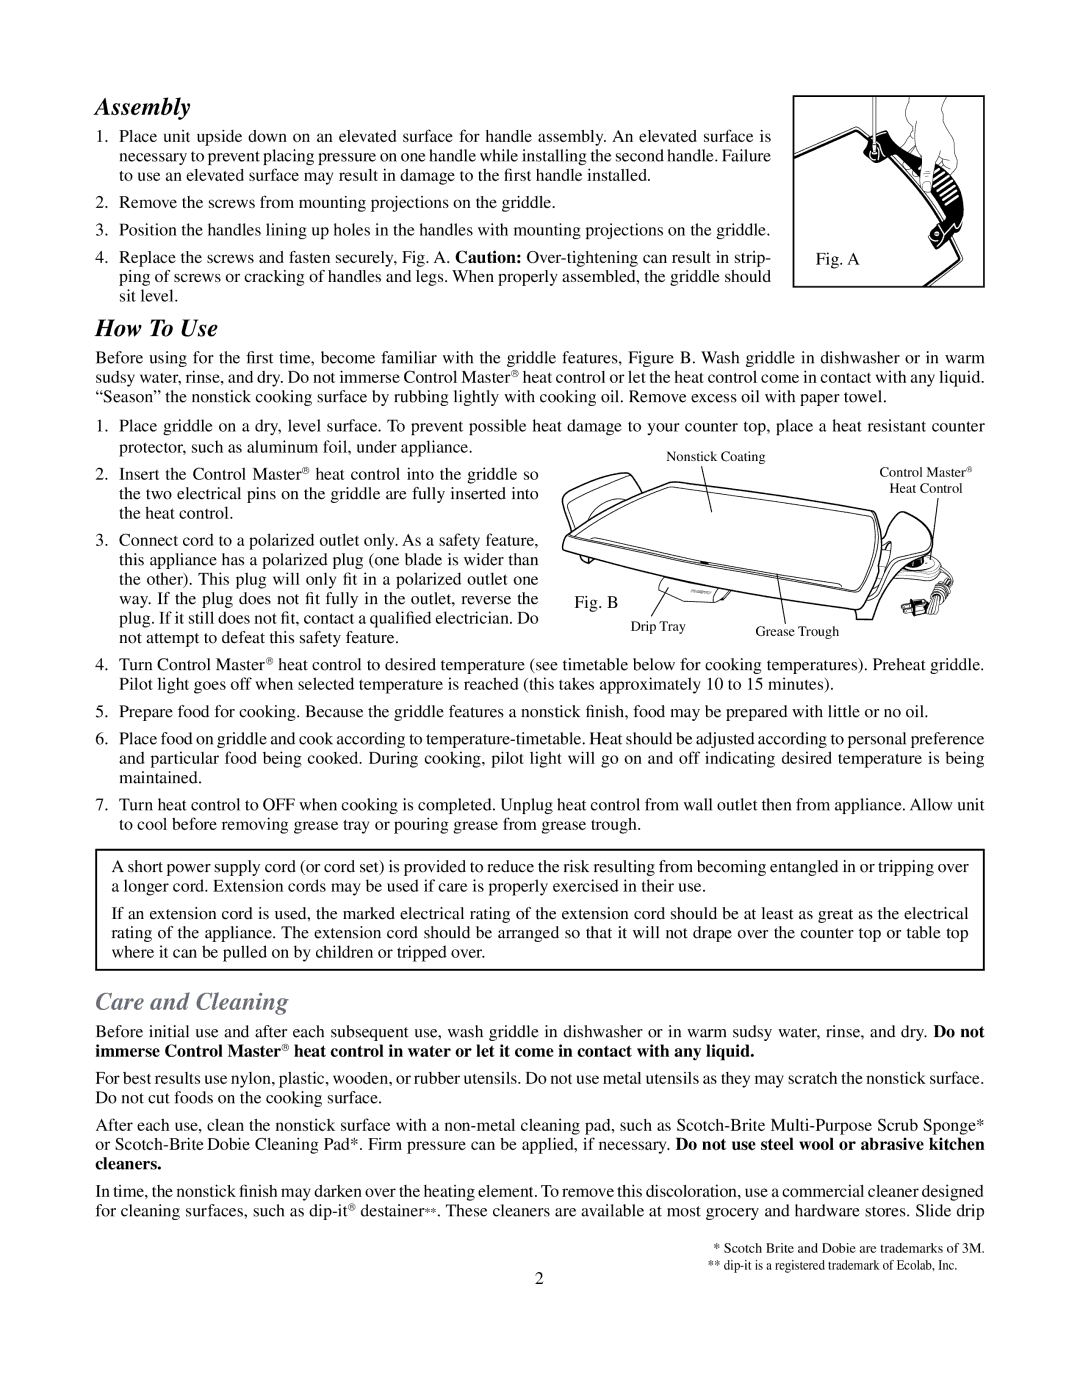
Before using for the first time, become familiar with the griddle features, Figure B. Wash griddle in dishwasher or in warm sudsy water, rinse, and dry. Do not immerse Control Master heat control or let the heat control come in contact with any liquid. “Season” the nonstick cooking surface by rubbing lightly with cooking oil. Remove excess oil with paper towel.
1. Place griddle on a dry, level surface. To prevent possible heat damage to your counter top, place a heat resistant counter
protector, such as aluminum foil, under appliance. | Nonstick Coating |
|
2.Insert the Control Master heat control into the griddle so the two electrical pins on the griddle are fully inserted into
the heat control.
3. Connect cord to a polarized outlet only. As a safety feature, |
|
| |
this appliance has a polarized plug (one blade is wider than |
|
| |
the other). This plug will only fit in a polarized outlet one |
|
| |
way. If the plug does not fit fully in the outlet, reverse the | Fig. B |
| |
plug. If it still does not fit, contact a qualified electrician. Do | Drip Tray | Grease Trough | |
not attempt to defeat this safety feature. | |||
|
Control Master
Heat Control
4.Turn Control Master heat control to desired temperature (see timetable below for cooking temperatures). Preheat griddle. Pilot light goes off when selected temperature is reached (this takes approximately 10 to 15 minutes).
5.Prepare food for cooking. Because the griddle features a nonstick finish, food may be prepared with little or no oil.
6.Place food on griddle and cook according to
7.Turn heat control to OFF when cooking is completed. Unplug heat control from wall outlet then from appliance. Allow unit to cool before removing grease tray or pouring grease from grease trough.
A short power supply cord (or cord set) is provided to reduce the risk resulting from becoming entangled in or tripping over a longer cord. Extension cords may be used if care is properly exercised in their use.
If an extension cord is used, the marked electrical rating of the extension cord should be at least as great as the electrical rating of the appliance. The extension cord should be arranged so that it will not drape over the counter top or table top where it can be pulled on by children or tripped over.
Care and Cleaning
Before initial use and after each subsequent use, wash griddle in dishwasher or in warm sudsy water, rinse, and dry. Do not immerse Control Master heat control in water or let it come in contact with any liquid.
For best results use nylon, plastic, wooden, or rubber utensils. Do not use metal utensils as they may scratch the nonstick surface. Do not cut foods on the cooking surface.
After each use, clean the nonstick surface with a
In time, the nonstick finish may darken over the heating element. To remove this discoloration, use a commercial cleaner designed for cleaning surfaces, such as
2
* Scotch Brite and Dobie are trademarks of 3M. **