| V . C O M F O R T A D J U S T M E N T S | |
11. | Reinstall the ball detent pin into each seat tower. |
|
12. | Reinstall the shroud. |
|
13. | Reinstall the trapeze bars and secure with the |
|
|
| |
14. | Reinstall the seat. |
|
NOTE: Make sure the seat latch safety is flipped |
| |
down before using the power chair seat. |
| |
15. Plug the controller connector(s) into the electron- |
| |
| ics tray. |
|
Seat Position Adjustment |
| |
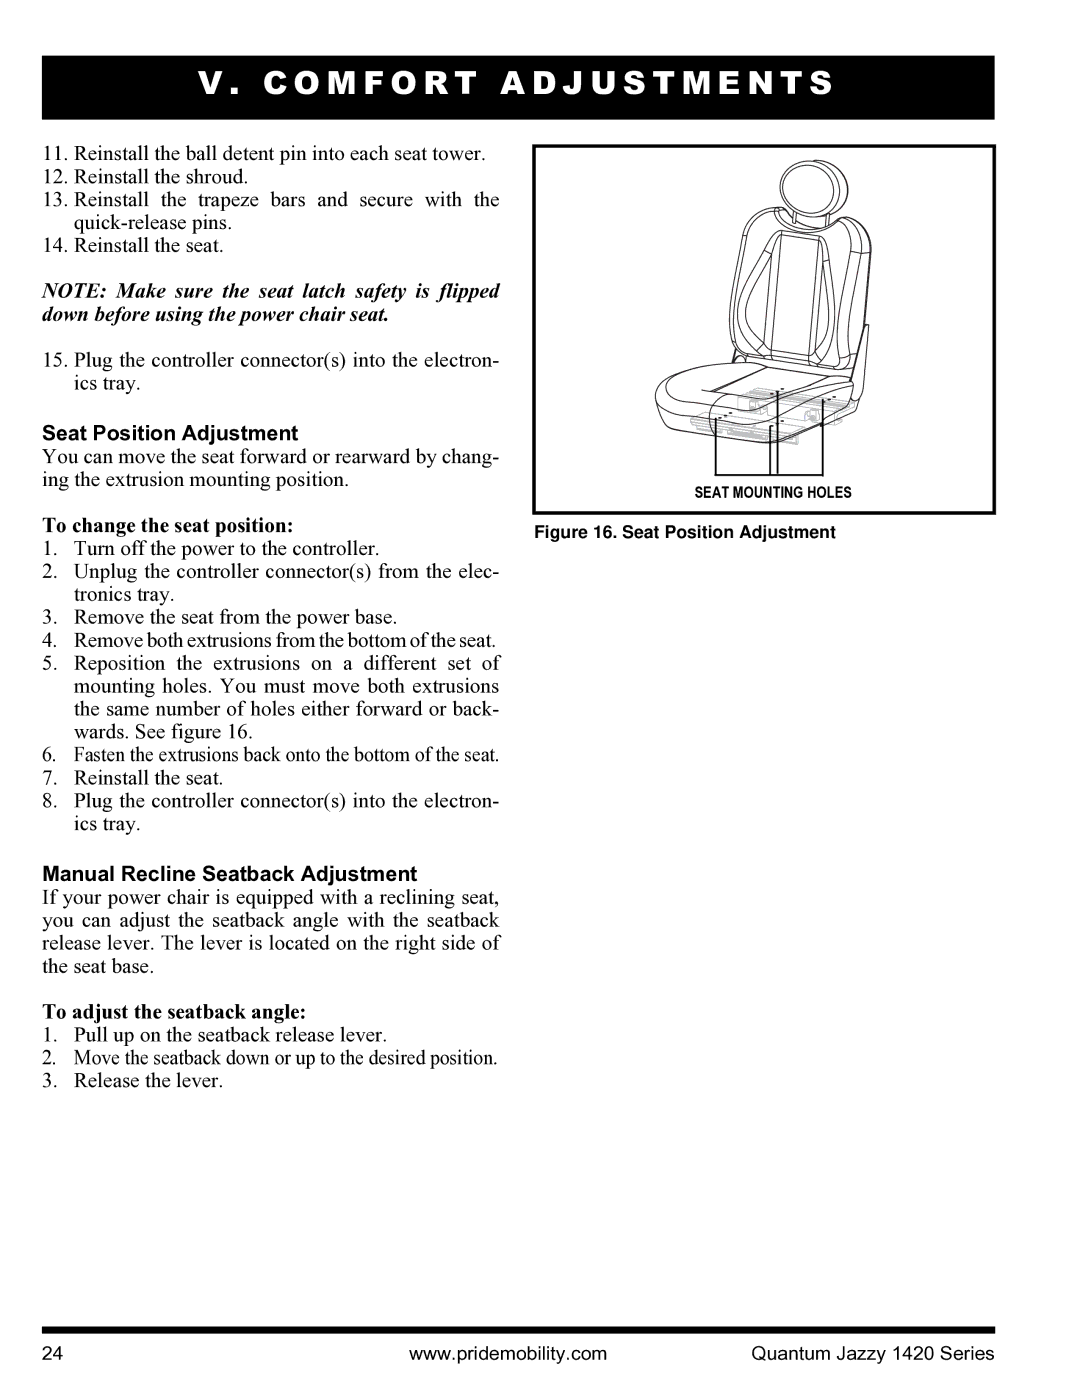
You can move the seat forward or rearward by chang- |
| |
ing the extrusion mounting position. | SEAT MOUNTING HOLES | |
|
| |
To change the seat position: | Figure 16. Seat Position Adjustment | |
1. | Turn off the power to the controller. |
|
2. | Unplug the controller connector(s) from the elec- |
|
| tronics tray. |
|
3. | Remove the seat from the power base. |
|
4. | Remove both extrusions from the bottom of the seat. |
|
5. | Reposition the extrusions on a different set of |
|
| mounting holes. You must move both extrusions |
|
| the same number of holes either forward or back- |
|
| wards. See figure 16. |
|
6. | Fasten the extrusions back onto the bottom of the seat. |
|
7. | Reinstall the seat. |
|
8. | Plug the controller connector(s) into the electron- |
|
| ics tray. |
|
Manual Recline Seatback Adjustment
If your power chair is equipped with a reclining seat, you can adjust the seatback angle with the seatback release lever. The lever is located on the right side of the seat base.
To adjust the seatback angle:
1.Pull up on the seatback release lever.
2.Move the seatback down or up to the desired position.
3.Release the lever.
24 | www.pridemobility.com | Quantum Jazzy 1420 Series |
