X . C A R E A N D M A I N T E N A N C E
| WARNING! Make sure the tire is completely |
| |
| deflated before attempting repair. |
| |
|
| ||
Follow these easy steps for a quick and safe repair: |
| ||
1. | Completely deflate the tire if pneumatic. |
| |
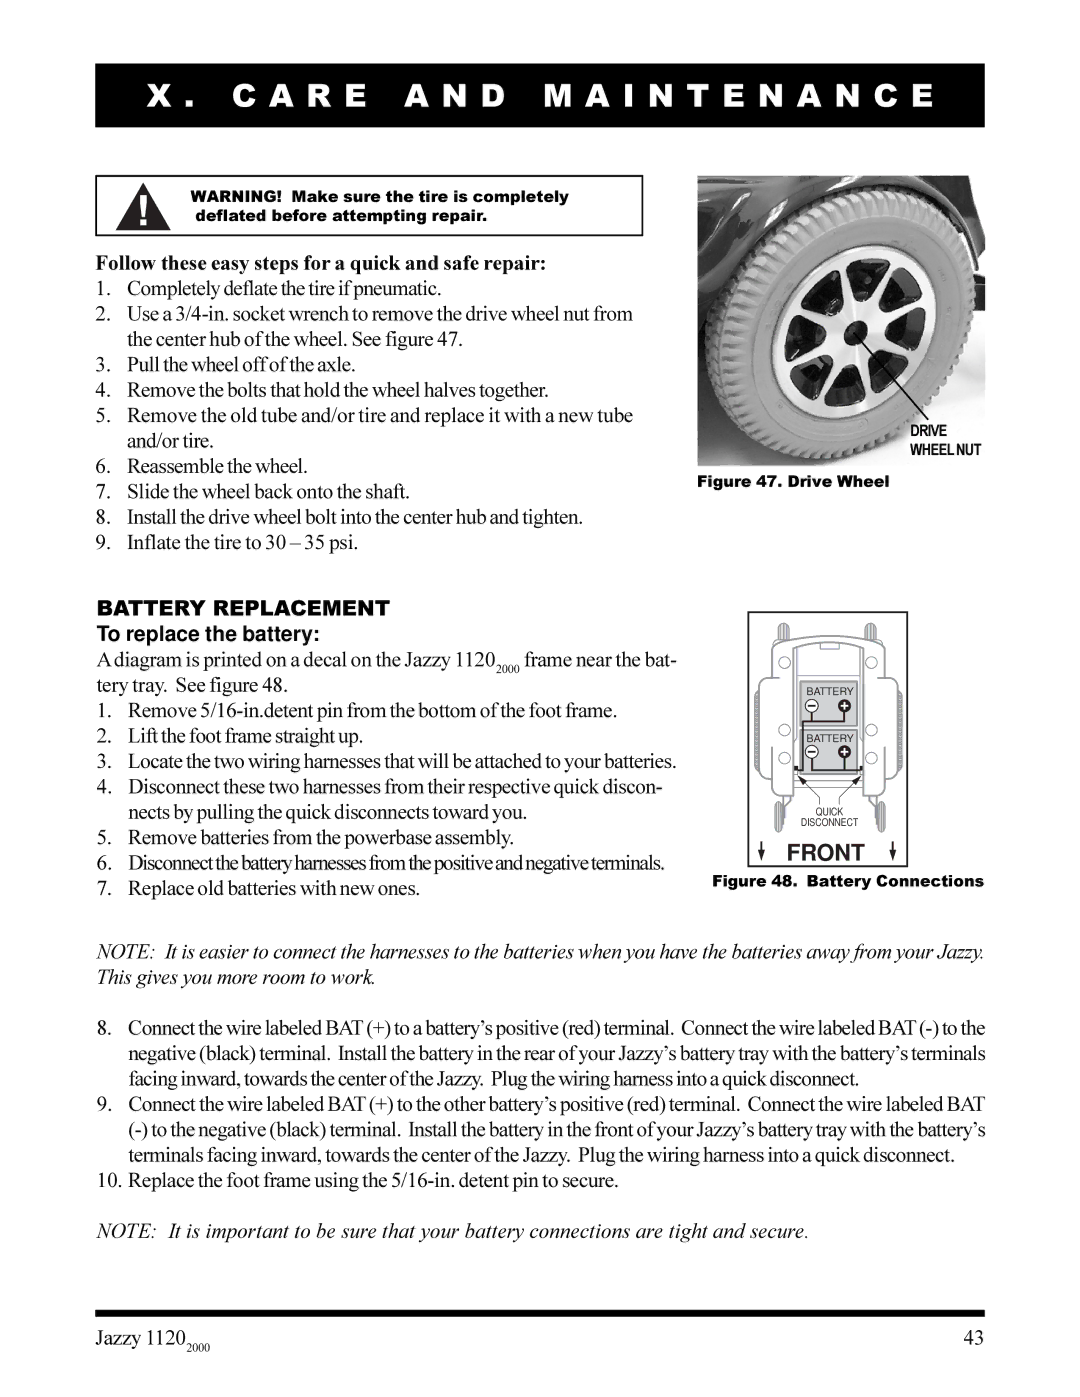
2. | Use a |
| |
| the center hub of the wheel. See figure 47. |
| |
3. | Pull the wheel off of the axle. |
| |
4. | Remove the bolts that hold the wheel halves together. |
| |
5. | Remove the old tube and/or tire and replace it with a new tube |
| |
| and/or tire. |
| |
6. | Reassemble the wheel. | Figure 47. Drive Wheel | |
7. | Slide the wheel back onto the shaft. | ||
| |||
8.Install the drive wheel bolt into the center hub and tighten.
9.Inflate the tire to 30 – 35 psi.
DRIVE WHEELNUT
BATTERY REPLACEMENT
To replace the battery:
A diagram is printed on a decal on the Jazzy 11202000 frame near the bat- tery tray. See figure 48.
1.Remove
2.Lift the foot frame straight up.
3.Locate the two wiring harnesses that will be attached to your batteries.
4.Disconnect these two harnesses from their respective quick discon- nects by pulling the quick disconnects toward you.
5.Remove batteries from the powerbase assembly.
6.Disconnectthebatteryharnessesfromthepositiveandnegativeterminals.
7.Replace old batteries with new ones.
BATTERY |
BATTERY |
QUICK |
DISCONNECT |
FRONT |
Figure 48. Battery Connections
NOTE: It is easier to connect the harnesses to the batteries when you have the batteries away from your Jazzy. This gives you more room to work.
8.Connect the wire labeled BAT (+) to a battery’s positive (red) terminal. Connect the wire labeled BAT
9.Connect the wire labeled BAT (+) to the other battery’s positive (red) terminal. Connect the wire labeled BAT
10.Replace the foot frame using the
NOTE: It is important to be sure that your battery connections are tight and secure.
Jazzy 11202000 | 43 |