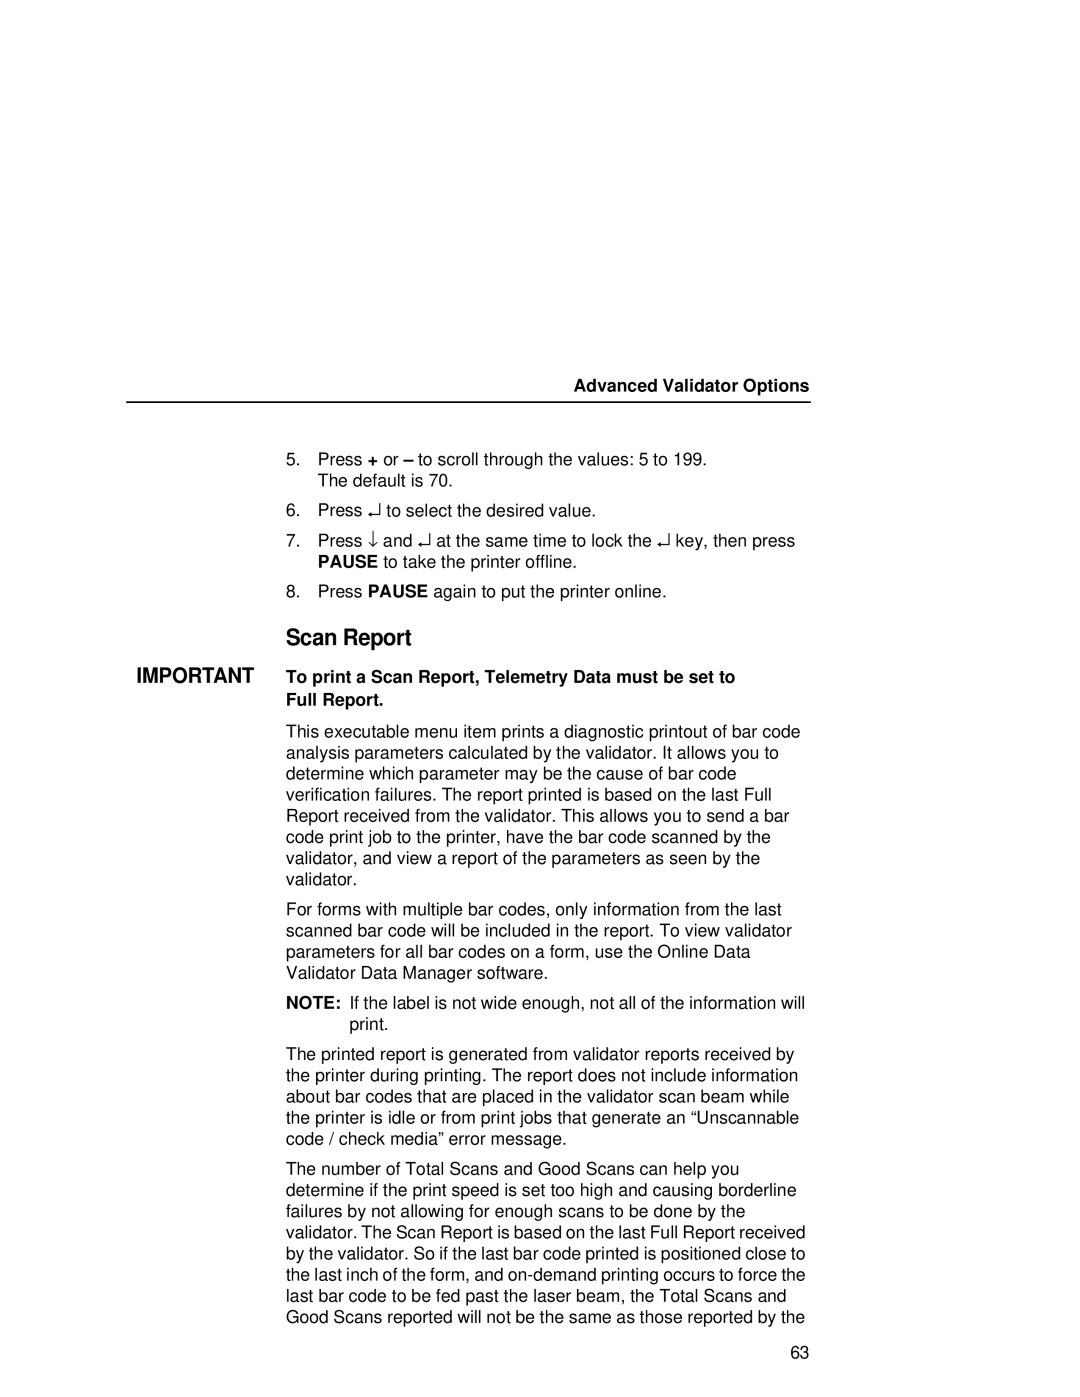
T5000R specifications
The Printronix T5000R is a robust and versatile industrial printer designed to meet the demanding needs of high-volume printing environments. Known for its reliability and efficiency, this printer excels in various applications ranging from logistics to manufacturing.One of the standout features of the T5000R is its advanced thermal transfer and direct thermal printing technology. This allows for high-quality print outputs with sharp text and crisp graphics. The printer supports multiple widths of labels and tags, enabling it to accommodate a broad array of media types and sizes, which is crucial for businesses that require flexibility in their labeling solutions.
The T5000R is equipped with a high-speed print engine capable of producing up to 12 inches per second, significantly enhancing productivity. Its high-resolution print quality of up to 600 dpi ensures that barcodes, text, and images are rendered with exceptional clarity, making it an ideal choice for applications that require precision.
Connectivity is a strong suit of the T5000R, which features USB, Ethernet, and optional wireless interfaces, allowing seamless integration into existing IT infrastructures. This connectivity ensures that the printer can easily communicate with a variety of devices, including computers, tablets, and mobile devices, facilitating efficient workflows.
Furthermore, the T5000R is built with user-friendly controls and an intuitive interface, making it easy for operators to manage printing tasks and settings. The printer is designed for high durability, with features such as an all-metal construction that can withstand harsh industrial environments. This not only ensures longevity but also reduces the total cost of ownership for businesses.
Another significant characteristic of the T5000R is its energy-efficient design. Printronix has implemented technologies that minimize power consumption without compromising performance, aligning with modern sustainability initiatives.
In conclusion, the Printronix T5000R combines high-speed printing, advanced thermal technology, extensive connectivity options, and robust construction to deliver an exceptional printing solution for demanding industrial applications. Its user-friendly design and energy-efficient features further enhance its appeal, making it a preferred choice for organizations looking to streamline their printing processes.
