4 Enter a target heart rate setting.
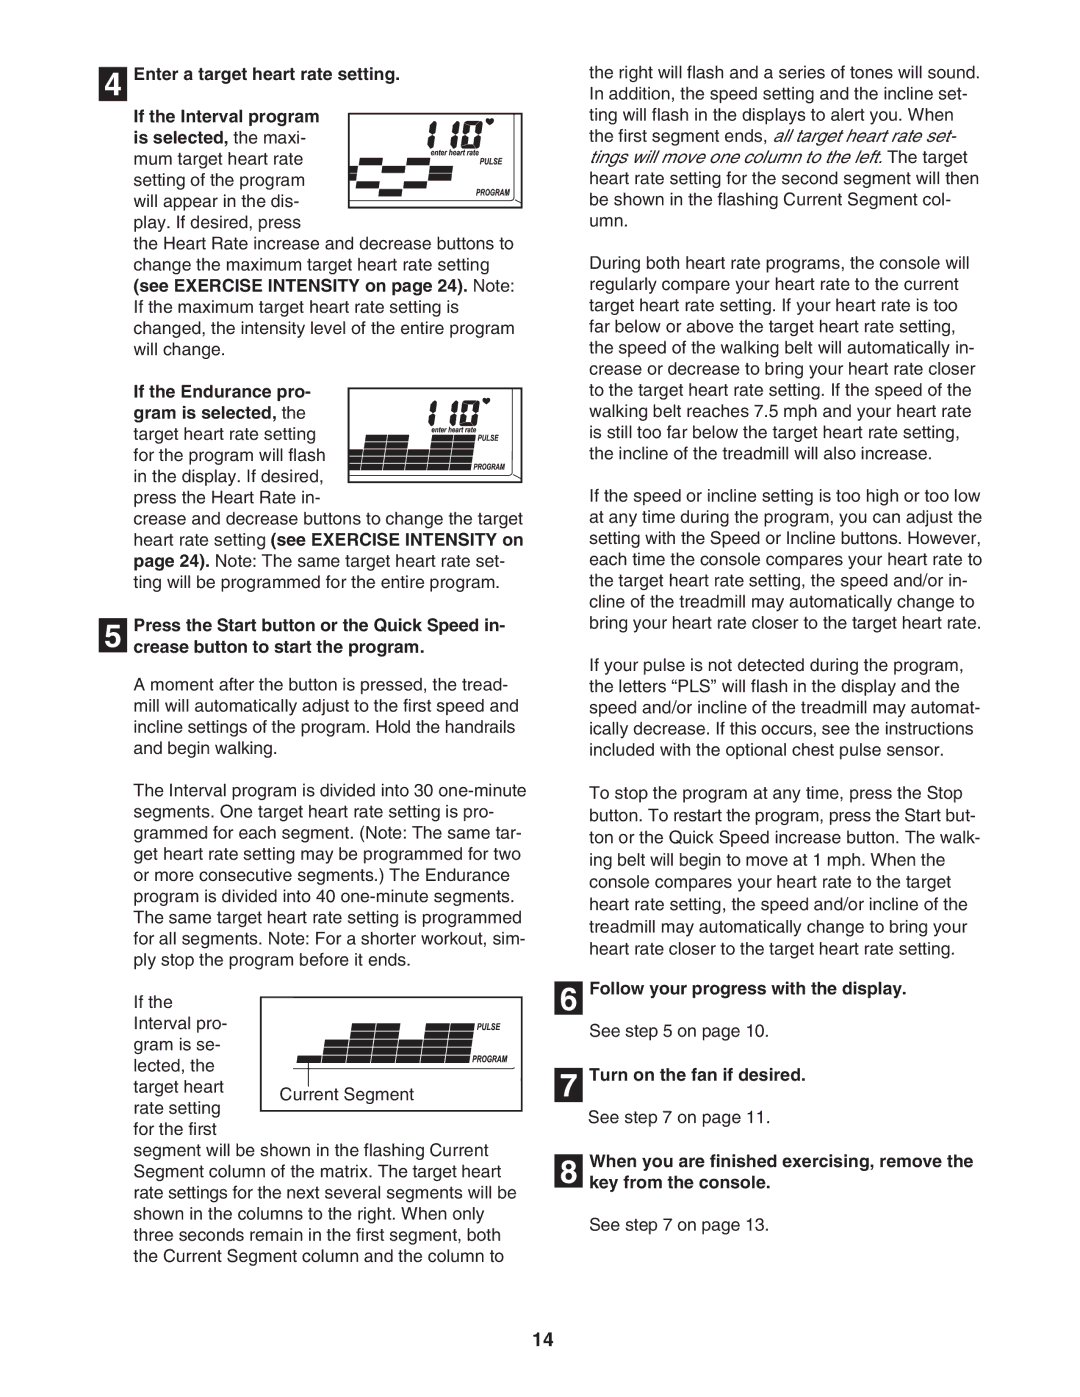
If the Interval program is selected, the maxi- mum target heart rate setting of the program will appear in the dis- play. If desired, press
the Heart Rate increase and decrease buttons to change the maximum target heart rate setting (see EXERCISE INTENSITY on page 24). Note: If the maximum target heart rate setting is changed, the intensity level of the entire program will change.
If the Endurance pro-
gram is selected, the target heart rate setting for the program will flash
in the display. If desired, press the Heart Rate in-
crease and decrease buttons to change the target heart rate setting (see EXERCISE INTENSITY on page 24). Note: The same target heart rate set- ting will be programmed for the entire program.
Press the Start button or the Quick Speed in-
5 crease button to start the program.
A moment after the button is pressed, the tread- mill will automatically adjust to the first speed and incline settings of the program. Hold the handrails and begin walking.
The Interval program is divided into 30
If the Interval pro- gram is se- lected, the target heart
rate setting for the first
segment will be shown in the flashing Current Segment column of the matrix. The target heart rate settings for the next several segments will be shown in the columns to the right. When only three seconds remain in the first segment, both the Current Segment column and the column to
the right will flash and a series of tones will sound. In addition, the speed setting and the incline set- ting will flash in the displays to alert you. When the first segment ends, all target heart rate set- tings will move one column to the left. The target heart rate setting for the second segment will then be shown in the flashing Current Segment col- umn.
During both heart rate programs, the console will regularly compare your heart rate to the current target heart rate setting. If your heart rate is too far below or above the target heart rate setting, the speed of the walking belt will automatically in- crease or decrease to bring your heart rate closer to the target heart rate setting. If the speed of the walking belt reaches 7.5 mph and your heart rate is still too far below the target heart rate setting, the incline of the treadmill will also increase.
If the speed or incline setting is too high or too low at any time during the program, you can adjust the setting with the Speed or Incline buttons. However, each time the console compares your heart rate to the target heart rate setting, the speed and/or in- cline of the treadmill may automatically change to bring your heart rate closer to the target heart rate.
If your pulse is not detected during the program, the letters “PLS” will flash in the display and the speed and/or incline of the treadmill may automat- ically decrease. If this occurs, see the instructions included with the optional chest pulse sensor.
To stop the program at any time, press the Stop button. To restart the program, press the Start but- ton or the Quick Speed increase button. The walk- ing belt will begin to move at 1 mph. When the console compares your heart rate to the target heart rate setting, the speed and/or incline of the treadmill may automatically change to bring your heart rate closer to the target heart rate setting.
6 Follow your progress with the display.
See step 5 on page 10.
7 Turn on the fan if desired.
See step 7 on page 11.
When you are finished exercising, remove the
8 key from the console.
See step 7 on page 13.
14