ASSEMBLY
Place all parts of the stepper in a cleared area and remove the packing materials. Do not dispose of the packing materials until assembly is completed. Note: Some small parts may have been
Assembly requires only the included tools.
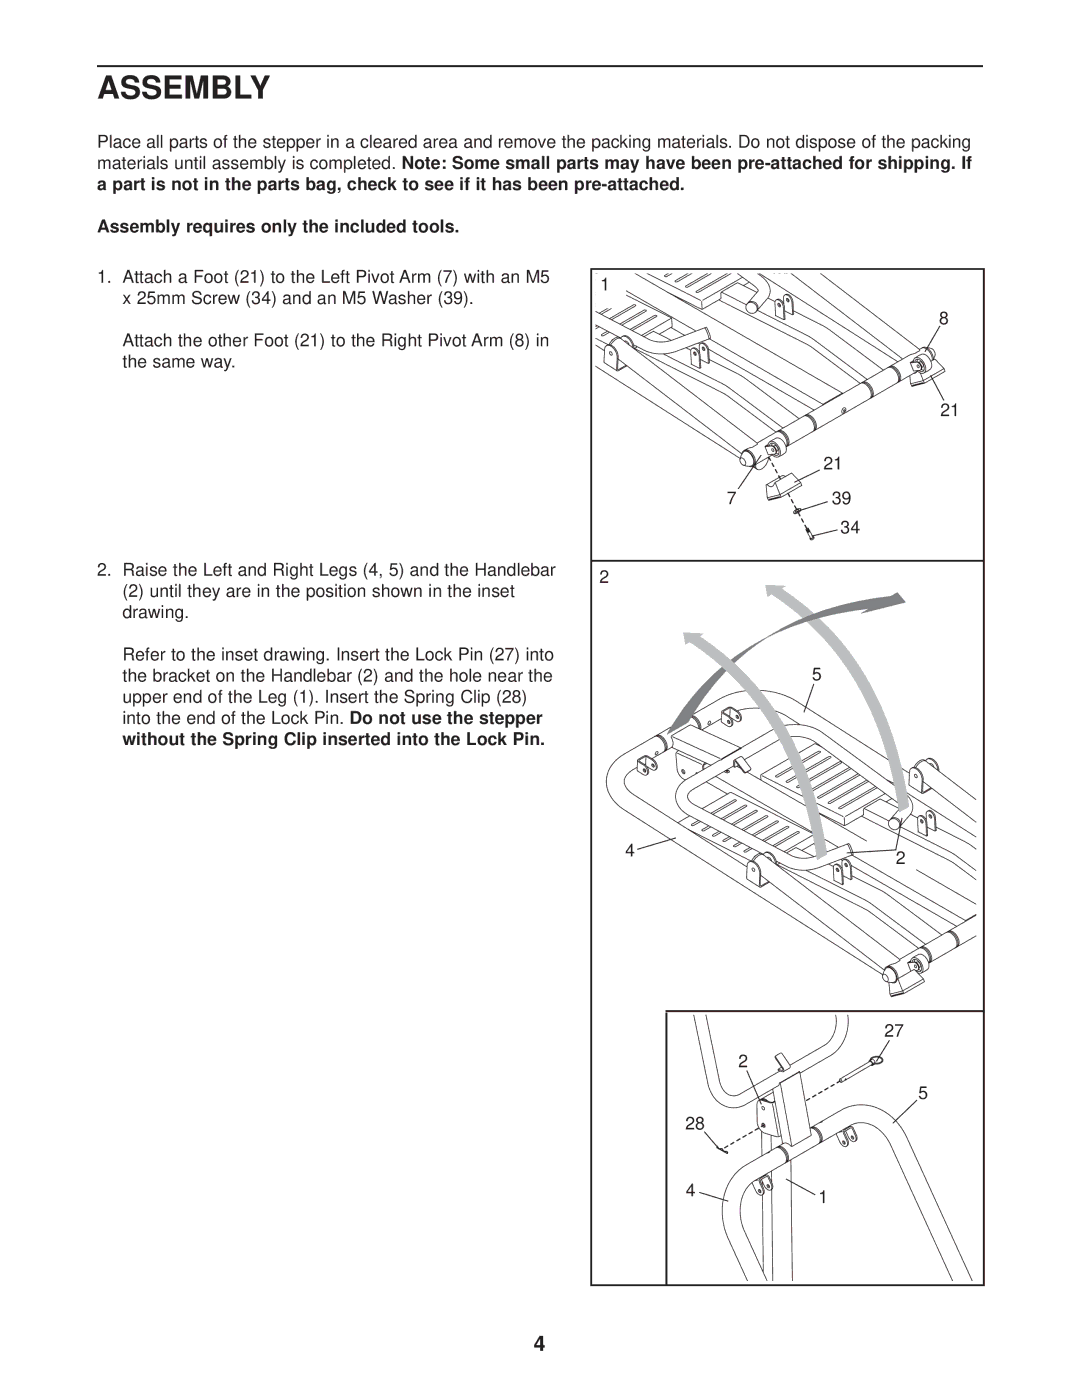
1.Attach a Foot (21) to the Left Pivot Arm (7) with an M5 x 25mm Screw (34) and an M5 Washer (39).
Attach the other Foot (21) to the Right Pivot Arm (8) in the same way.
2.Raise the Left and Right Legs (4, 5) and the Handlebar
(2)until they are in the position shown in the inset drawing.
Refer to the inset drawing. Insert the Lock Pin (27) into the bracket on the Handlebar (2) and the hole near the upper end of the Leg (1). Insert the Spring Clip (28) into the end of the Lock Pin. Do not use the stepper without the Spring Clip inserted into the Lock Pin.
1 |
|
| 8 |
| 21 |
| 21 |
7 | 39 |
| 34 |
2 |
|
| 5 |
4 | 2 |
| |
| 27 |
| 2 |
| 5 |
28 |
|
4 | 1 |
|
4