
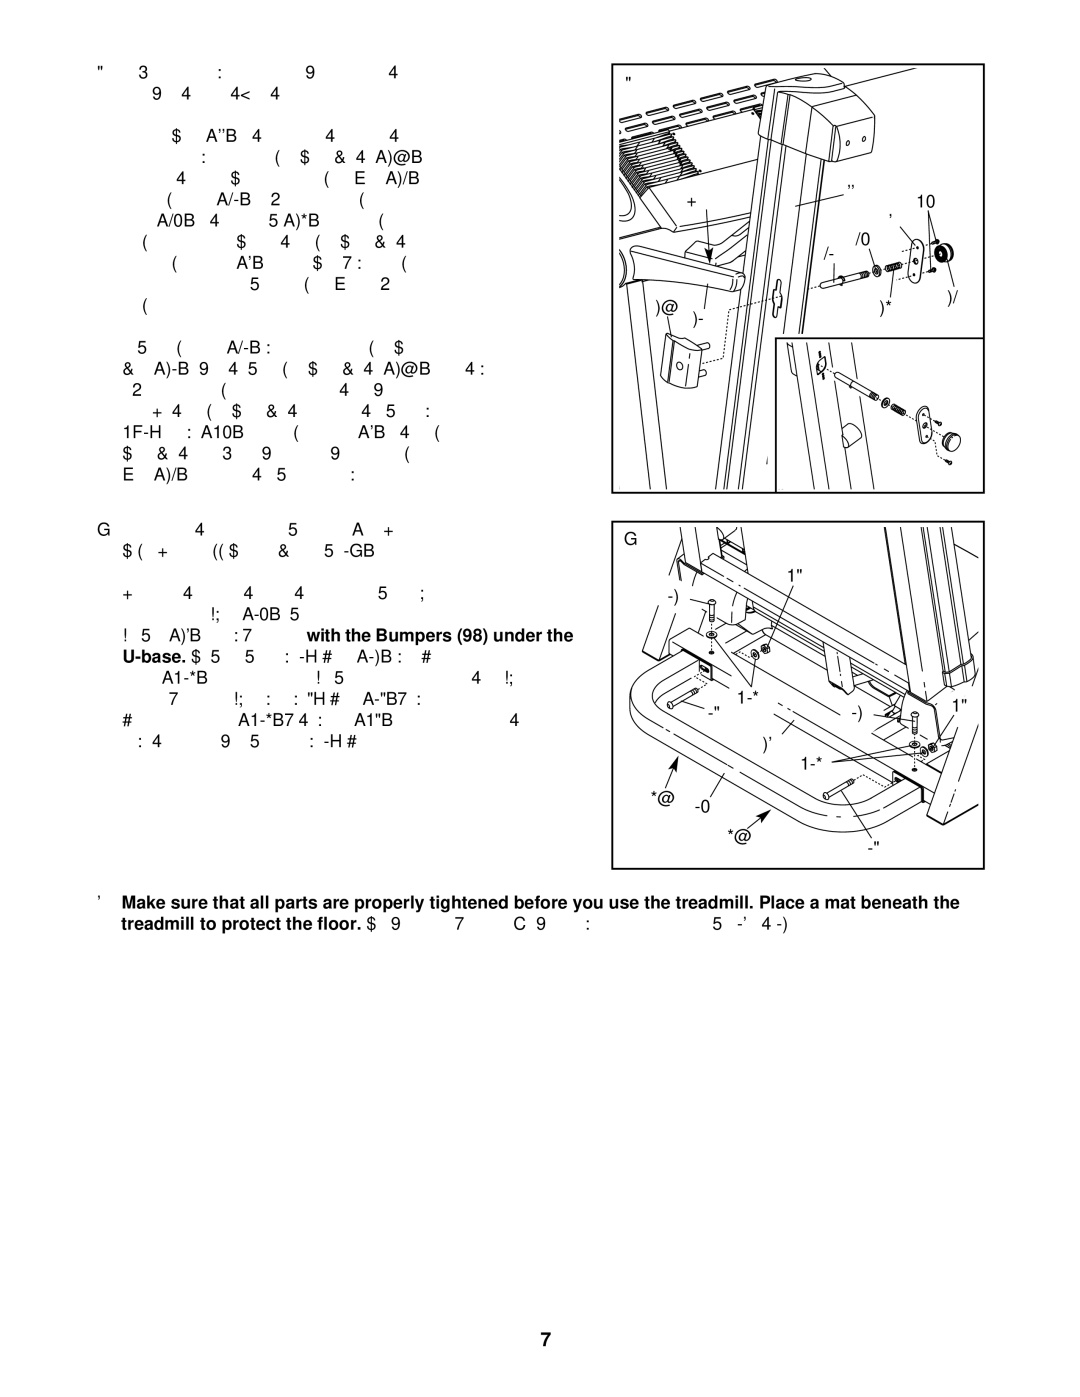
PFTL71730 specifications
The ProForm PFTL71730 is an innovative treadmill designed for both casual runners and seasoned athletes, combining a range of features and technologies that cater to the diverse needs of fitness enthusiasts. This model stands out with its powerful 2.5 horsepower motor, providing enough strength for brisk walking, jogging, and even intense running sessions. With a top speed of 10 mph, users can easily adjust the intensity of their workouts to align with their fitness goals.One of the major highlights of the ProForm PFTL71730 is its spacious running surface, measuring 20 inches wide by 55 inches long. This generous area ensures comfortable strides for the user, minimizing the risk of accidental missteps. Additionally, the cushioned running deck is designed to reduce the impact on joints, making it an excellent choice for individuals recovering from injuries or those looking to minimize wear and tear on their bodies.
This treadmill also boasts an impressive incline feature, offering automatic adjustments up to 10%. This allows users to simulate various terrains, providing a more engaging workout that helps in building strength and endurance. The Intensity Training program options are further enhanced by the inclusion of built-in fitness apps, offering a variety of customizable workout routines that can cater to all fitness levels. The integrated heart rate monitor is another noteworthy feature, enabling users to track their workout intensity and manage their health more effectively.
Another attractive aspect of the ProForm PFTL71730 is its compatibility with iFit technology. This feature allows users to connect the treadmill to their Wi-Fi network, unleashing a full library of interactive workouts led by certified personal trainers. Users can virtually run in different locations around the world, providing a unique and immersive experience that keeps motivation high.
In terms of design, the ProForm PFTL71730 is compact and user-friendly. It can be easily folded for storage, making it a great option for those with limited space. The clear and intuitive LCD display provides real-time feedback on essential workout metrics, including time, distance, speed, and calories burned.
Overall, the ProForm PFTL71730 treadmill is an outstanding piece of fitness equipment that seamlessly combines performance, technology, and user-centric design features. Whether you are looking to improve your fitness, test your limits, or simply maintain a healthier lifestyle, this treadmill offers the versatility and functionality needed to keep you on track toward your goals.