AcuteB Head specifications
The Profoto AcuteB Head is a remarkable lighting tool that combines power, versatility, and ease of use for photographers in various environments. Designed to meet the demands of professional photographers, the AcuteB Head stands out in both studio and on-location shoots. Its lightweight design and portable nature make it an ideal choice for those who need high-quality lighting without the bulk.One of the key features of the AcuteB Head is its impressive output. With a maximum power of 600Ws, this head provides ample light for a variety of shooting conditions. It's designed to work seamlessly with Profoto's AcuteB 600 power pack, allowing photographers to benefit from consistent and reliable exposure, ensuring that every shot is perfectly lit. The AcuteB Head also offers a broad range of flash durations in the 1/2000s range, enabling photographers to freeze fast-moving action with exceptional clarity.
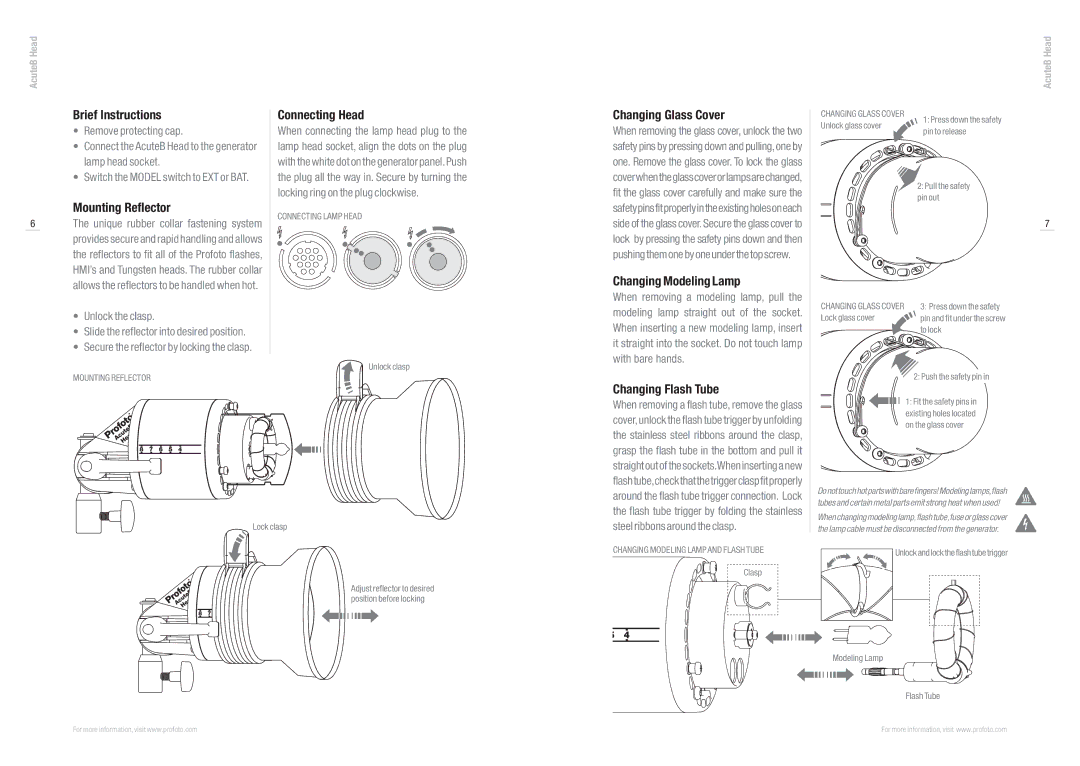
Another important aspect of the AcuteB Head is its built-in reflector system, which helps to create soft and even lighting. The head is compatible with a wide array of Profoto light-shaping tools, including softboxes, umbrellas, and grids, allowing users to further customize their lighting environment. This flexibility is invaluable for creative photographers who want to manipulate light to achieve their desired aesthetic.
Intuitive controls on the AcuteB Head make it user-friendly, even for beginners. The simple design features easy-to-access settings for adjusting the power output, allowing for on-the-fly modifications during shoots. The head's robust construction ensures durability, even in challenging conditions, making it a reliable choice for outdoor and adventure photography.
Furthermore, the AcuteB Head incorporates advanced technology to enhance performance. Its high recycling time of just under 2 seconds at full power keeps pace with the fast-moving environment of professional shoots. The integrated overheating protection ensures that the head can maintain performance even during extended sessions, providing peace of mind for photographers working under pressure.
In summary, the Profoto AcuteB Head merges power, portability, and technological advancement to deliver exceptional performance for photographers. Its versatility, ease of use, and compatibility with a wide range of accessories make it a must-have for anyone serious about achieving professional-grade lighting in their work.

