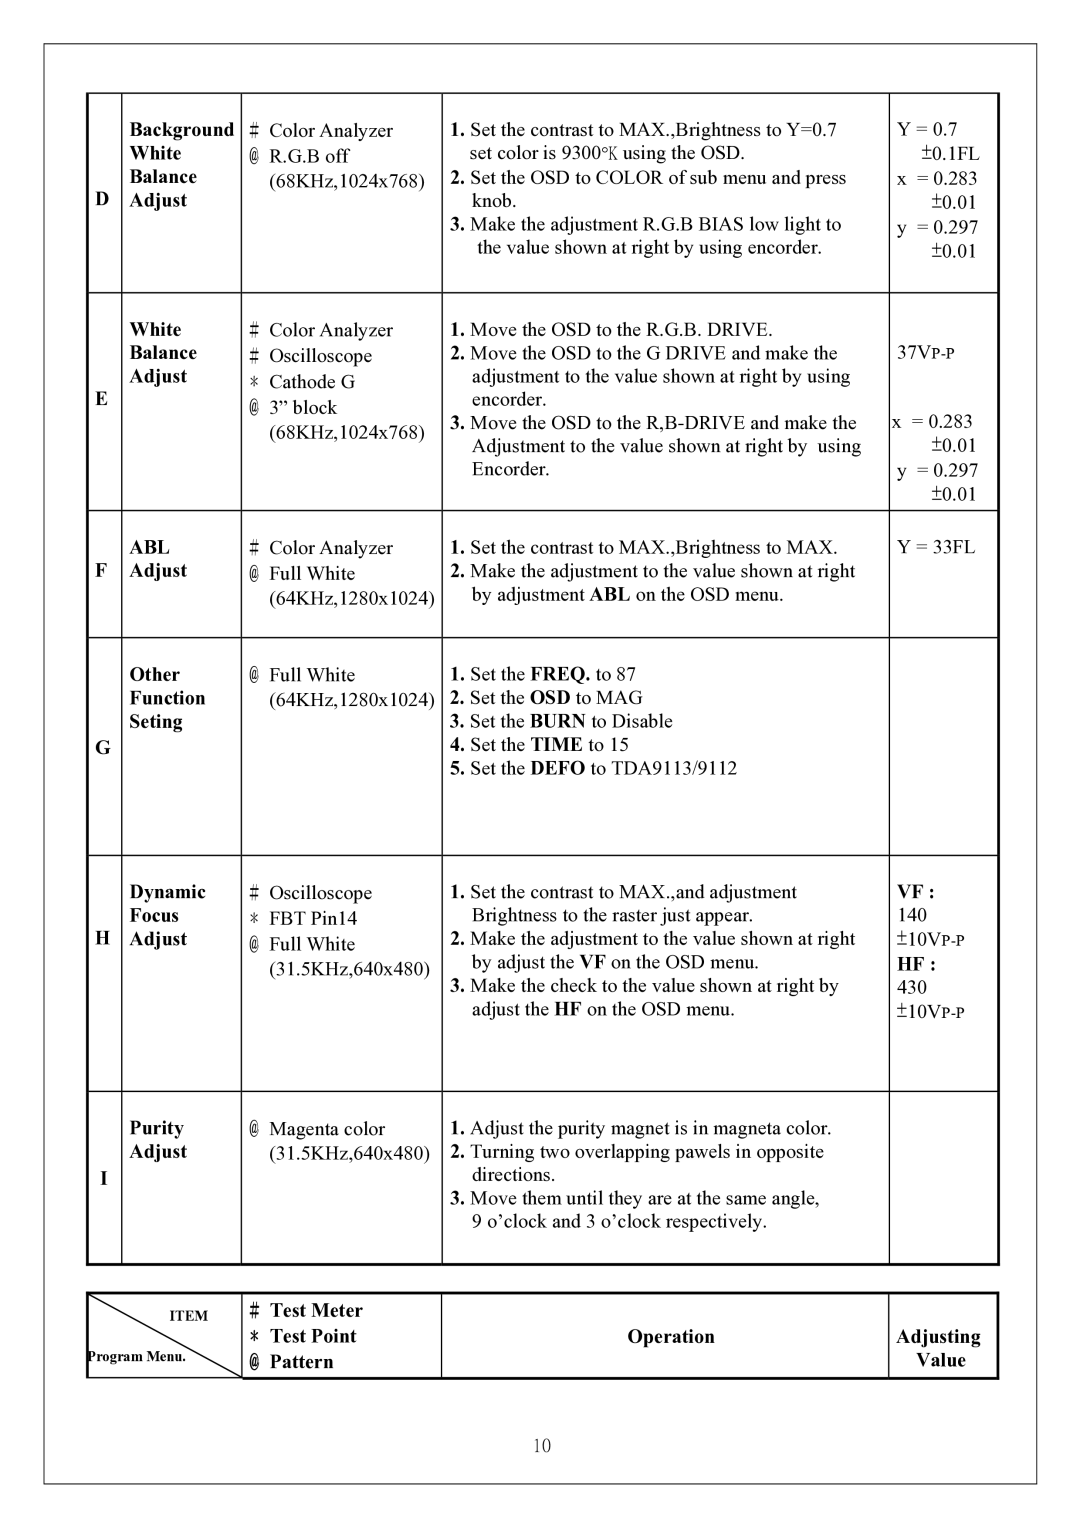
| Background | ﹟Color Analyzer | 1. | Set the contrast to MAX.,Brightness to Y=0.7 | Y = 0.7 |
| White | ﹫R.G.B off |
| set color is 9300°K using the OSD. | ±0.1FL |
D | Balance | (68KHz,1024x768) | 2. | Set the OSD to COLOR of sub menu and press | x = 0.283 |
Adjust |
| 3. | knob. | ±0.01 | |
|
|
| Make the adjustment R.G.B BIAS low light to | y = 0.297 | |
|
|
|
| the value shown at right by using encorder. | ±0.01 |
|
|
|
|
|
|
| White | ﹟Color Analyzer | 1. | Move the OSD to the R.G.B. DRIVE. | |
| Balance | ﹟Oscilloscope | 2. | Move the OSD to the G DRIVE and make the | |
E | Adjust | ﹡Cathode G |
| adjustment to the value shown at right by using |
|
| ﹫3” block | 3. | encorder. | x = 0.283 | |
|
| Move the OSD to the | |||
|
| (68KHz,1024x768) | |||
|
|
| Adjustment to the value shown at right by using | ±0.01 | |
|
|
|
| ||
|
|
|
| Encorder. | y = 0.297 |
|
|
|
|
| ±0.01 |
|
|
|
|
| |
F | ABL | ﹟Color Analyzer | 1. Set the contrast to MAX.,Brightness to MAX. | Y = 33FL | |
Adjust | ﹫Full White | 2. | Make the adjustment to the value shown at right |
| |
|
| (64KHz,1280x1024) |
| by adjustment ABL on the OSD menu. |
|
|
|
|
|
| |
| Other | ﹫Full White | 1. Set the FREQ. to 87 |
| |
| Function | (64KHz,1280x1024) | 2. Set the OSD to MAG |
| |
| Seting |
| 3. Set the BURN to Disable |
| |
G |
|
| 4. Set the TIME to 15 |
| |
|
|
| 5. Set the DEFO to TDA9113/9112 |
| |
|
|
|
|
| |
| Dynamic | ﹟Oscilloscope | 1. Set the contrast to MAX.,and adjustment | VF : | |
H | Focus | ﹡FBT Pin14 | 2. | Brightness to the raster just appear. | 140 |
Adjust | ﹫Full White | Make the adjustment to the value shown at right | |||
|
| (31.5KHz,640x480) | 3. | by adjust the VF on the OSD menu. | HF : |
|
| Make the check to the value shown at right by | 430 | ||
|
|
|
| adjust the HF on the OSD menu. | |
|
|
|
|
|
|
| Purity | ﹫Magenta color | 1. | Adjust the purity magnet is in magneta color. |
|
| Adjust | (31.5KHz,640x480) | 2. | Turning two overlapping pawels in opposite |
|
I |
|
| 3. | directions. |
|
|
|
| Move them until they are at the same angle, |
| |
|
|
|
| 9 o’clock and 3 o’clock respectively. |
|
|
|
|
|
|
|
ITEM | ﹟Test Meter |
|
|
| ﹡Test Point | Operation | Adjusting |
Program Menu. | ﹫Pattern |
| Value |
10