C250 specifications
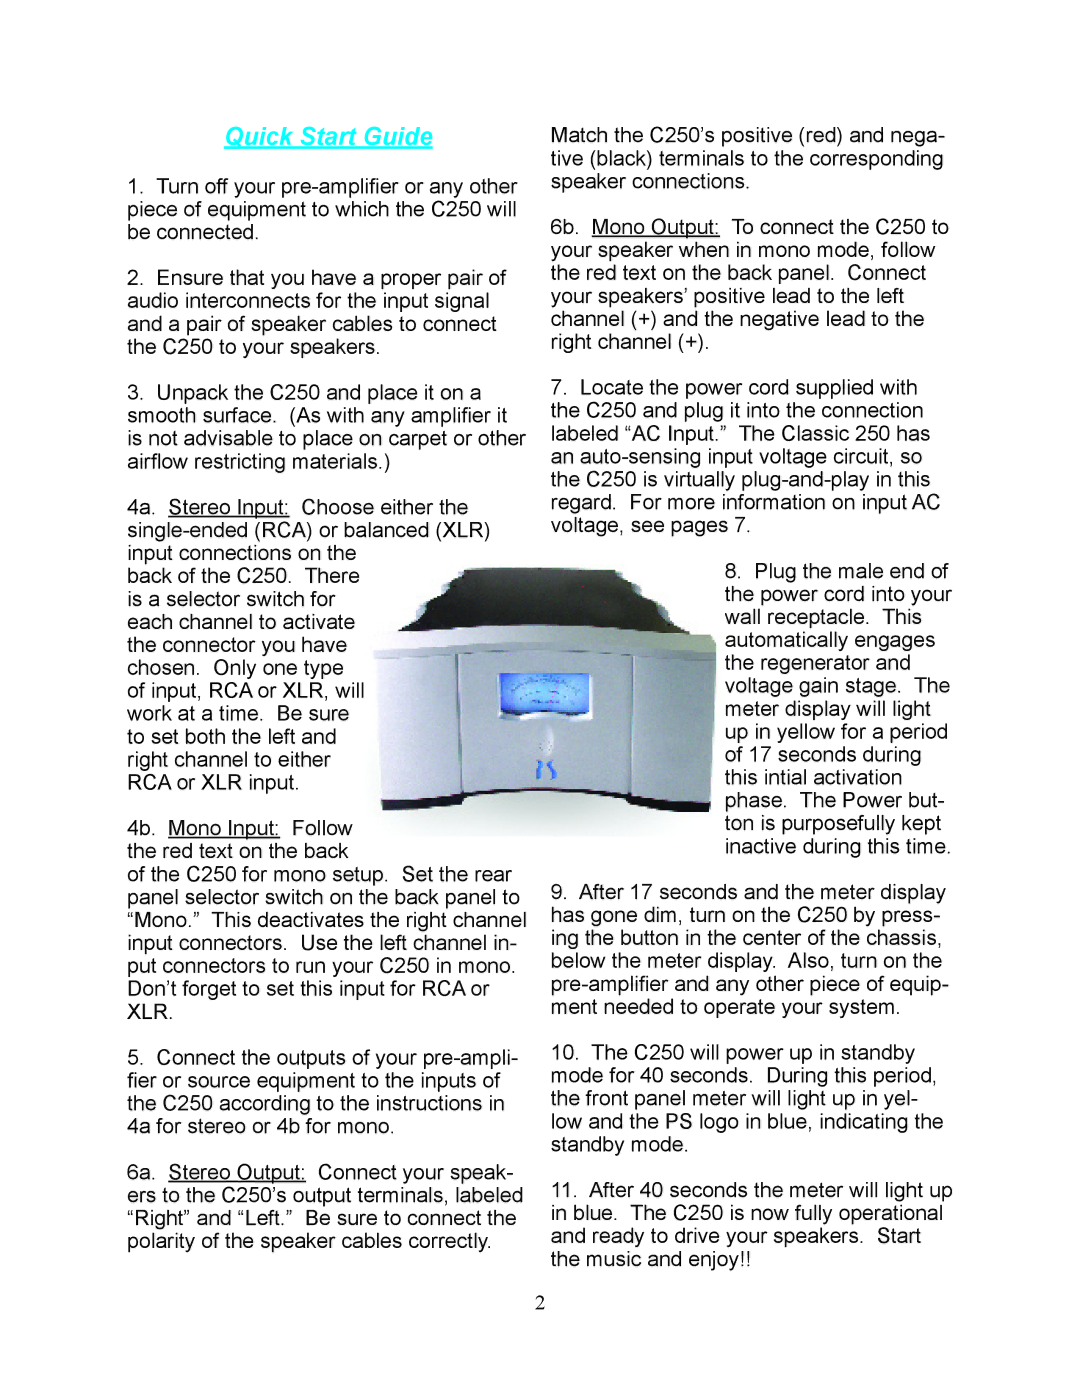
The PS Audio C250 is a high-end audio preamplifier designed to elevate the listening experience for audiophiles and music enthusiasts alike. As part of PS Audio's commitment to quality sound reproduction, the C250 integrates innovative technologies and high-performance components to deliver exceptional audio fidelity.One of the standout features of the C250 is its fully balanced circuitry. This design minimizes noise and distortion, enhancing the clarity and detail of the audio signal. The balanced configuration allows for longer cable runs without loss of quality, making the C250 ideal for complex audio setups. Additionally, it supports both single-ended and balanced inputs, accommodating a wide range of source components.
The C250 boasts an advanced digital-to-analog converter (DAC) that supports high-resolution audio formats, including DSD and PCM. This allows listeners to enjoy their digital music collections in exquisite detail. With multiple digital inputs, including USB, coaxial, and optical, users can connect their favorite digital sources effortlessly. Furthermore, the DAC employs proprietary filtering technology, ensuring a smooth and natural sound signature free from harshness.
Another notable feature of the C250 is its comprehensive volume control system. Using a sophisticated analog volume circuitry, it maintains resolution across the entire volume range, preserving dynamic range and tonal accuracy without introducing unwanted artifacts. The preamp also includes a high-quality headphone amplifier, providing audiophile-quality sound through headphones for private listening sessions.
Additionally, the C250 offers a user-friendly interface with a large, easy-to-read display. The remote control allows for seamless adjustments from a distance, making it convenient to operate. The unit's robust build quality, featuring a heavy chassis and premium components, contributes to its overall performance and durability.
With versatile connectivity options, including multiple line-level inputs and outputs, as well as home theater bypass capability, the C250 is designed to fit effortlessly into any audio system. The unit's combination of cutting-edge technology, premium parts, and meticulous engineering make it a standout choice for those seeking a high-performance preamplifier that delivers immaculate sound reproduction.
In summary, the PS Audio C250 is an exceptional audio component that brings together advanced features, superior technologies, and high-quality craftsmanship. Whether you're an avid vinyl collector or a digital music lover, the C250 promises to enhance your listening experience with stunning clarity and depth.

