1.Frame
2.Release Frame Key
Insert the release frame key into the groove at the right side of the frame, then prize out to remove the frame (You can also use the key to remove the frame from the left side.)
3.Release Unit Key
After releasing the frame, insert the
release unit keys supplied with the accessory into the grooves at both sides of the unit as shown in figure until they click. Pulling the keys makes it possible to remove the unit from the dashboard.
1. DIN
31
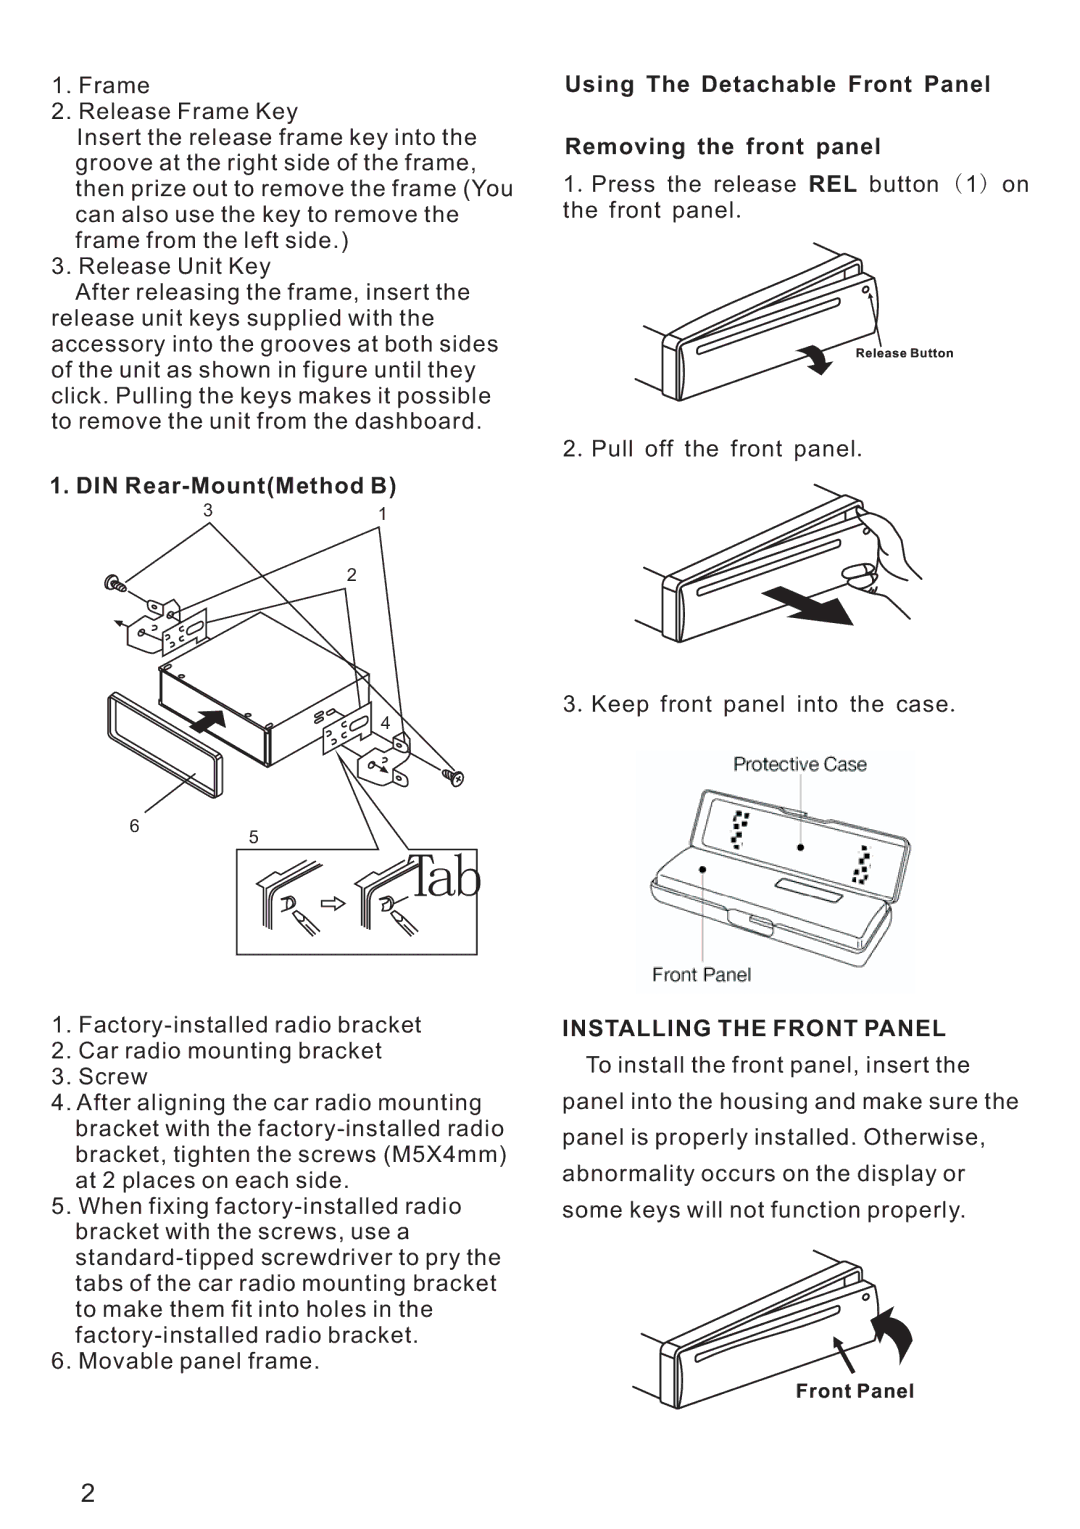
Using The Detachable Front Panel
Removing the front panel
1.Press the release REL button (1) on the front panel.
2. Pull off the front panel.
6
2
4
5
Tab
3. Keep front panel into the case.
1.
2.Car radio mounting bracket
3.Screw
4.After aligning the car radio mounting bracket with the
5.When fixing
6.Movable panel frame.
INSTALLING THE FRONT PANEL
To install the front panel, insert the panel into the housing and make sure the panel is properly installed. Otherwise, abnormality occurs on the display or some keys will not function properly.
2